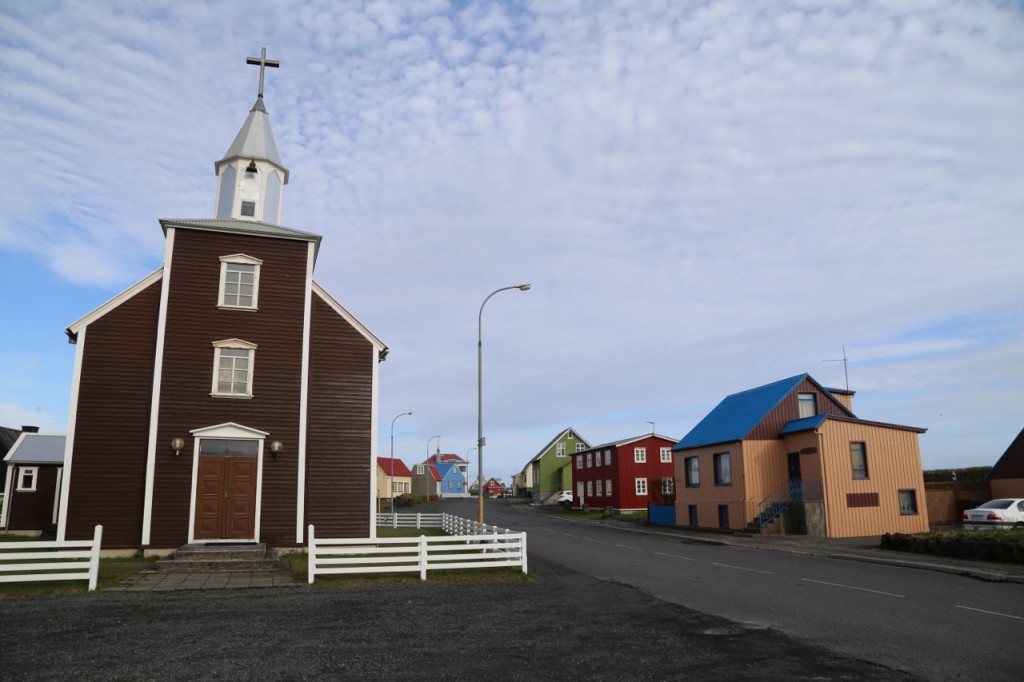
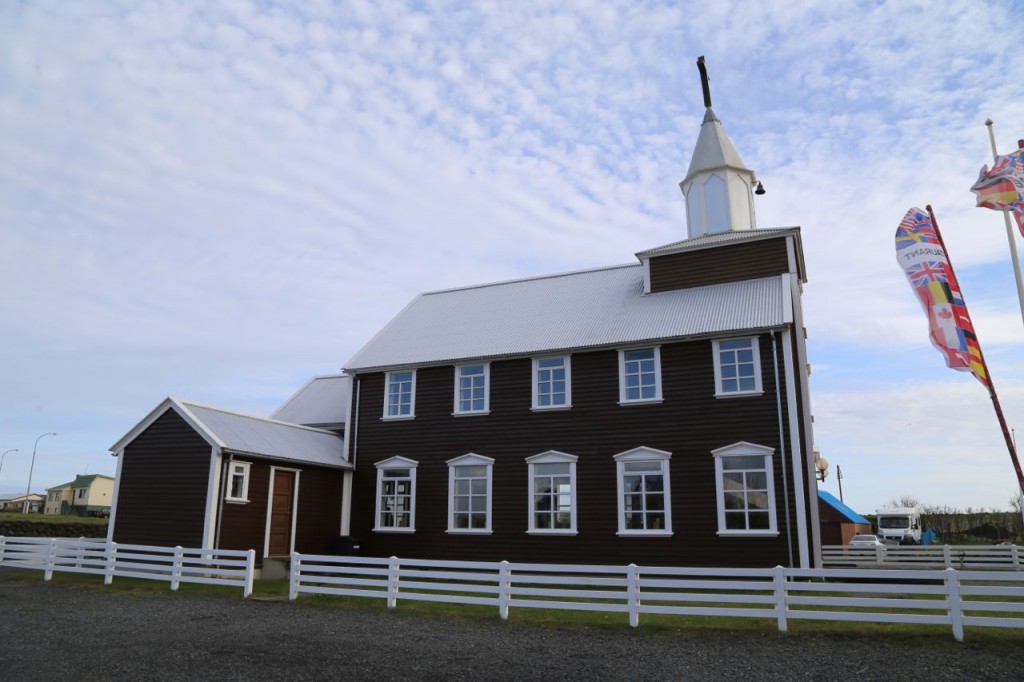
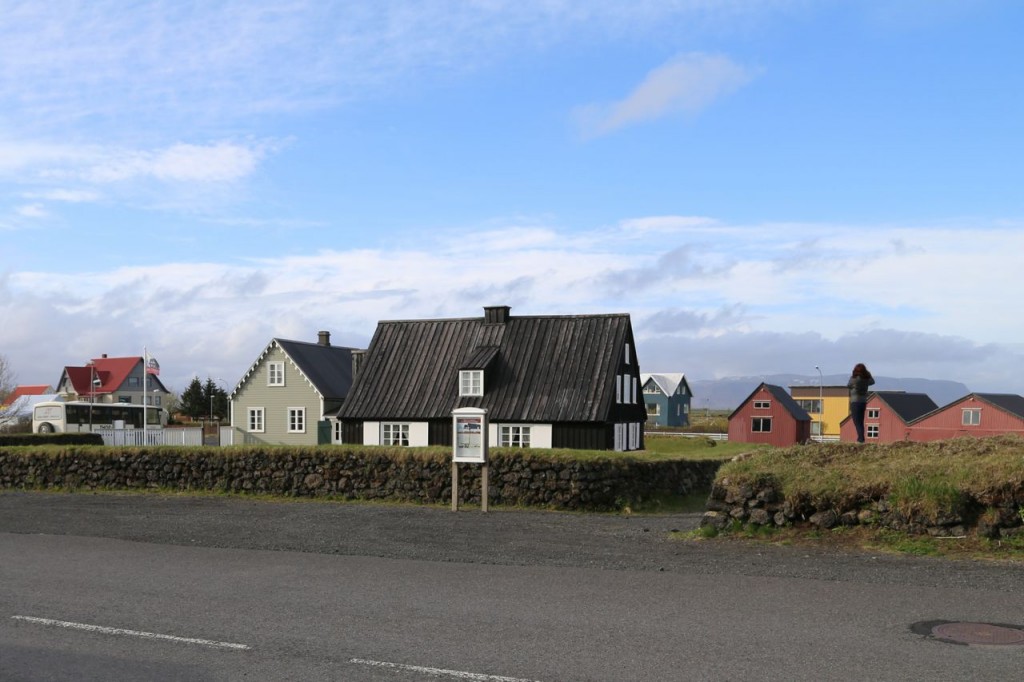
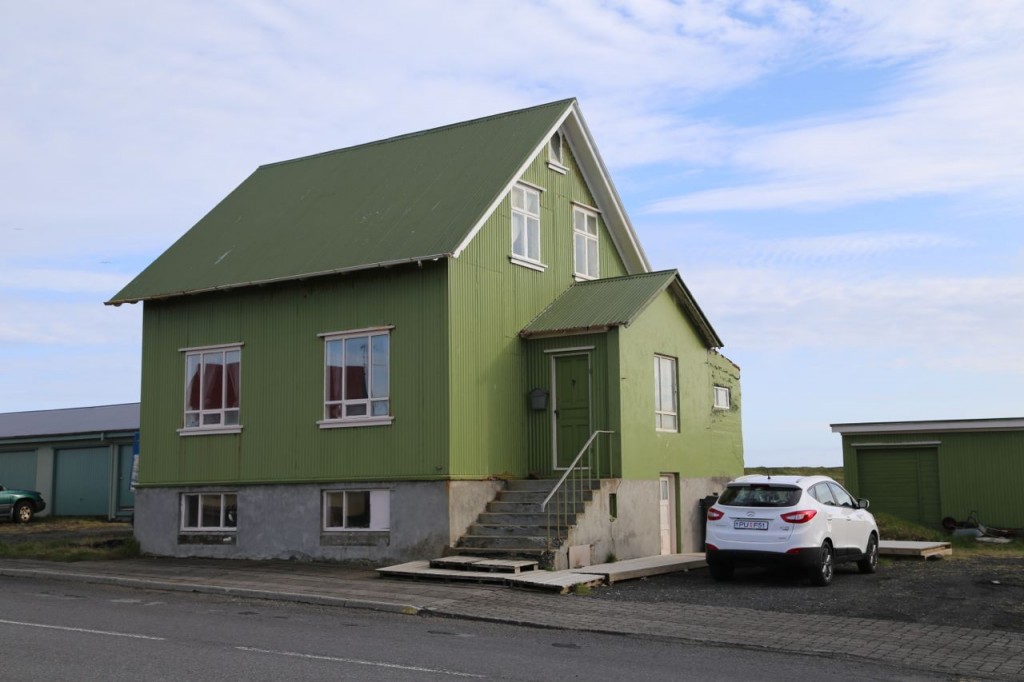
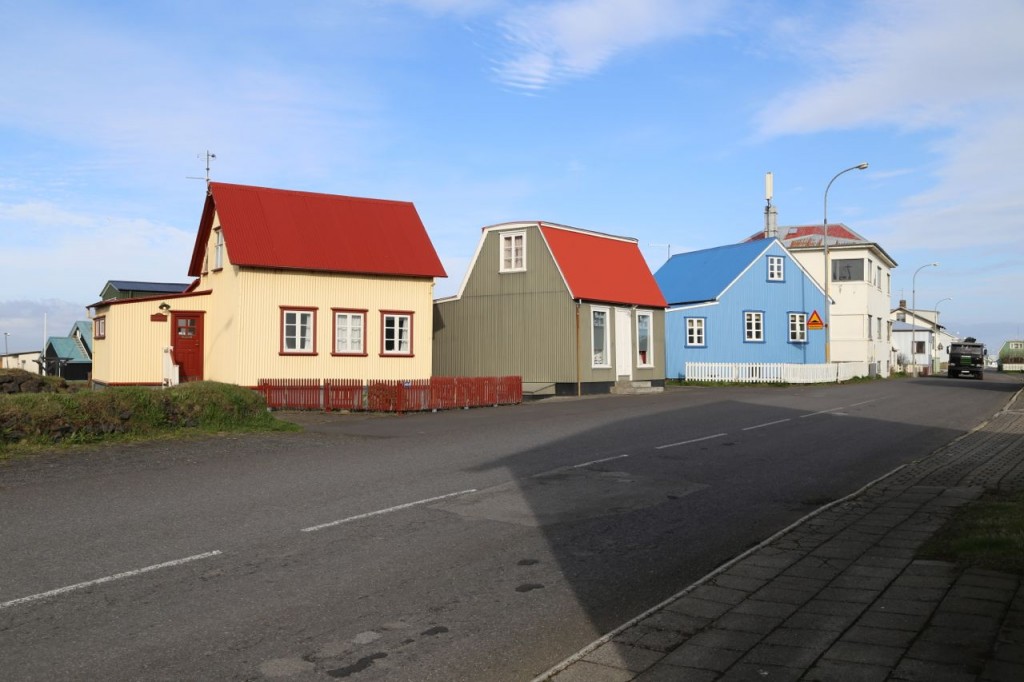
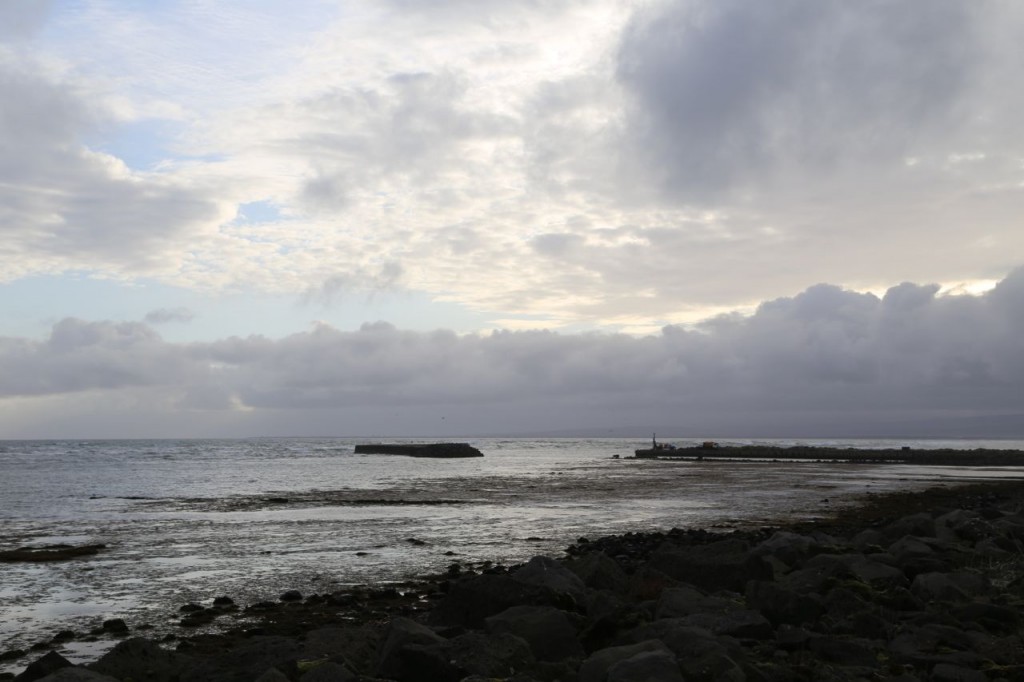
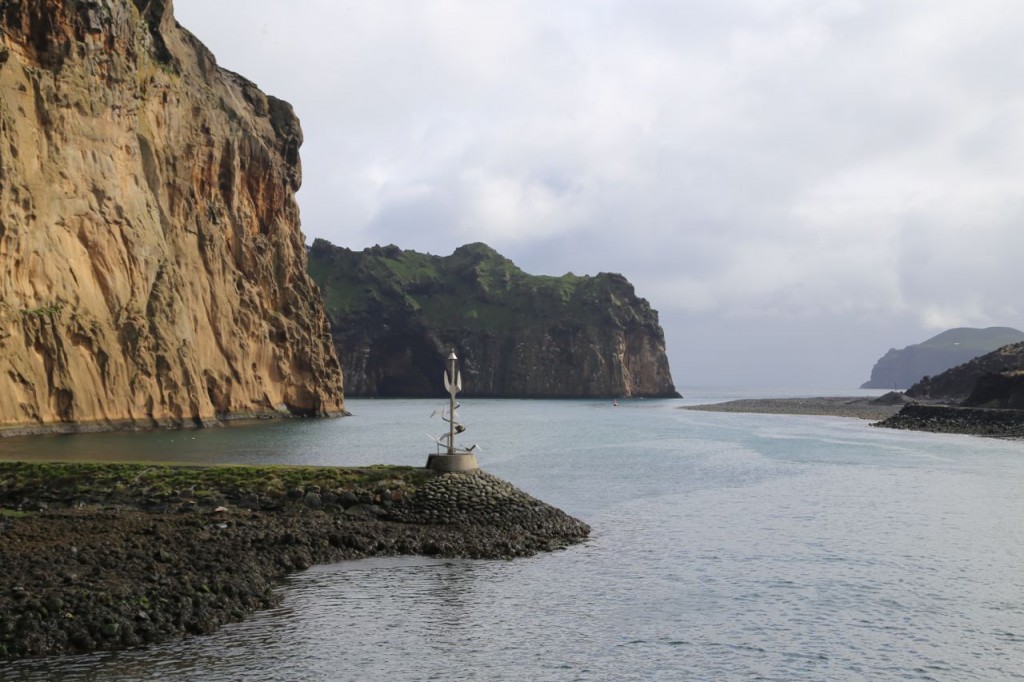
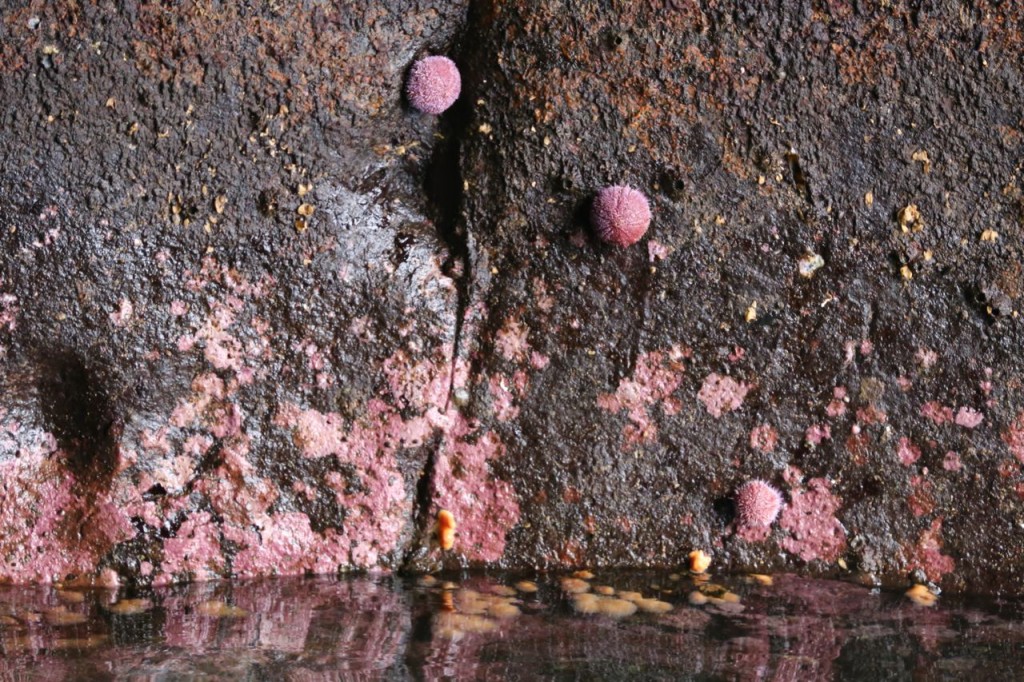
Day 4 in Iceland. Today we left the little village of Eyrarbakki, where we had been renting a house, and traveled eastward along the Ring Road. I thought Eyrarbakki was such a cute village, that I decided just to post a few photos of it. It is a small little village right on the coast that evidently is a very old village that used to be an important fishing area.
Tag Archives: Travel
Bruarfoss
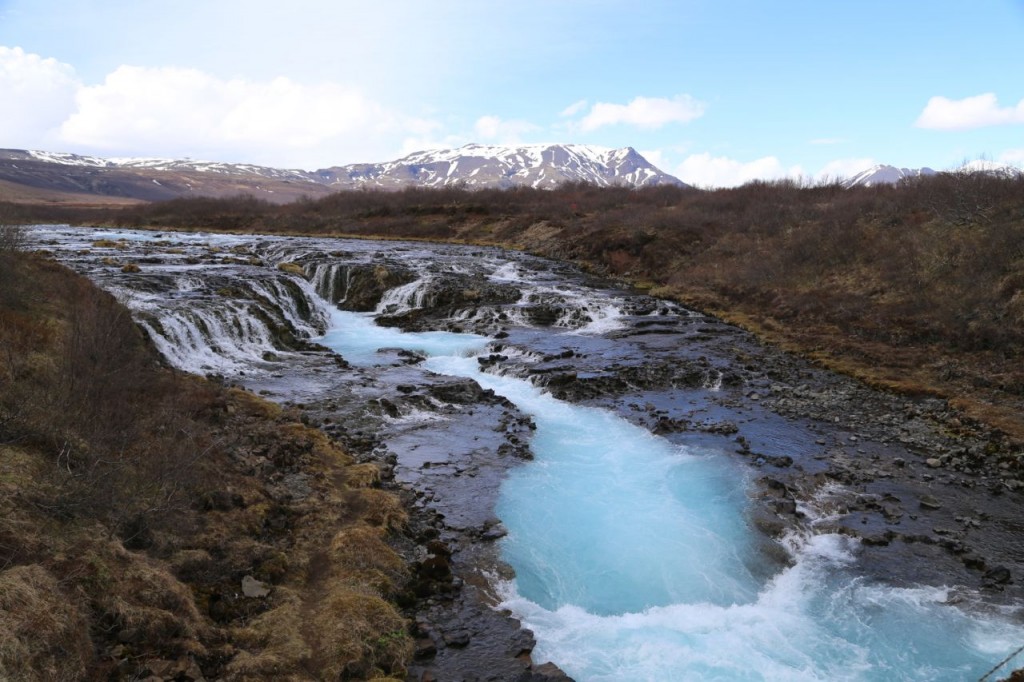
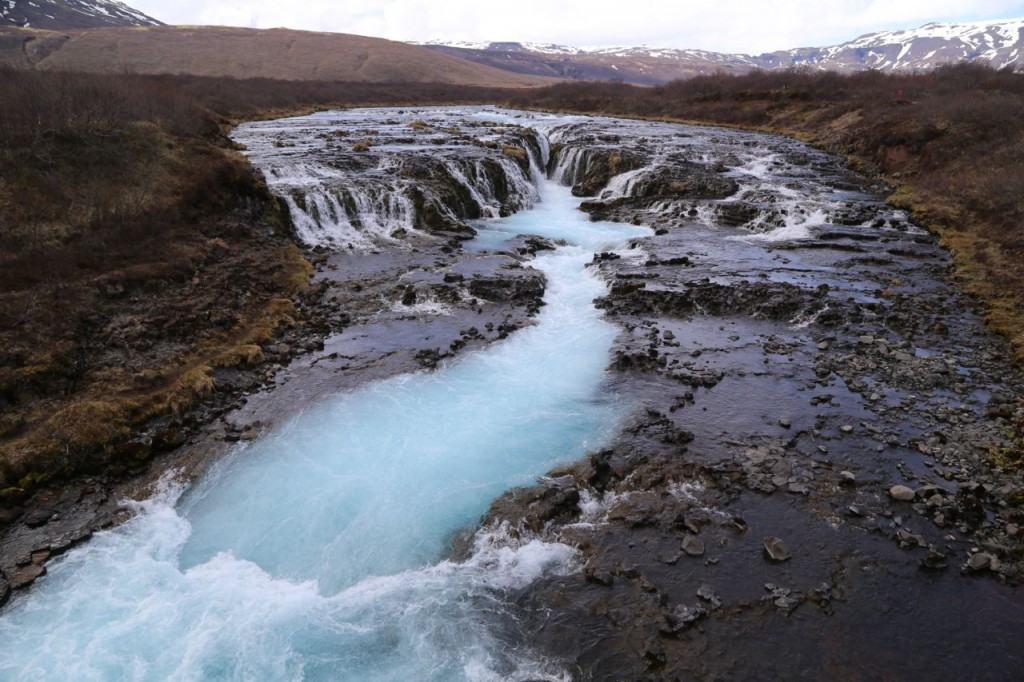
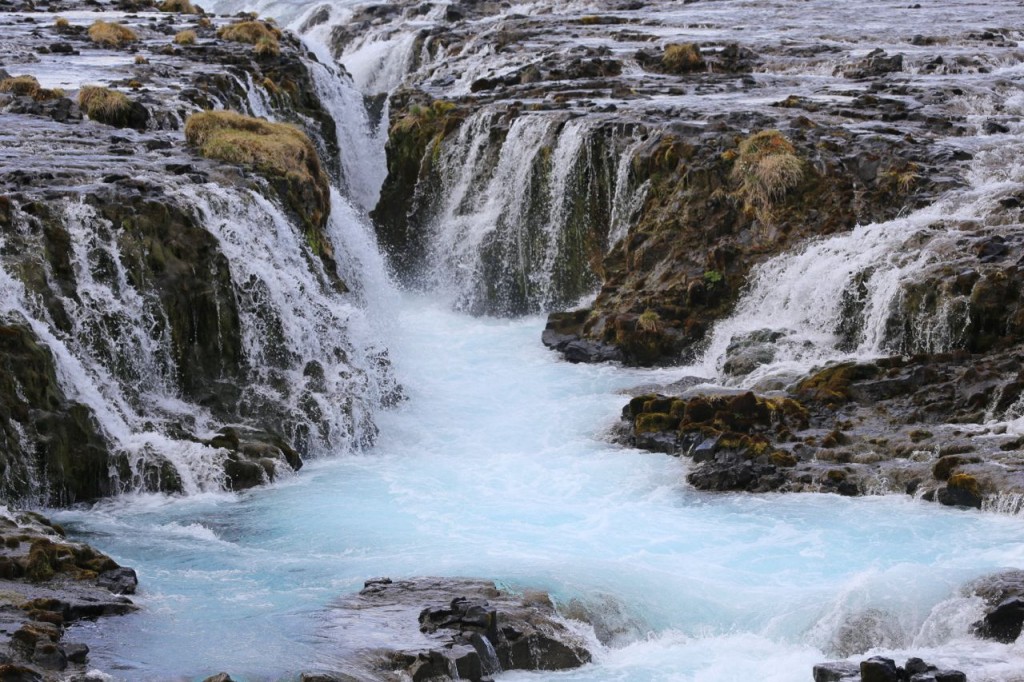
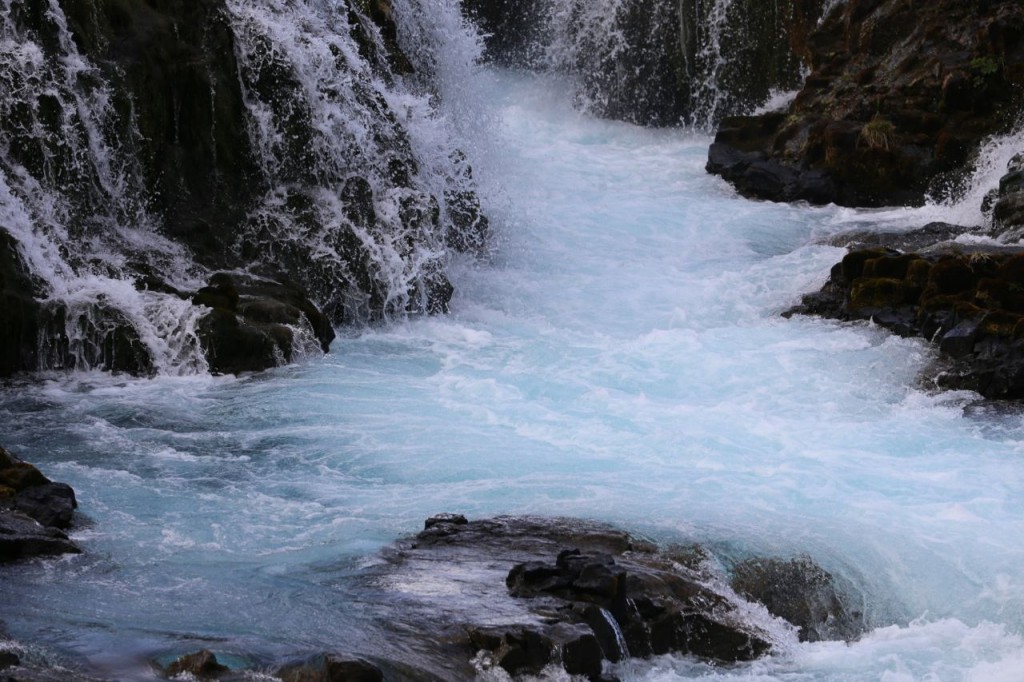
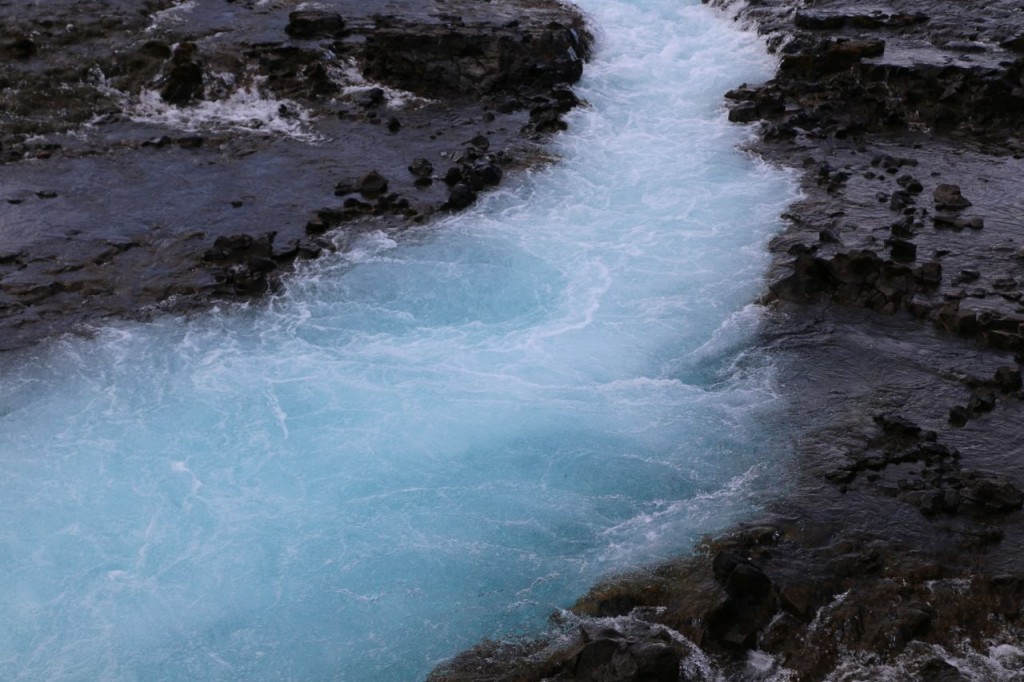
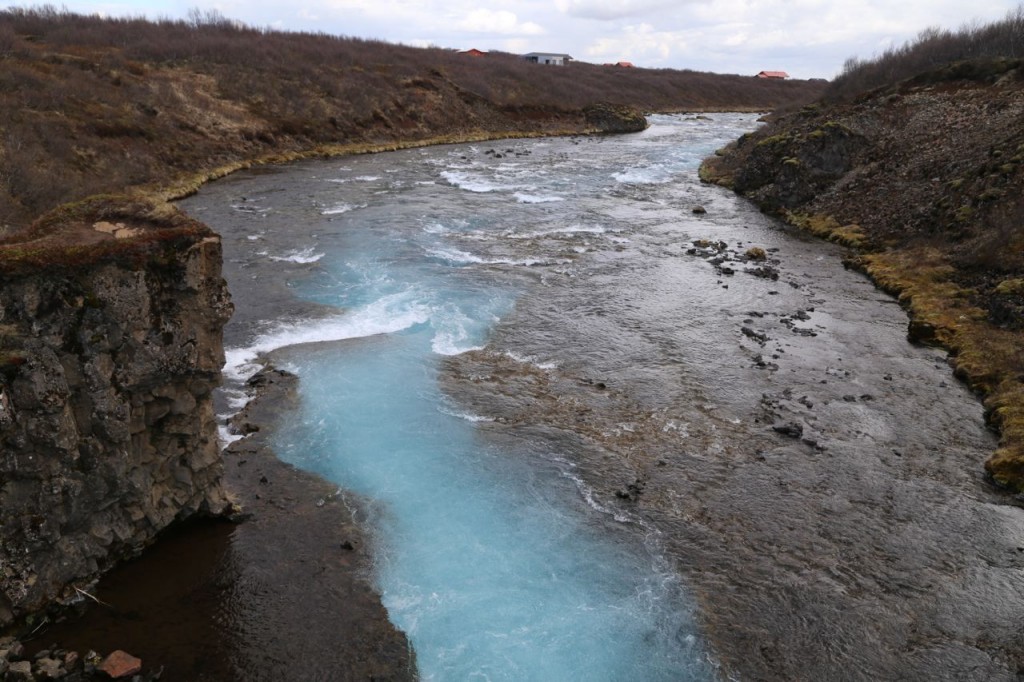
While visiting the Golden Triangle, we visited a second waterfall besides Gullfoss. Bruarfoss is a waterfall that my sister found out about through lots of researching on Iceland. It is kind of hidden, and it was not that easy to find. It is between Geysir and Þingvellir Park, just east of 355. You have to go into a summer house neighborhood to get there. You have to earn the waterfall, you might say, but it is totally worth it. The blue of the water is just beautiful.
Edited to add: Due to inquires, the following is best way I can describe how to get there. Take 37 northeast until you pass 355. Right after 355, look to your left (north), and you will see a neighborhood of summer homes. In May 2014, the first two turnoffs (i.e. closest to 355) into that summer home neighborhood had gates. The third did not. Thus after you pass 355, take the third left into the neighborhood. The roads were poorly marked in the neighborhood, but basically follow the road you took in past most of the houses to the back of the neighborhood, there was a very small turnoff to the left with enough room for about two cars to park. The turnoff was not at the end of the road, and it was not marked, but it was at the edge of a grassy area with no houses. There was short foot trail to a creek. At this location on the creek, there was a short foot bridge. My camera recorded the GPS coordinates of this foot bridge as Latitude: 64° 15′ 48.372″ N, Longitude: 20° 30′ 34.308″ W. Cross this bridge and follow the trail to a larger foot bridge that overlooks Bruarfoss whose GPS coordinates are Latitude: 64° 15′ 51.282″ N, Longitude: 20° 30′ 53.322″ W.
Gullfoss
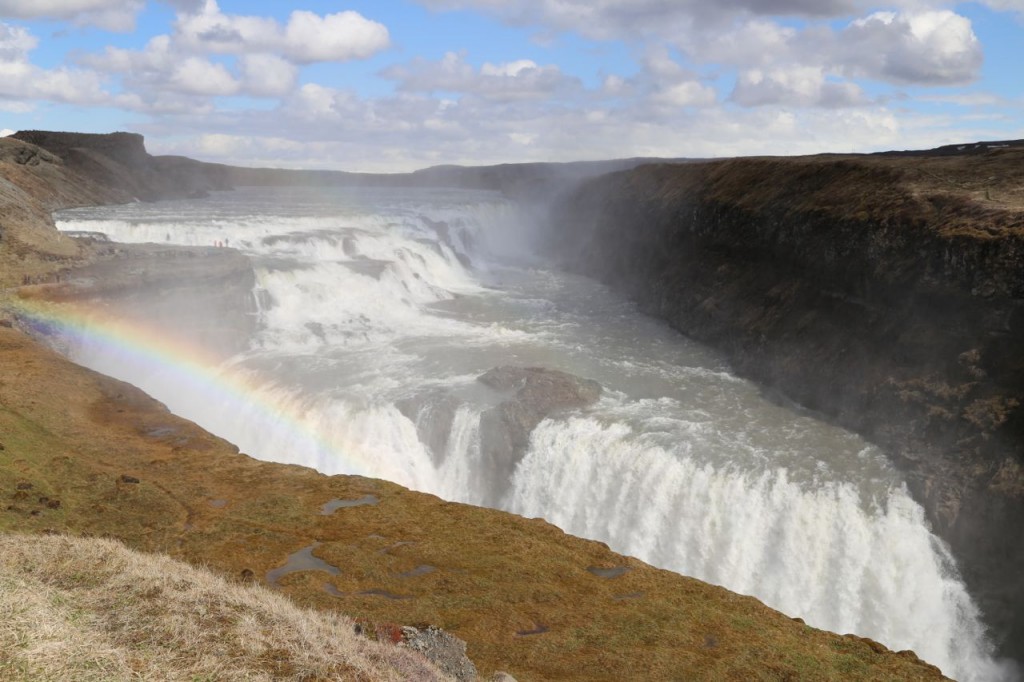
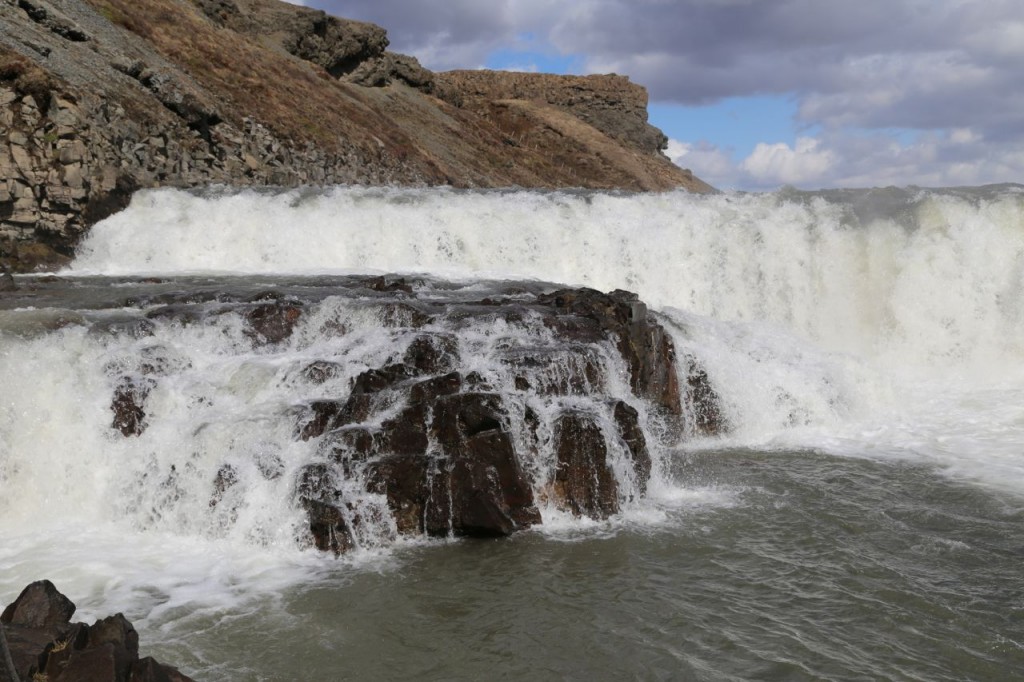
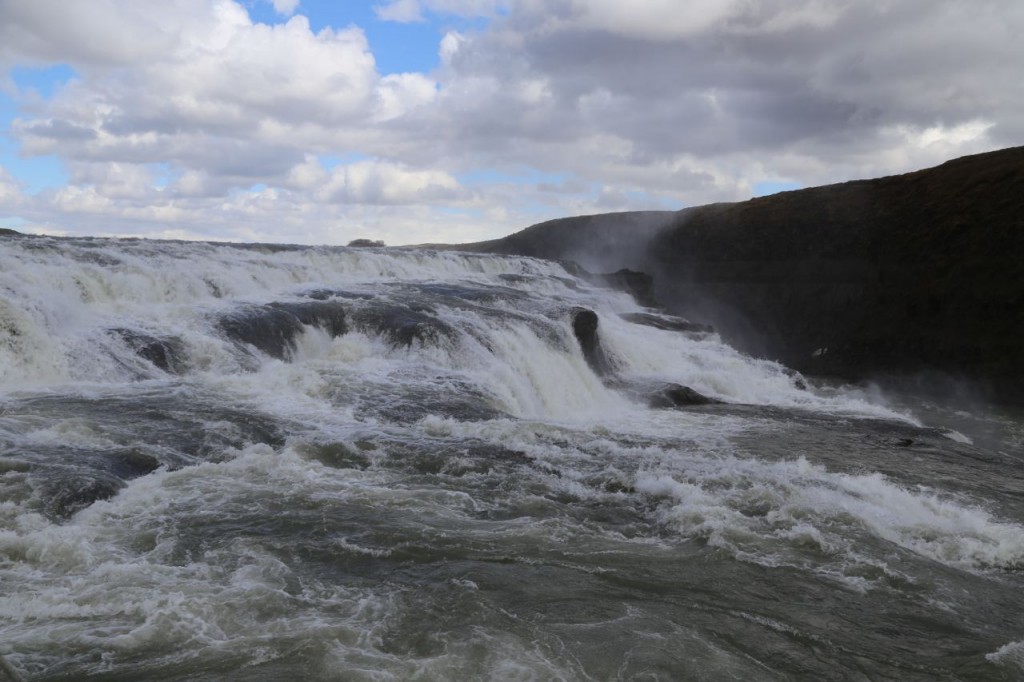
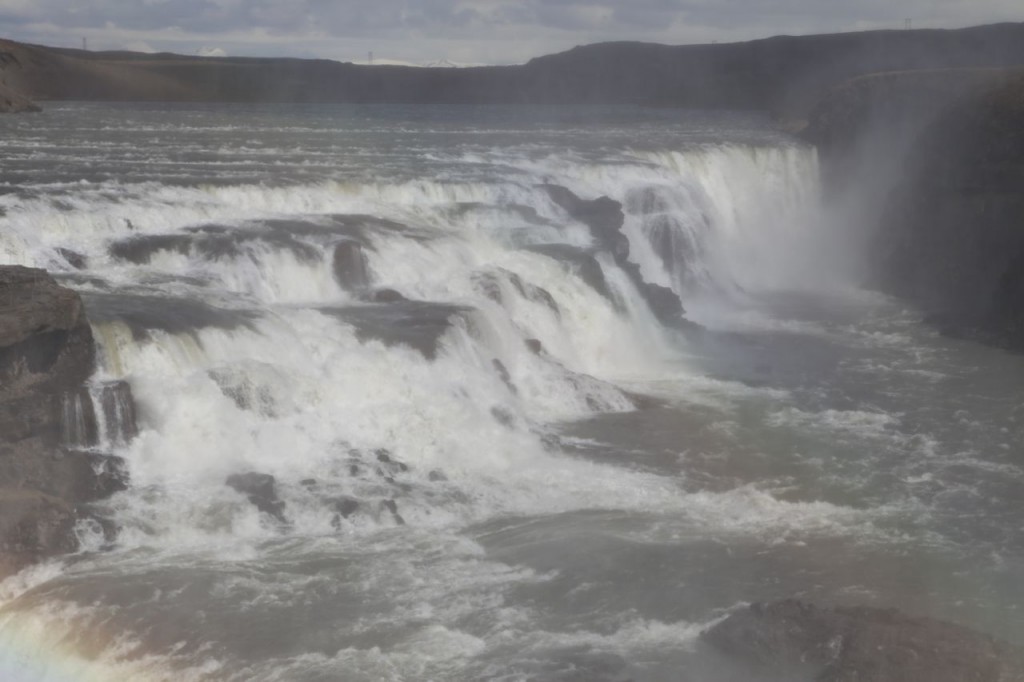
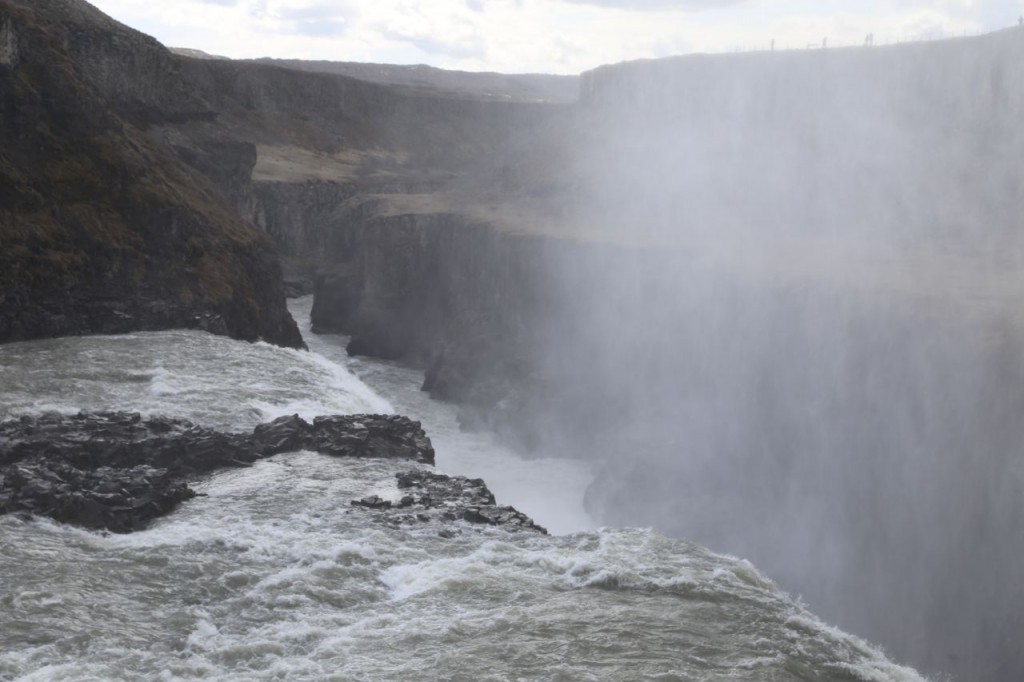
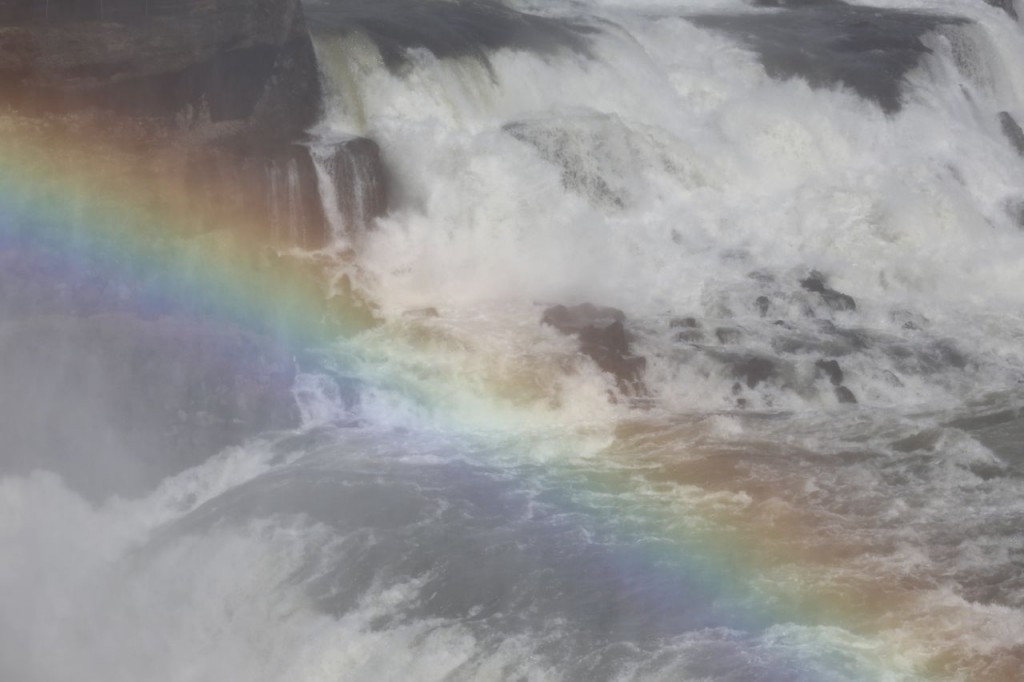
During the Golden Triangle visit, we of course visited Gullfoss. Gullfoss is an absolutely stunning waterfall. It is well worth the visit.
Geysir
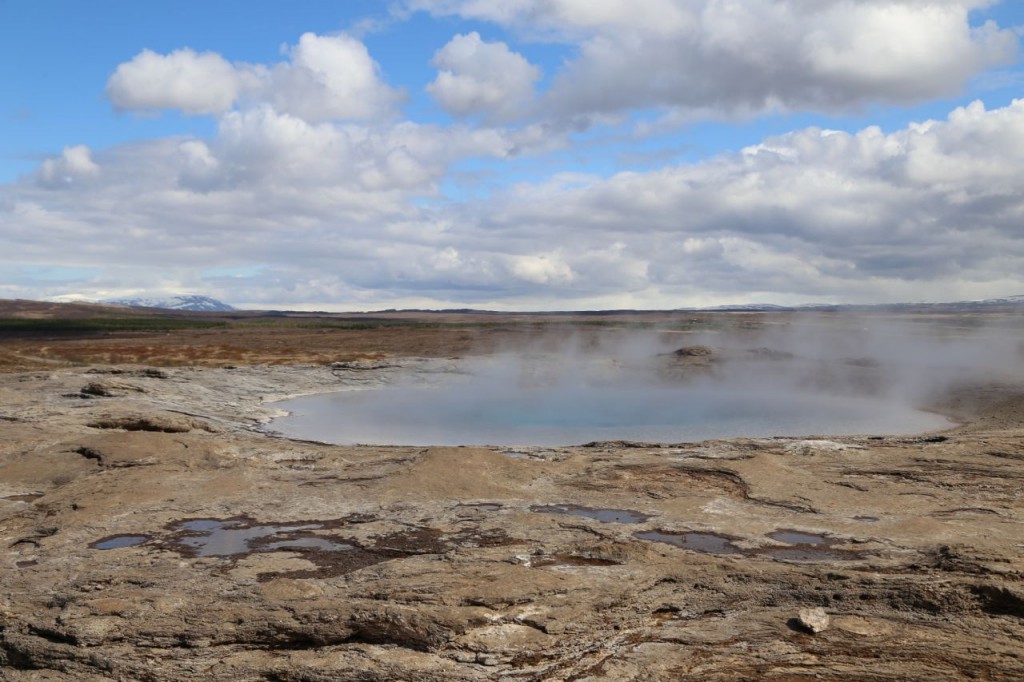
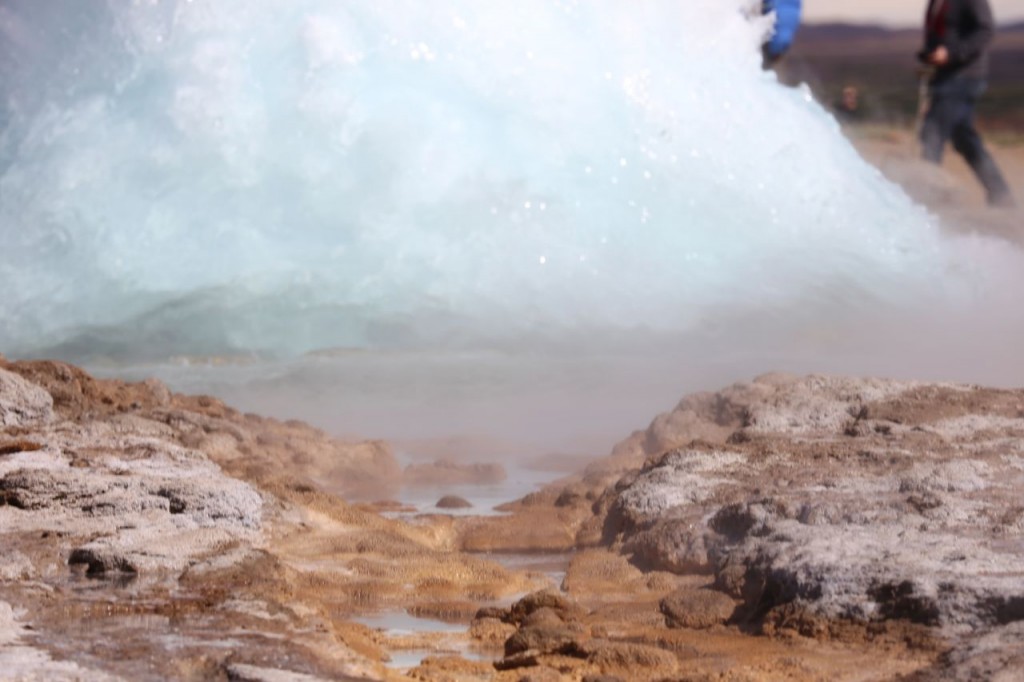
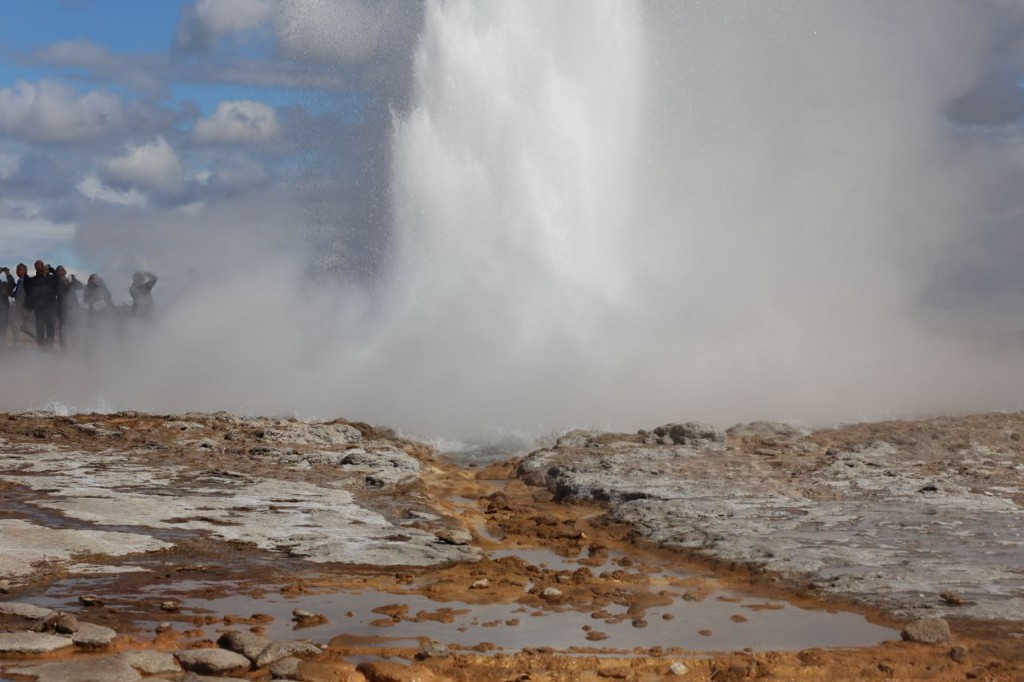
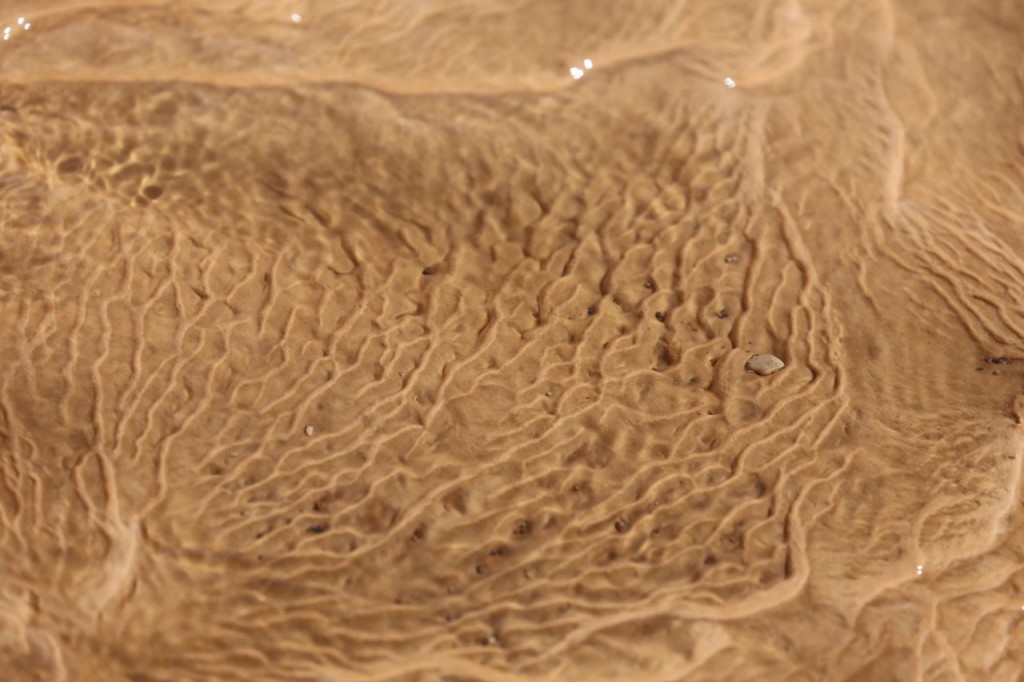
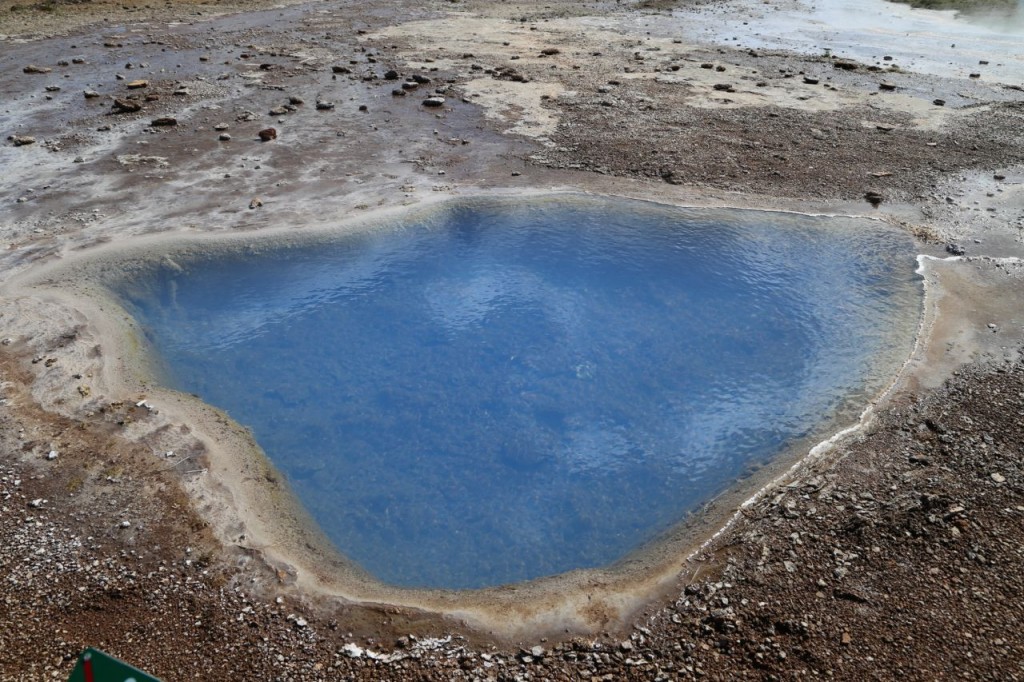
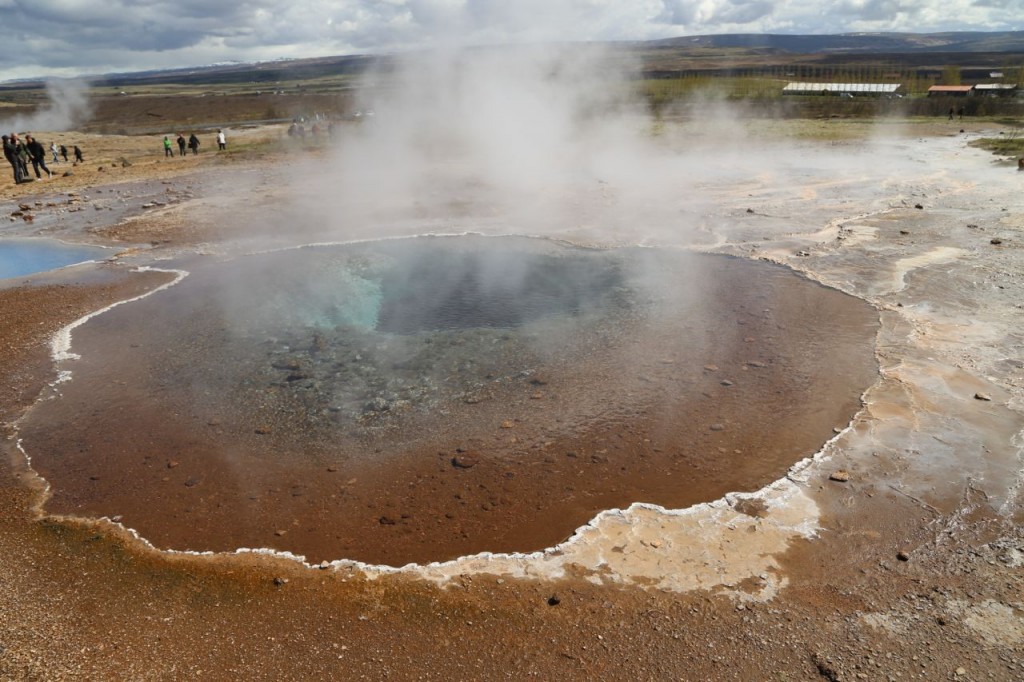
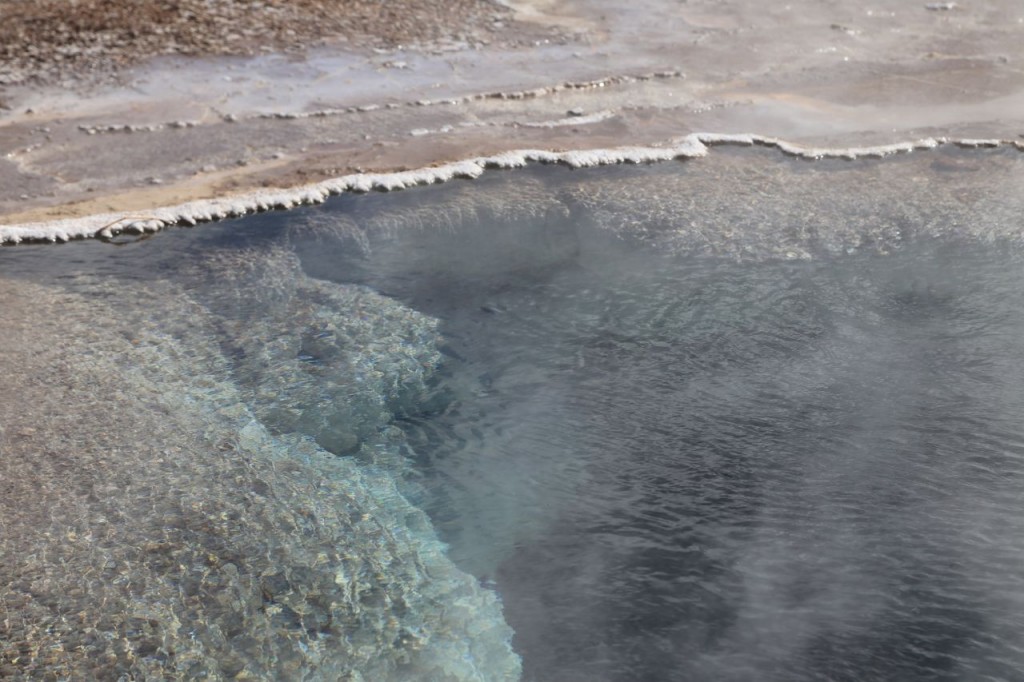
Day 3 in Iceland. We did the Golden Triangle today. I’ve decided to post photos separately because there are just too many. Iceland is just amazing and amazingly beautiful. So first post today are from Geysir. Geysir, the original geyser from which all other geysers are named, actually rarely erupts. However, there are several other geysers and hot spots near it, and Strokkur does erupt quite frequently.
Heimaey, Iceland
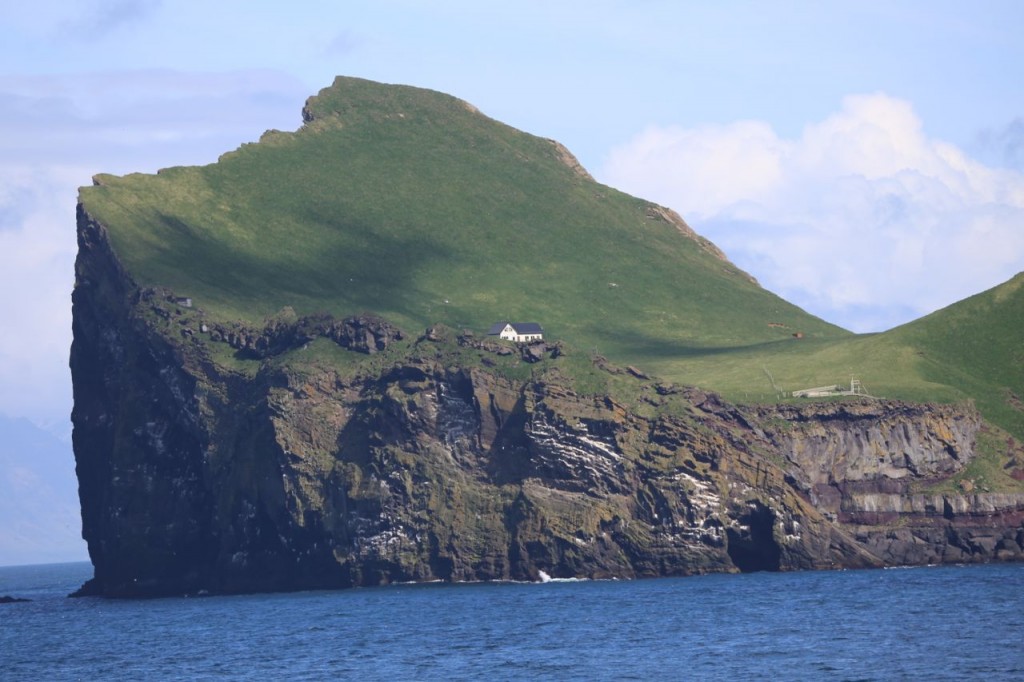
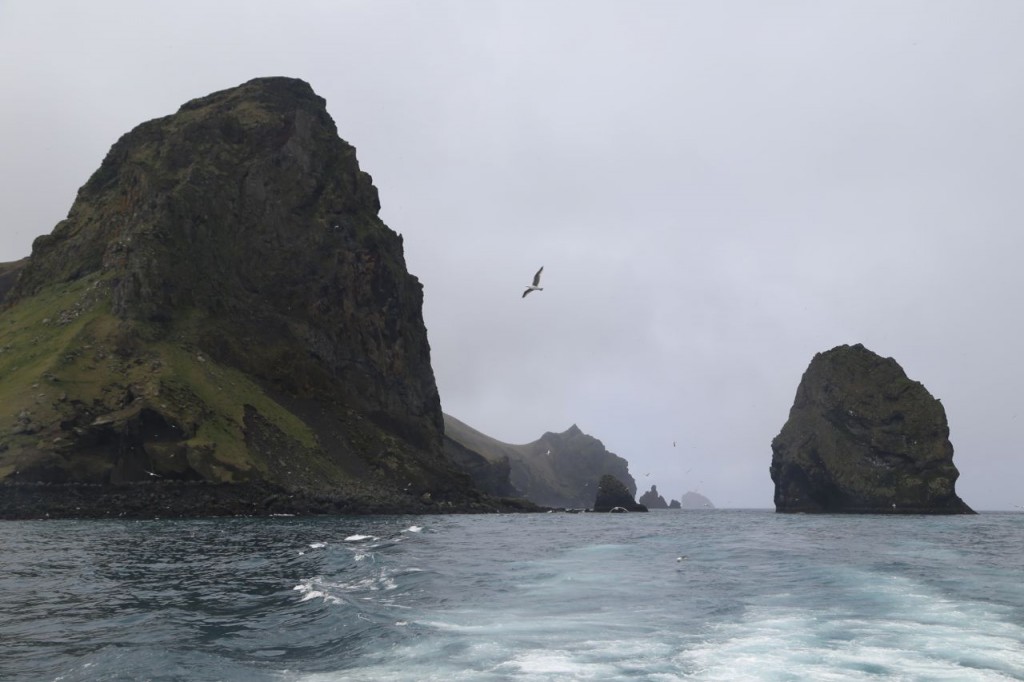
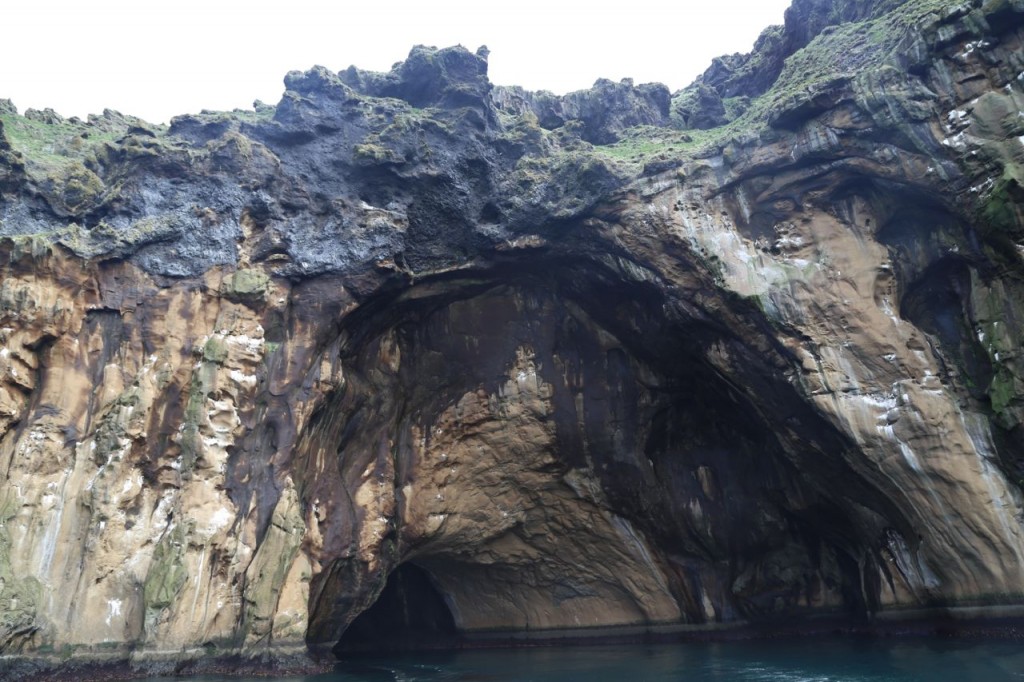
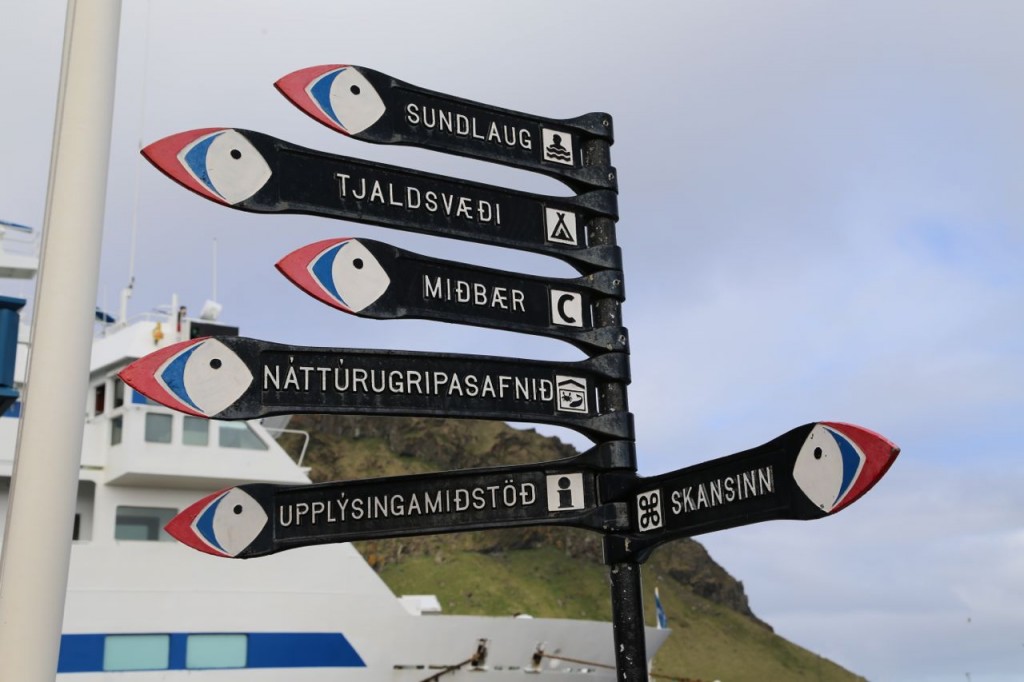
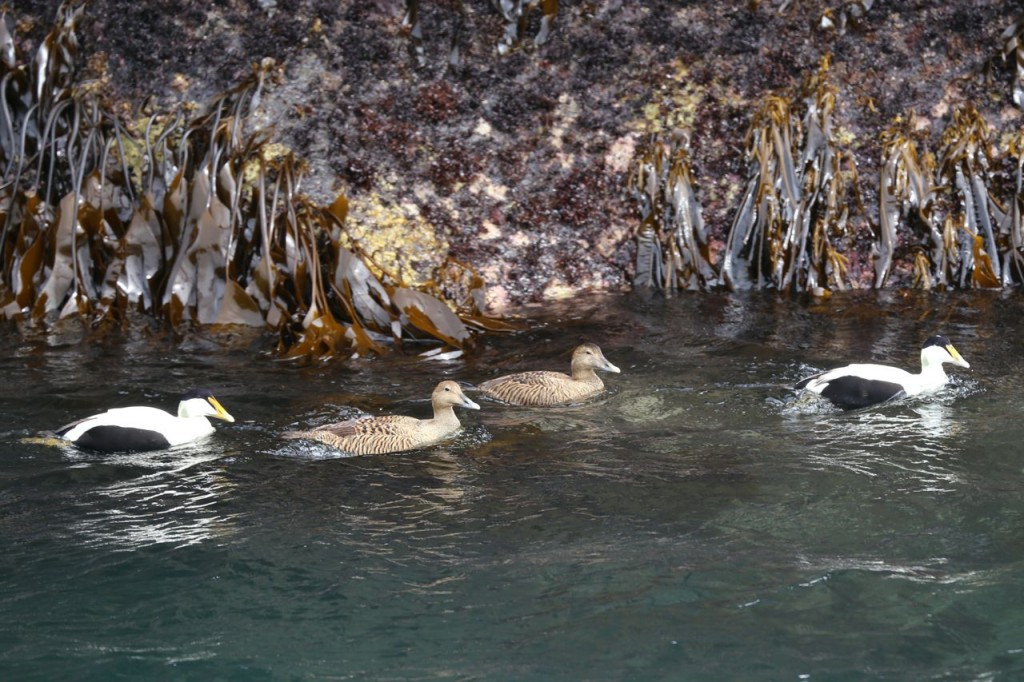
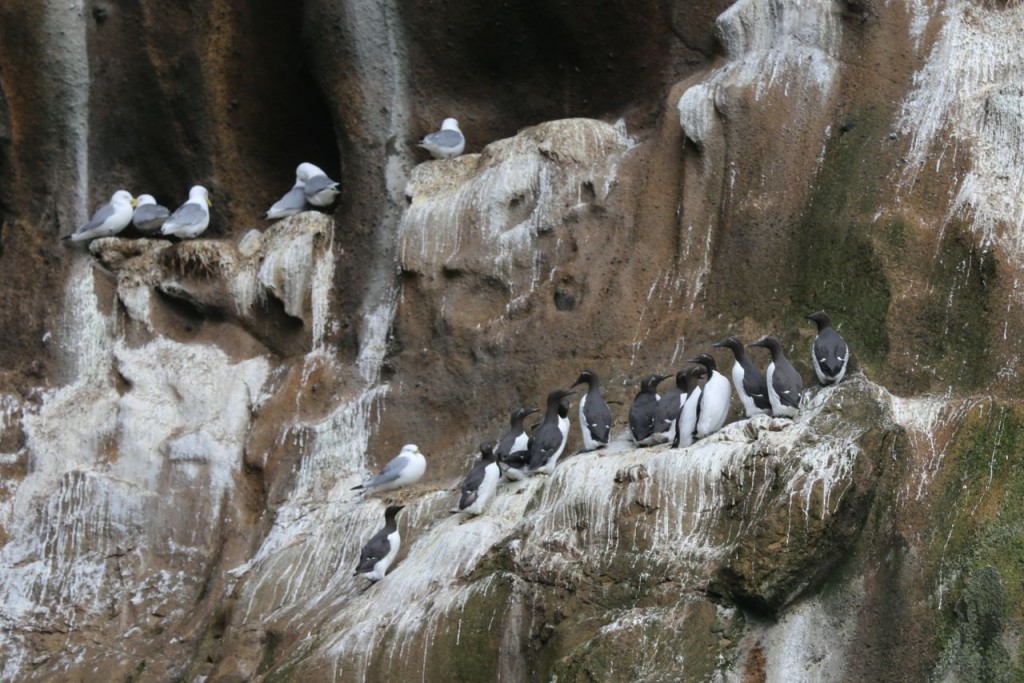
Day 2 in Iceland. We drove to Landeyjaharbour to catch the ferry to Heimaey. Generally tourists, including us, go to Heimaey to try to see puffins. Unfortunately we seemed to have visited the island too early in the season. We took a cruise around the island but didn’t see any puffins. However the island is beautiful, and the terrain is impressive, all of which is a result of the volcanic origin of the island. On the south side of the island, the effects of the 1973 volcanic eruption are evident. I am disappointed not to have seen puffins, but at least we did see gulls, guillemots, and eiders. Also, our cruise featured a trip into a cave where our captain played the saxophone to demonstrate the cave’s acoustical properties.
We walked around the town a little and had lunch a neat little coffee shop called Vinaminni Kaffihus, which is next to Arnor Bakari, and now I feel like I am gaining the ability to read Icelandic. On the ferry back, we were accompanied by I think almost the entire town. They were going to support the town’s school’s handball team which was evidently playing in the national championships or something like that. The entire ferry was decked out in support of the team, and there were eight buses waiting for the them on the mainland. We briefly discussed that since the entire town seemed to have left the island, that we could invade and take possession of the island like modern day pirates. However, we had no idea what to do with the island, and Icelanders are so nice, we didn’t want to do that to them. We decided just to go to Reykavik for dinner instead.
Blue Lagoon
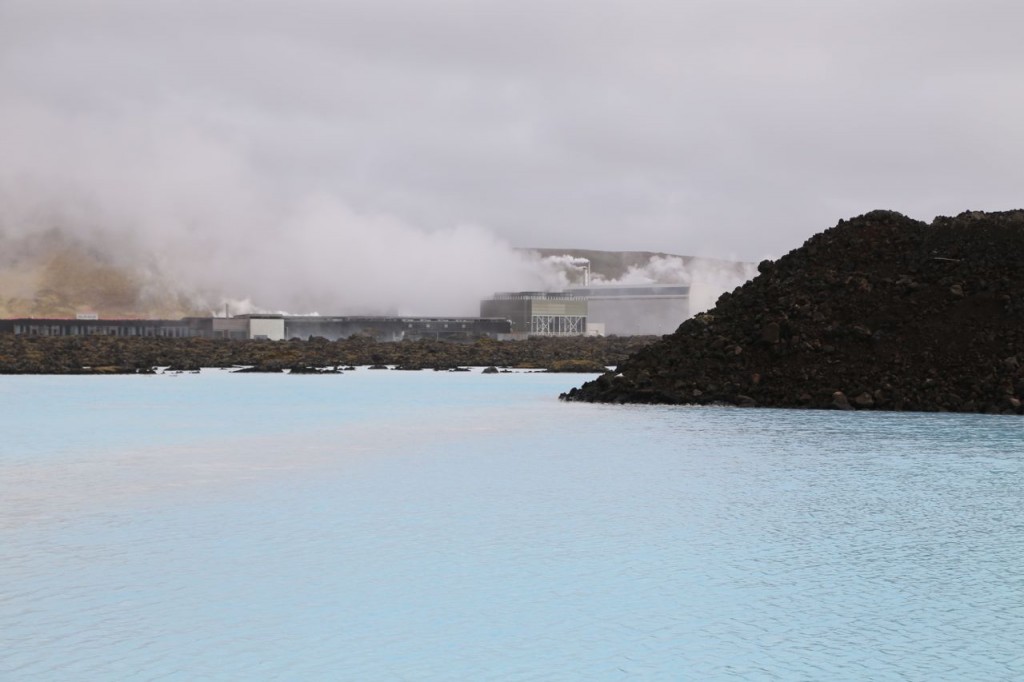
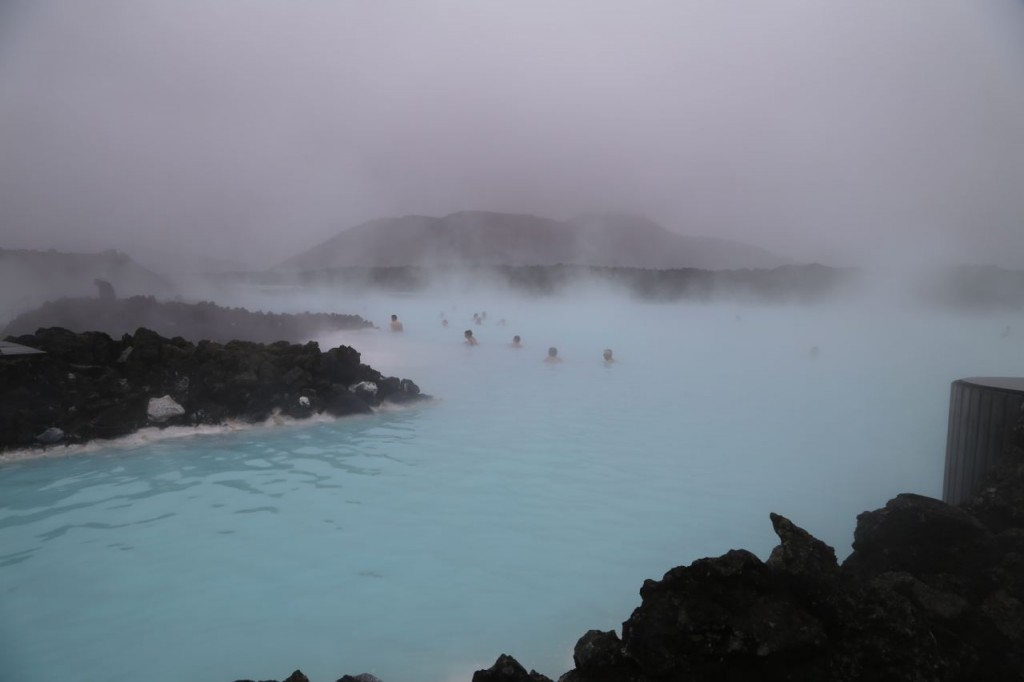
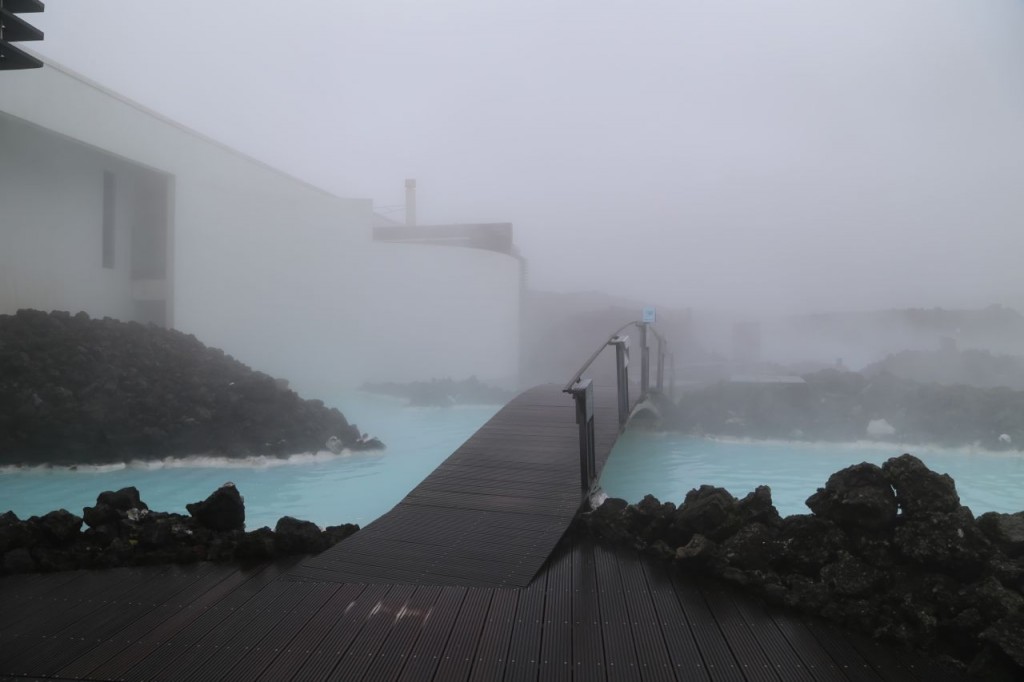
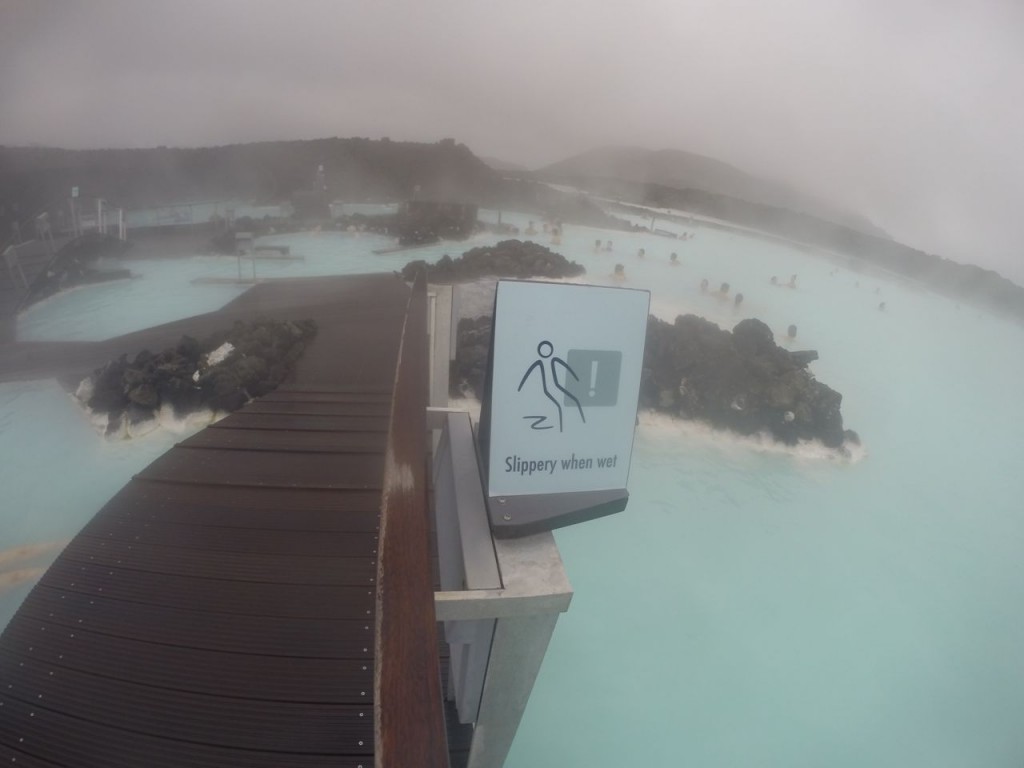
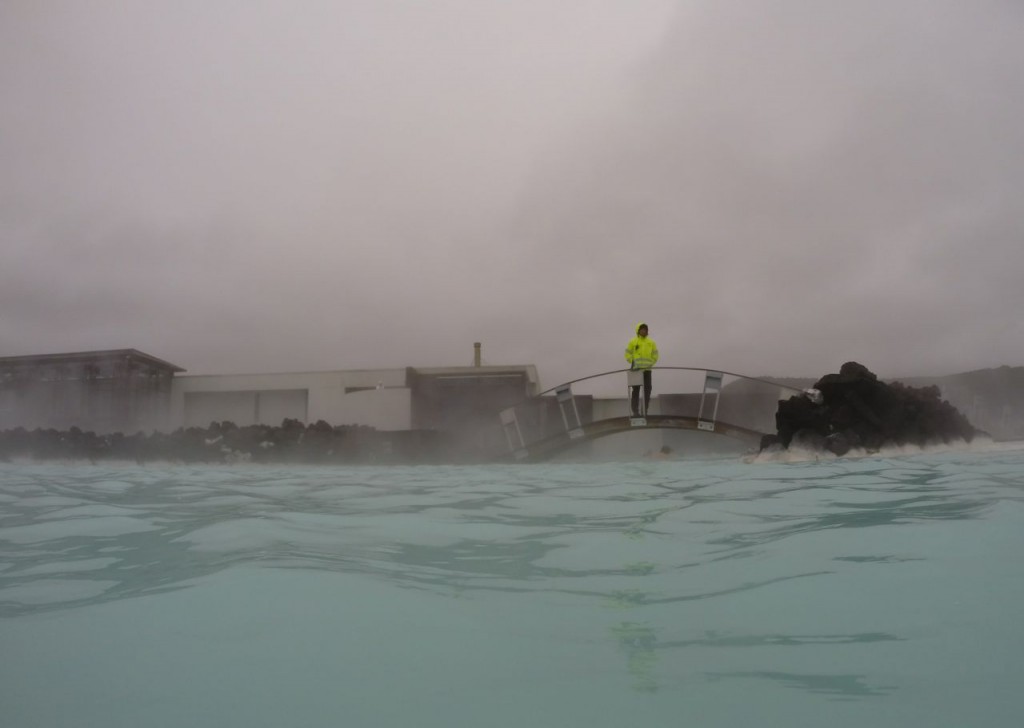
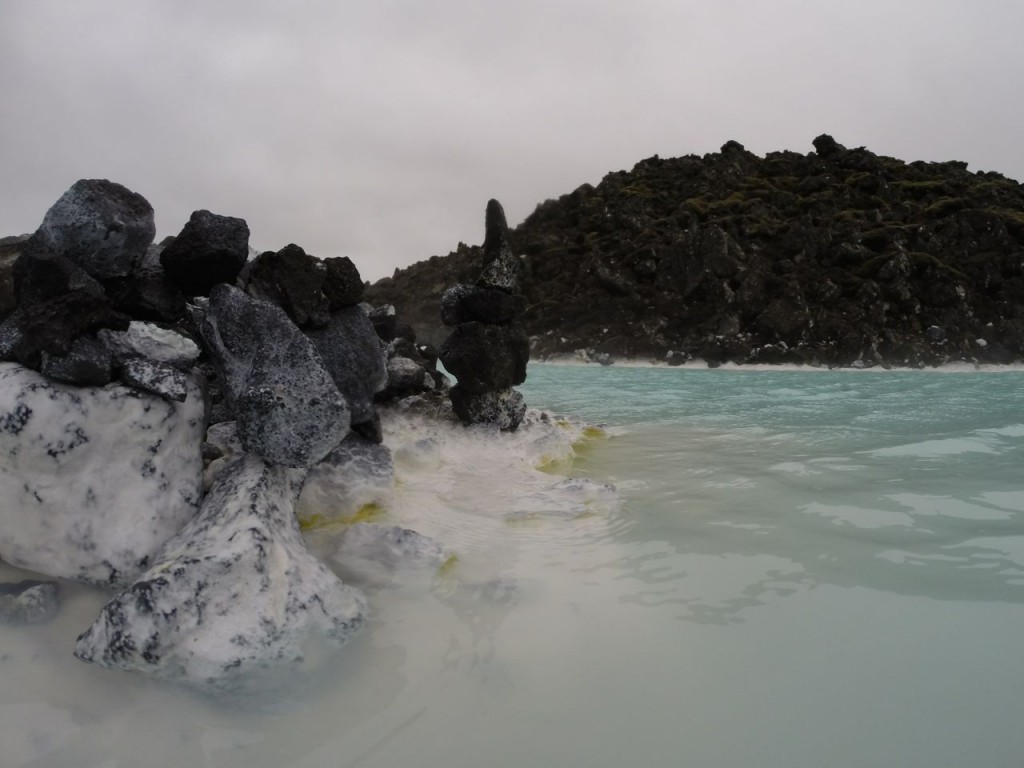
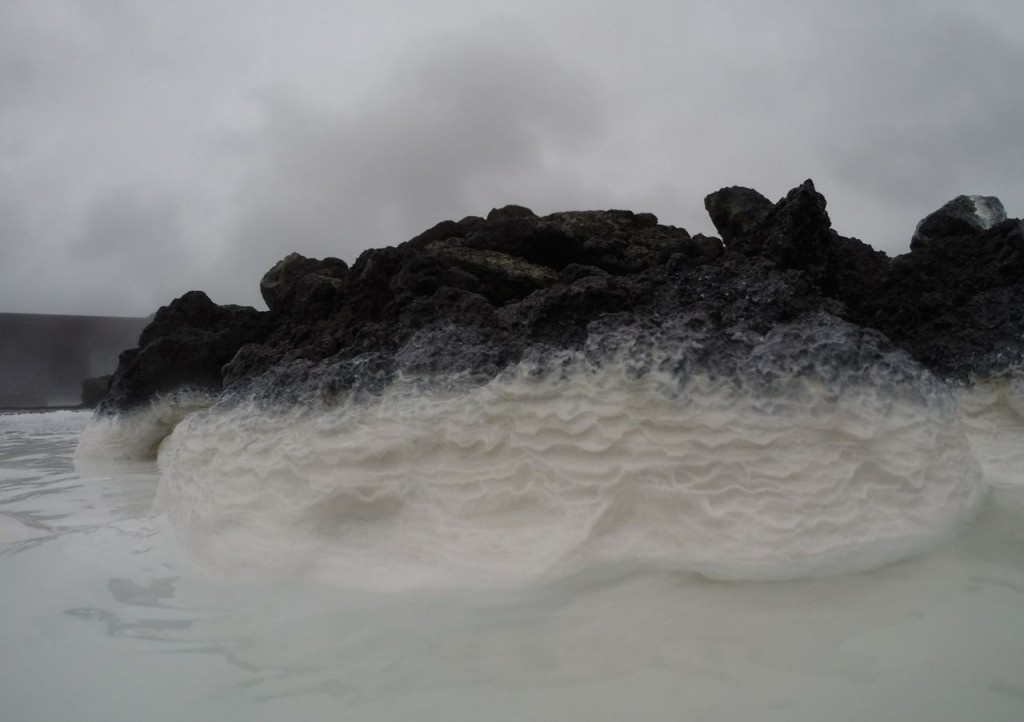
Day 1 in Iceland. I think I got about 20 minutes sleep on the plane. We drove to the western edge of the Reykjanes Peninsula to see the lighthouses in Garður. Then it was on to Iceland’s most visited tourist attraction the Blue Lagoon. Some genius turned what was a pool formed by wastewater from a geothermal power plant into a rather expensive, somewhat posh hot pot to which all tourists flock. It is really cool though. The water color is this gorgeous, cloudy sky blue. Also, they give excellent massages while you lay on a float in the lagoon. When you’ve been on a plane for six hours with no sleep, walking around a wonderfully heated pool and then getting a massage is quite frankly, a great cure for your exhaustion. Walking around the lagoon is great exfoliation for your feet, and they have buckets of silica from the lagoon to rub on your face for a facial. From a geology standpoint, the pool is really neat because you can walk through micro heat spots, not to mention to entire heated by geothermal heat thing. In some areas the pool is warm and in some areas, the pool is hot. The lagoon was also a great place for me to play with my new GoPro camera, which can be used underwater.
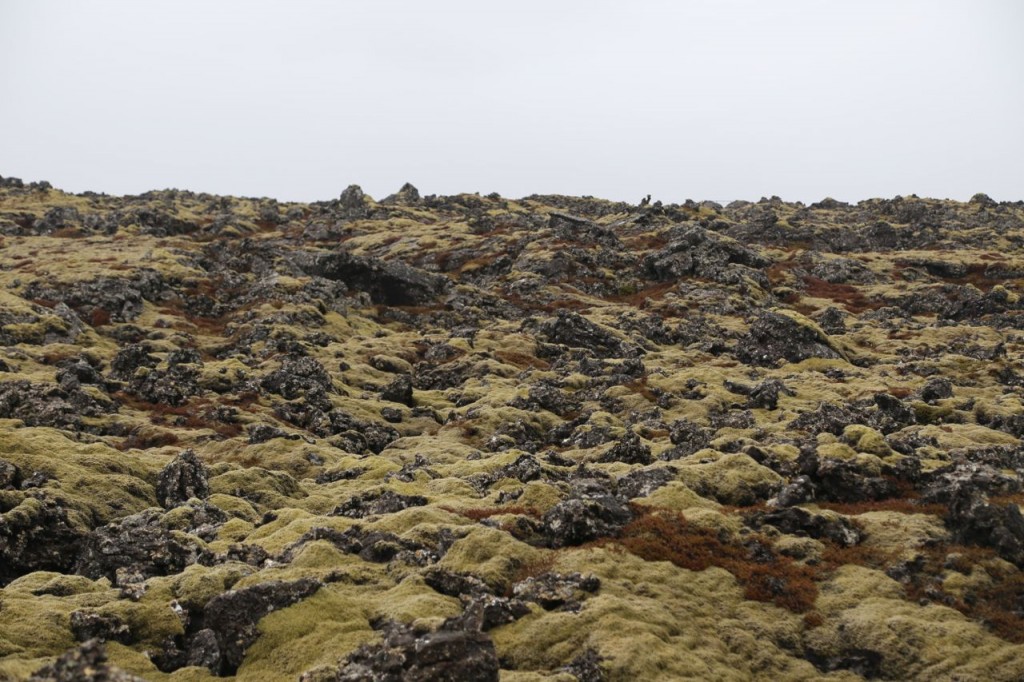
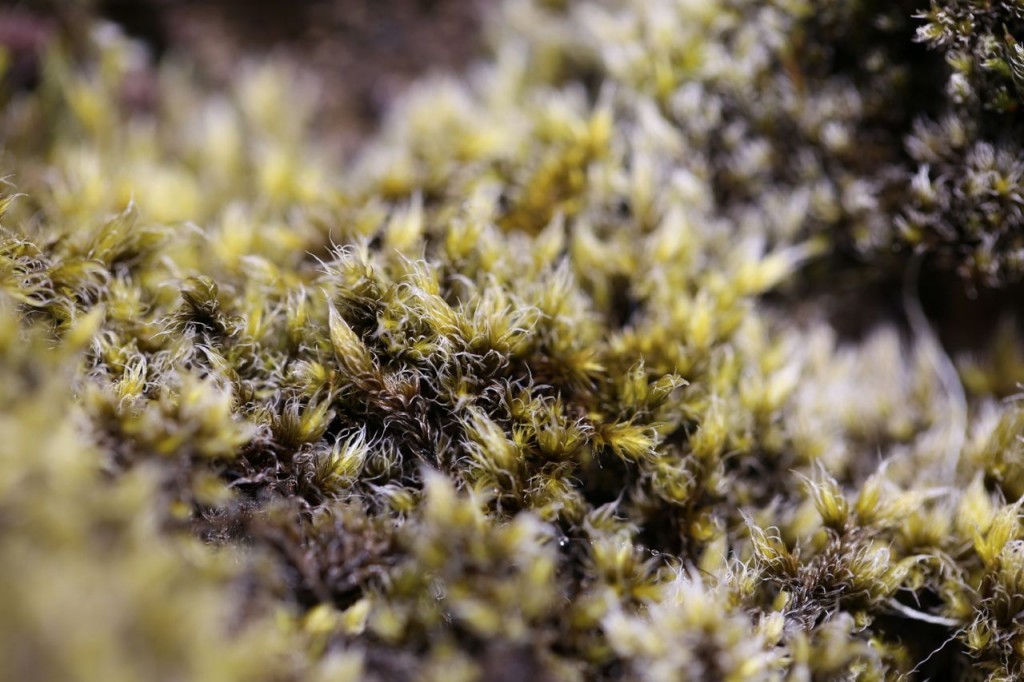
The area around the lagoon is bizarrely pretty. It is dark craggily, sharp volcanic rock that is covered with this lush, soft in appearance, green plant. I am guess the green is actually lichen or a moss, but I need someone to educate me on what it actually it.
Master Bathroom Floor Tiled
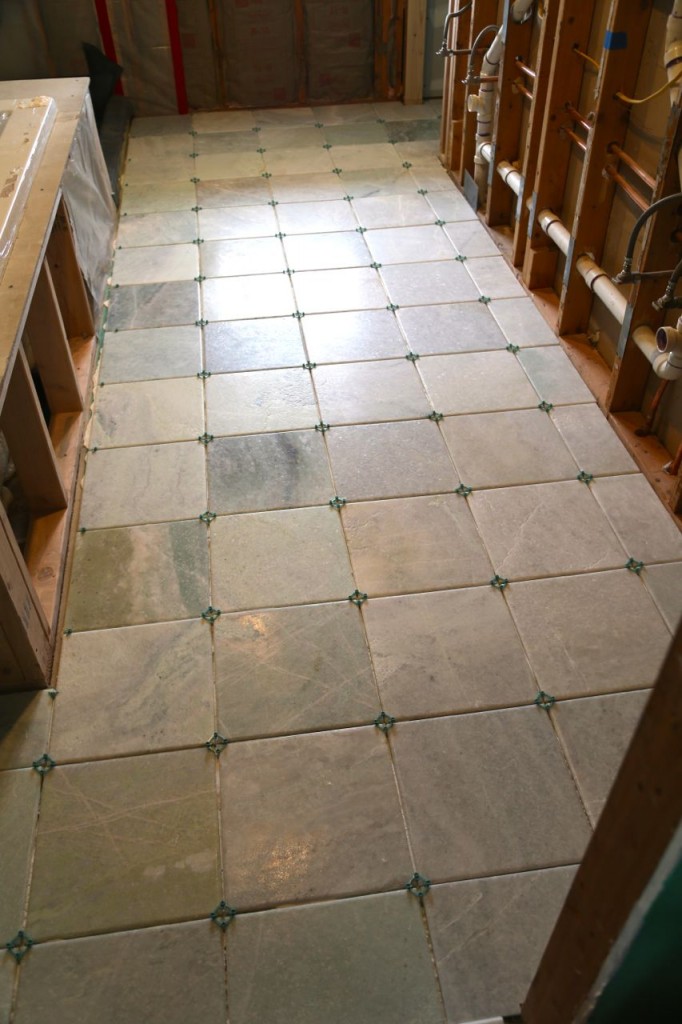
I spent the weekend tiling the master bathroom. I got off to a late start Saturday, partially due to wet saw odyssey. However, Saturday, I got all the tiled laid out and cut the majority of tile that needed to be cut. I have never used a wet saw before, so I decided to cut the tile beforehand because I wasn’t sure how it would go. I was particularly concerned about cutting the tile near the toilet supply pipe and drain pipe. Then Sunday, I cut the rest of the tile and then did the actual mortaring the tile into place. I didn’t finish until early Sunday evening. I learned quite a few things during this experience.
- Arranging and cutting the tile beforehand was a good decision. By arranging everything in advance, I was then able to make the measurements to cut the tile properly. Cutting the tile beforehand saved me critical time in laying the tile before the mortar set.
- Laying tile on top of radiant heating mats makes the task that much more difficult. It is not incredibly difficult, but a plastic trowel is essential, so the trowel doesn’t cut through the wire. A thicker layer of mortar is necessary, and getting the correct thickness is tricky. Also, it makes leveling the tile more difficult, especially when some of the tile overlays the radiant heat, but some does not.
- In my opinion, laying tile on the floor is more difficult than on the wall because you have to keep moving your location. Also it is horrible on the knees, back, and lower legs.
- As long as I worked by continuously moving back towards the door, one row at a time, I was able to keep the tile evenly spaced and in line. I started at the back of the water closet, and then worked backwards into the main bathroom. At the end I encountered an issue because after I got to the end of the tub, I needed to start at the end of the aisle that leads to the wall cabinet that will sit next to the tub. Because I kept removing two rows at a time to keep a continuous layer of mortar, I had trouble keeping these tile exactly in line with the tiles down the main aisle. There was a small discrepancy where the two areas met where the grout line will be slightly thicker than the rest of the grout lines. Hopefully no one will notice but me. Problem was the mortar had already set at the back of that small area, so I couldn’t move the tile to make it fit. In hindsight, I should have marked the wall or something, so I would have known exactly where to lay the tile in that small area.
- When the mortar directions say it has a 20-30 minute working time, it really does. You don’t get more.
- Since I laid the tile out in advance, I then had to walk across many of them while working. At least three broke while I worked. The tile is 12 x12 inch marble tile, and many have a lot of veining. Those that broke, broke on veins. While they are clearly fragile, I do not know if it they would have broken after having been set on mortar and allowed to set. Thus, was their breaking before laid, a good or bad thing?
- As stated, I am using marble tile. The tile is green, gray, and white. One of the reasons, I laid the tile in advance was so that I could lay the prettiest and greenest tile in the highest visibility areas. This was a good decision.
- Keep a small, preferably disposable, bowl with some water and a rag near you to clean up potential excess mortar that comes up between tiles when pressing down a tile to level it.
- I need a new or better, or probably both, power drill. I bought a mixer attachment for my power drill to mix the mortar. When I tried to use it, it didn’t work all that well, and the drill started smoking a little. I ended up using the trowel to do most of the mixing, especially to get the powder out of the bottom corner.
- I am not as young as I used to be, and my knees, back, and lower legs are rather upset with me at the moment.
- Ferdinand the basset hound is rather underfoot. Okay, I knew that beforehand, but he really confirmed it today.
- Ferdinand can sleep within 15 feet of an operating wet saw. No, he is not deaf as he can hear a plastic bag holding sandwich bread being opened across the house. [I always give him a piece of the bread loaf ends.]
About Those Rail Ties, WMATA
Dear WMATA,
I saw your new ad while I walking into the Metro the other day. That is, the new ad where you tell your riders that your installing new rail ties to give us a more comfortable rise. Considering the purpose that rail ties serve, I am hopeful this type of maintenance will also give us customers a safer ride, but I’m not going to quibble on that. First, I would like to thank you for at least not insulting your customers, making an incredibly sexist stereotype, or presenting a vague statistic with absolutely no context that really conveys nothing in this ad, like you did in a certain ad from this new series of ads. I would also like to commend you on doing actual maintenance on your rail system. As an engineer, I am more aware than many of how important and needed regular maintenance is, and from what I have heard in the news, you weren’t actually aware of this fact until several years ago.
However, I do have a question for you about these new rail ties that you admit that we, the customers, might not notice. Exactly how would you like to your customers to notice these fantastic new rail ties? I mean this in all seriousness. After I saw this poster, I made a point of looking at the rail ties while I was standing on the platform waiting for my train. Both my originating and destination stations on this particular day were underground, and what I noticed is that there were no rail ties underneath the track in front of the platform. The rails were held in place by metal bracing of some sort that was attached directly to the concrete beneath the tracks and did not tie the two tracks together. As my name Geeky Girl Engineer might suggest, I am in fact a geeky engineer, and thus I became intrigued by this metal bracing holding the tracks at the platform. Thus far my internet searches have not led me to information as to what these braces are called, but since the braces only hold one track, they don’t seem to actually be rail ties. However, I could be wrong, and if you would like to educate me on what they are called, I would be happy to learn about it (in all seriousness).
The other thing I noticed about the track in the station, is that it is really hard to notice the rail ties or braces. To begin with, the station is dark. Second, the area where the track is, is mainly different shades of black as it’s rather dirty. I wouldn’t expect it to be clean, but the darkness makes it difficult to see any level of detail. Also, the platform tile closest to the edge is rather textured, and this makes it uncomfortable to stand there for very long to examine the tracks. I realize the textured tile is a safety design to make people realize how close to the edge they are and to keep people from standing there while waiting for the train and thus potentially falling onto the track. I think this is a good safety, and I am certainly not arguing against it. I am just pointing out that between the textured tile and simply not wanting to get too close to the edge, conditions are not really conducive to a person examining or admiring your new rail ties.
As for the rail ties that are under track between stations, well, those are kind of hard to see also. The Metro, as you are of course aware, is underground a significant portion of the time. There is no way to view rail ties at all while the train is underground. There is no way to view anything outside the train while the train is in motion underground. Quite frankly, you should be aware of this. I also looked at the track while the train was in motion above ground. I was able to view the track and see that there are wood ties holding the track in place, but that honestly was about it. Again, the train was in motion making it difficult to really examine details of the ties. I couldn’t say whether the ties I viewed were new or old. I’m not actually sure how I would be able to tell the difference. I’m fairly sure that old ties would be dirtier and probably darker than new ties, but I am not sure to what degree. Presumably if I saw an old and a new one side by side, I could tell the difference, but except for that case, I am not sure how I would. Thus, it would be nice if your ad touting your new rail ties would have educated me on how to tell the difference.
Again, I commend you for your maintenance work. I thank you for not insulting me or stereotyping me. However, I think you might want to rethink your ad. For safety reasons, I think it would be best if you did not encourage your customers to examine your rail ties.
Your observant and educated customer,
Geeky Girl Engineer
Amtrak Viewliner Roomette
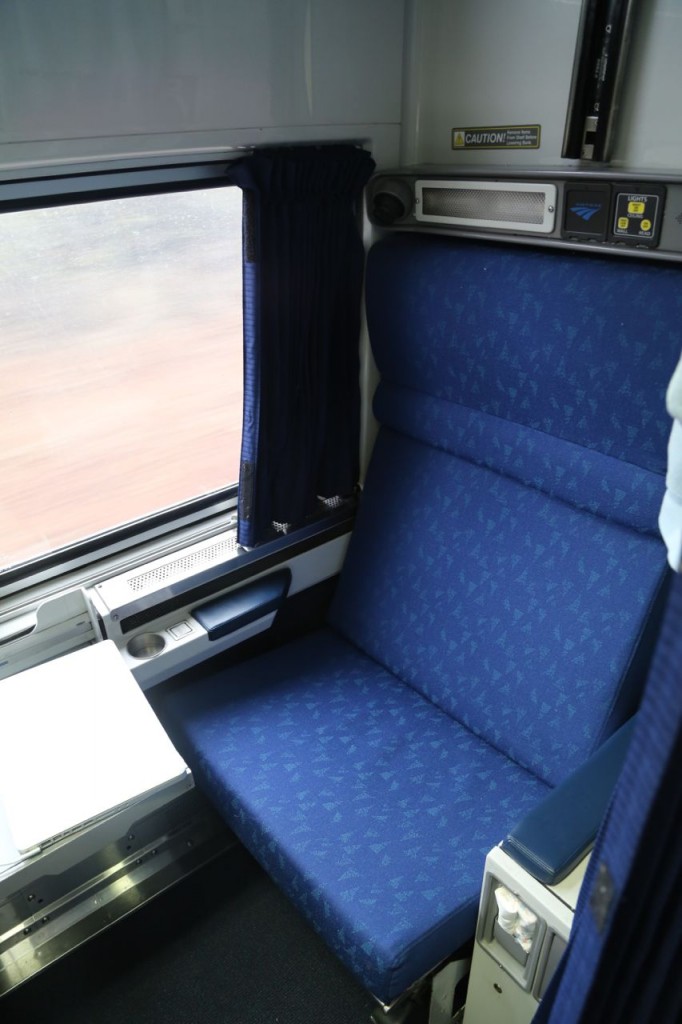
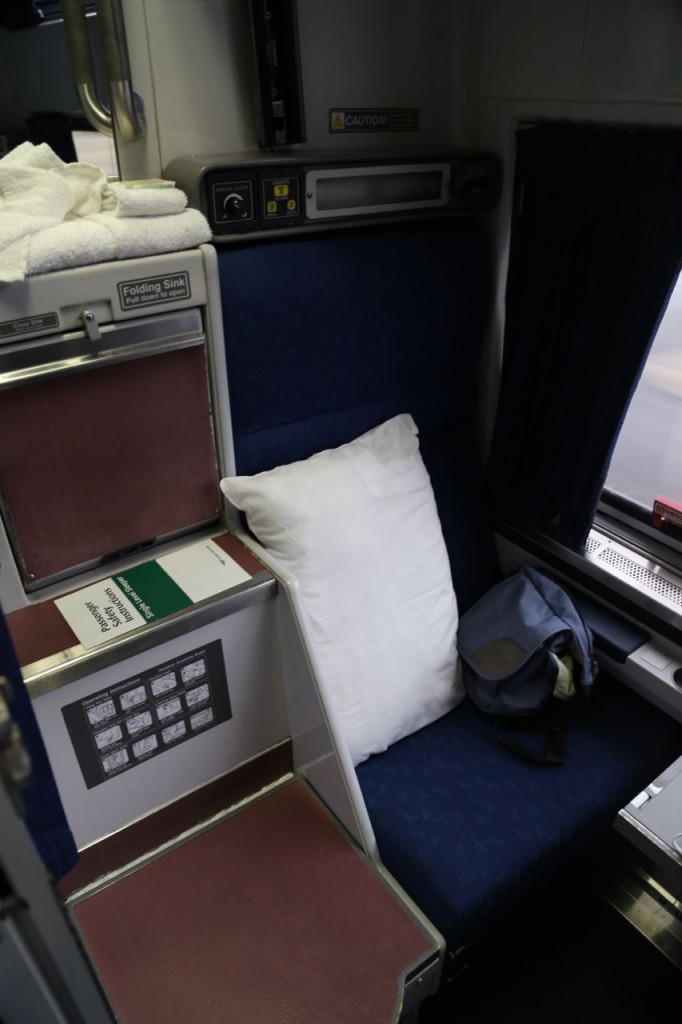
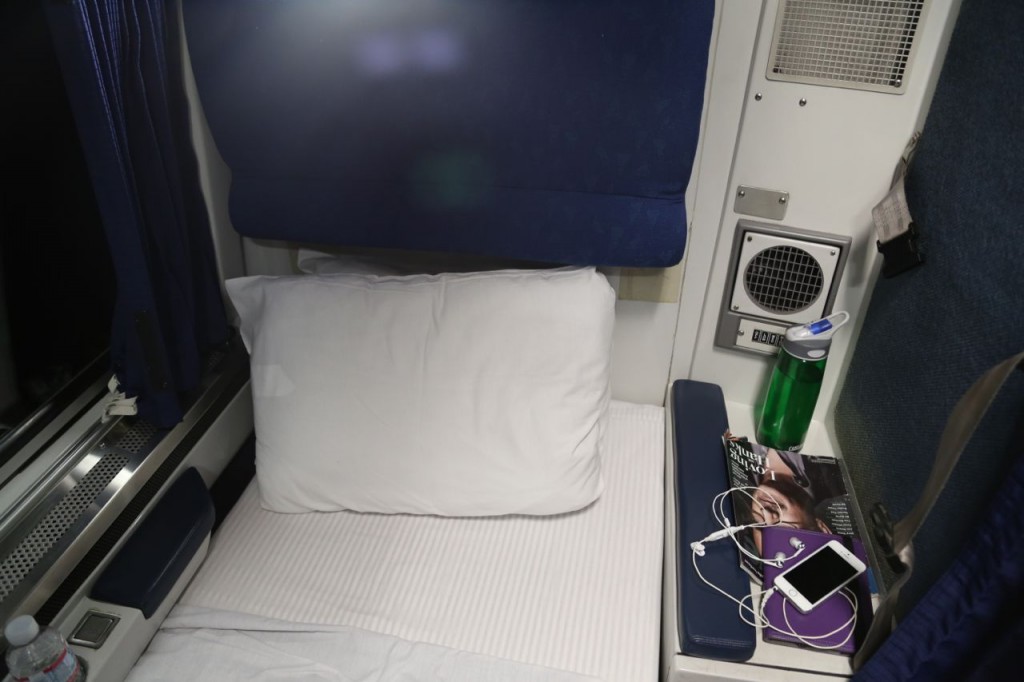
This past Christmas I took Amtrak to visit my family in Houston. I took the Crescent down to New Orleans, then after a short stay in New Orleans, I went on the Sunset Limited to Houston. Since the trip between DC and New Orleans is about 25 hours, I decided to get a room instead of just a coach seat. Yes, it is a long trip, but I love train rides. It gives me a chance to sit and read and just watch the world go by.
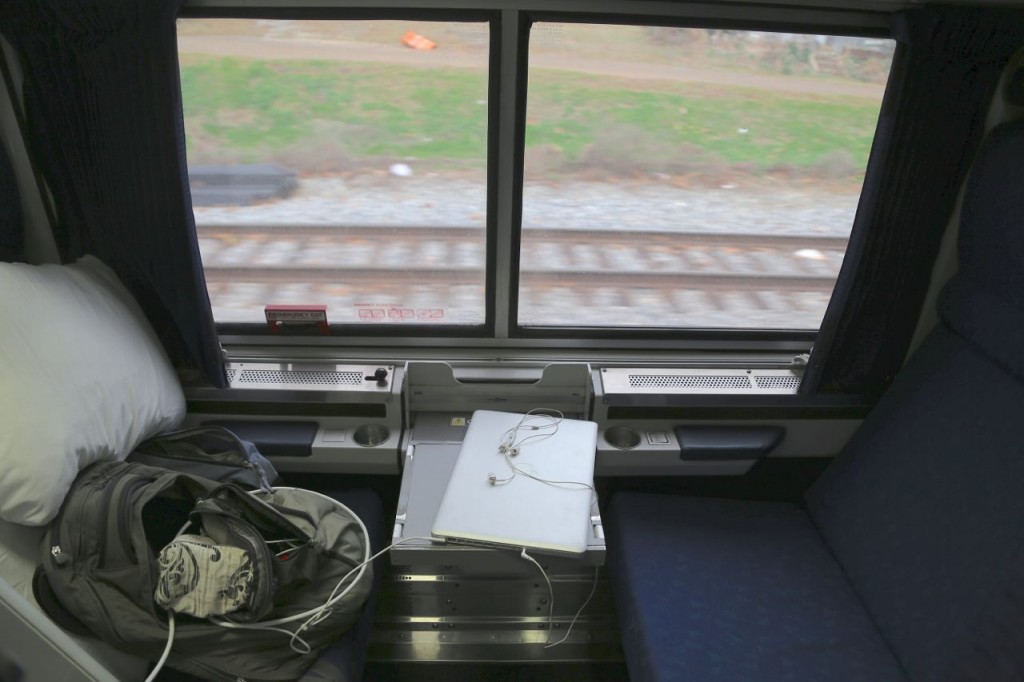
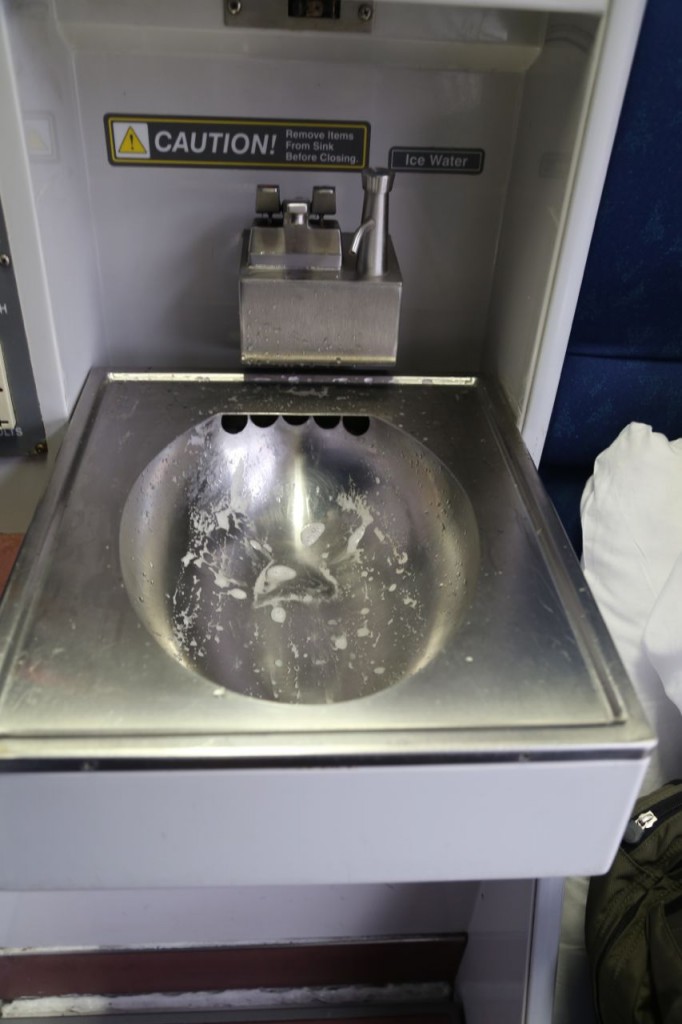
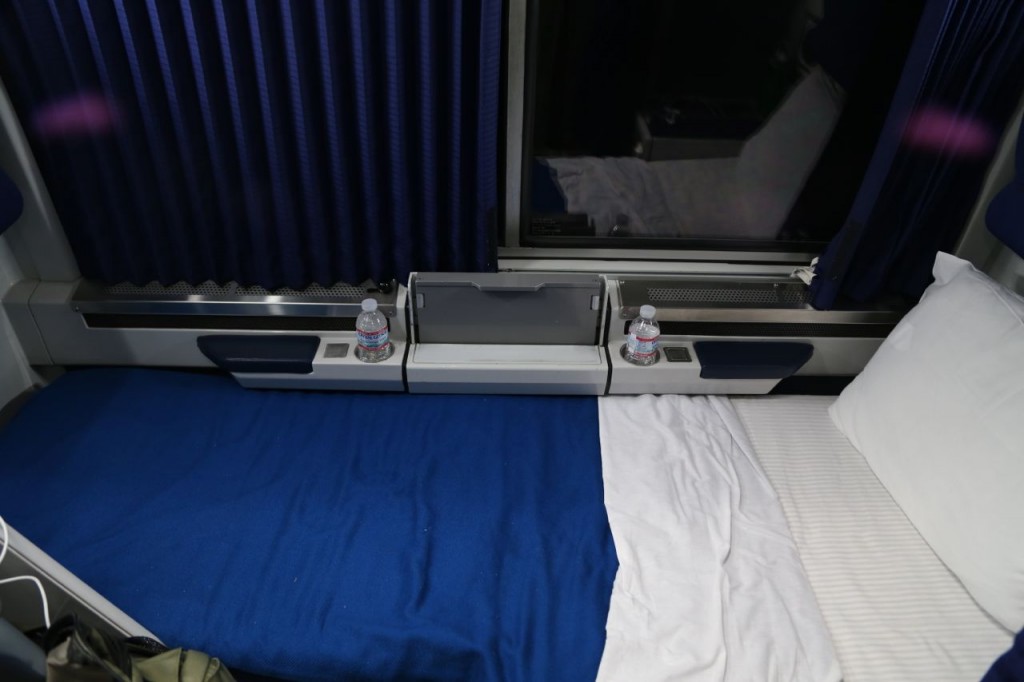
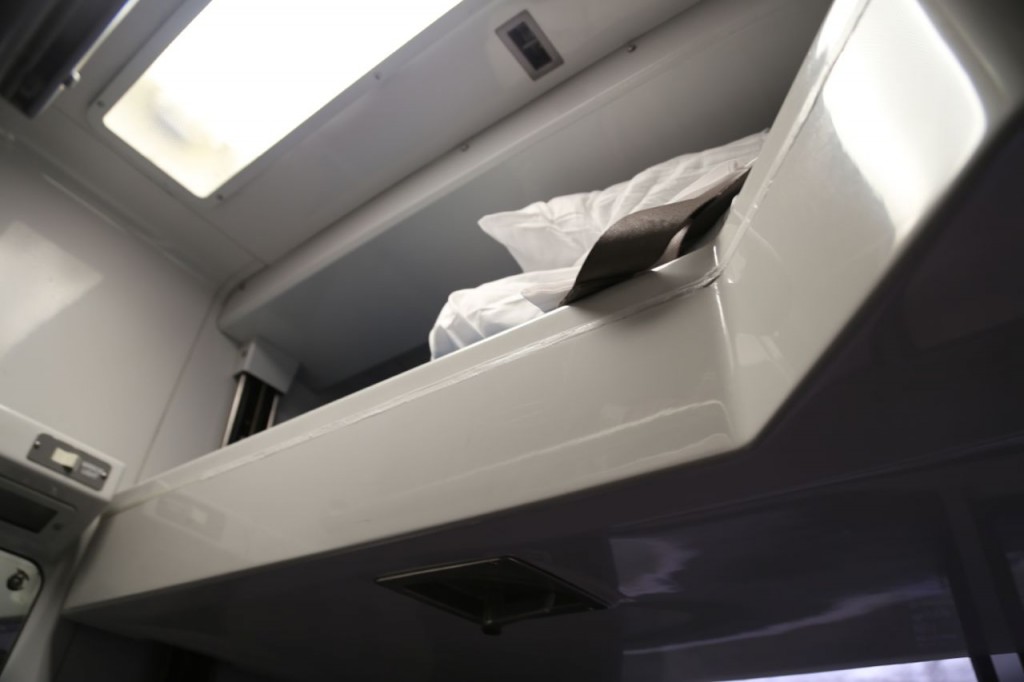
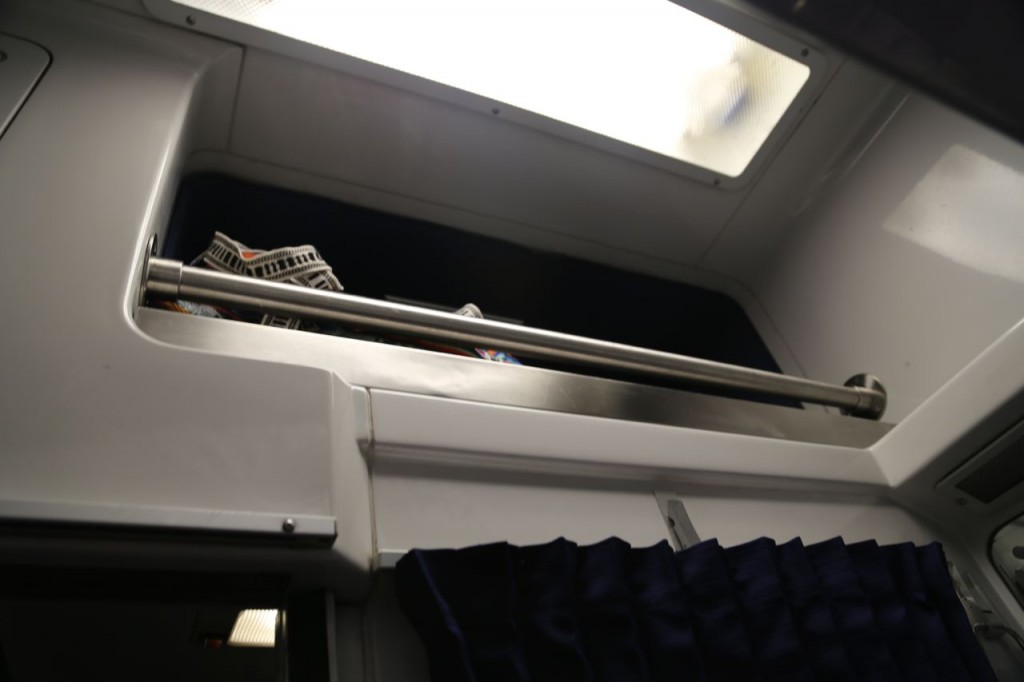
The train rooms are, in my humble opinion, marvelously designed. The designers managed to fit a whole lot of features in a tiny little space. The features also have to be designed for the constant movement on the train. During the day, the room as two comfortable seats with a fold-down table. At night, it can be transformed to give two comfortable beds. The room also has a toilet, sink, and small storage area. The room is tight, but it has almost everything you need, and there is a shower down the hall.
Painted Redstart
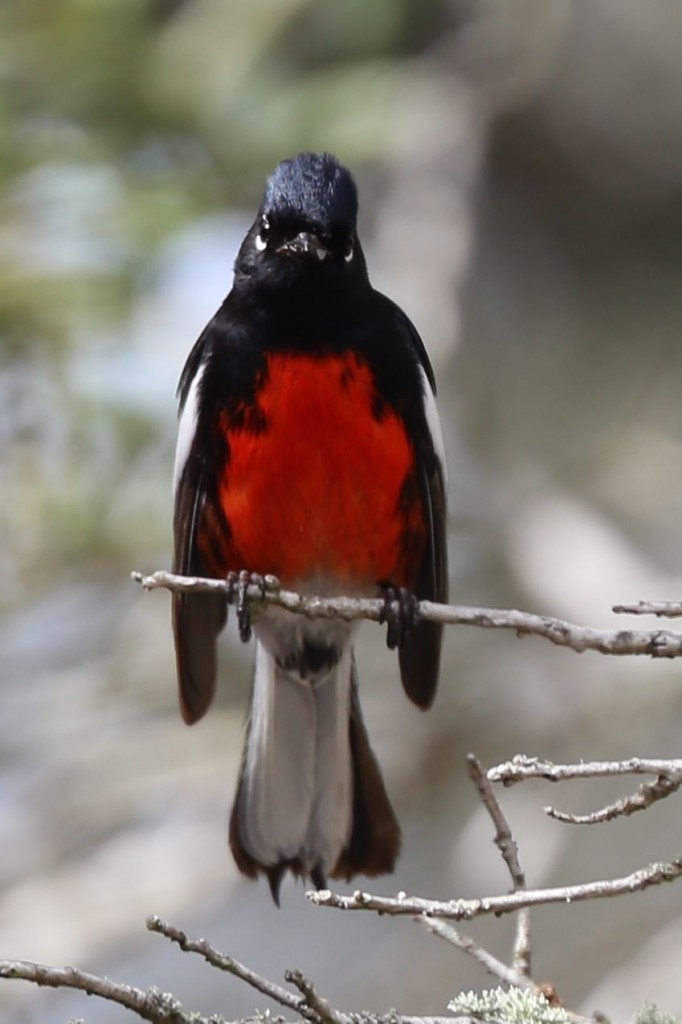
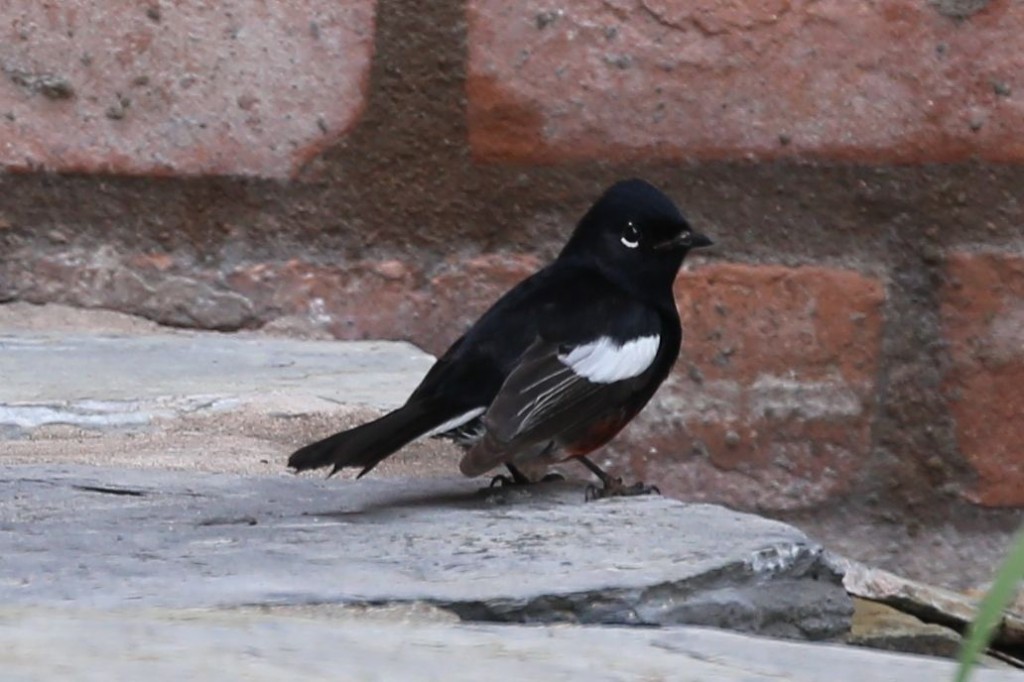
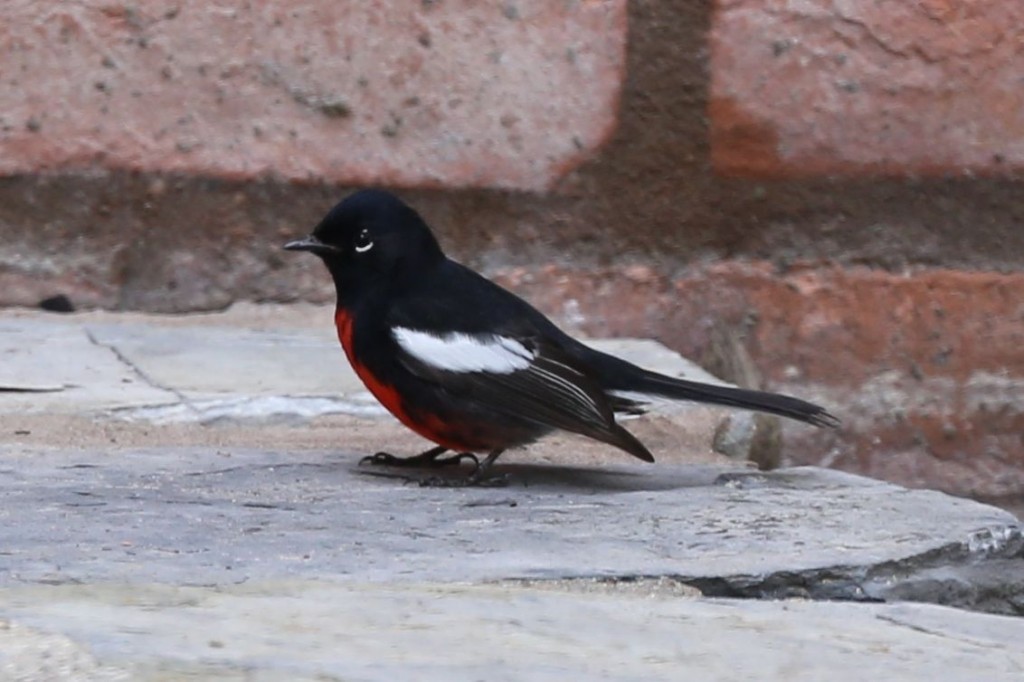
I haven’t even had time to build the warbler section of my bird page. It is going to take a long time to get it fully built. However, I photographed a bird today that I wanted to get the photos posted quickly though. While driving back from a birding trip in south Texas, we stopped at a rest area on 281 near Falfurrias. I walked around with my camera thinking I might photograph a few titmice or something. I did get them, but I was stunned to see two beautiful birds that I have never seen before. I saw painted redstarts! They are not supposed to be in that area or even Texas, especially this time of year. I saw a life bird at a nice little roadside rest area. You just never know what kind of bird you are going to see when you look.

