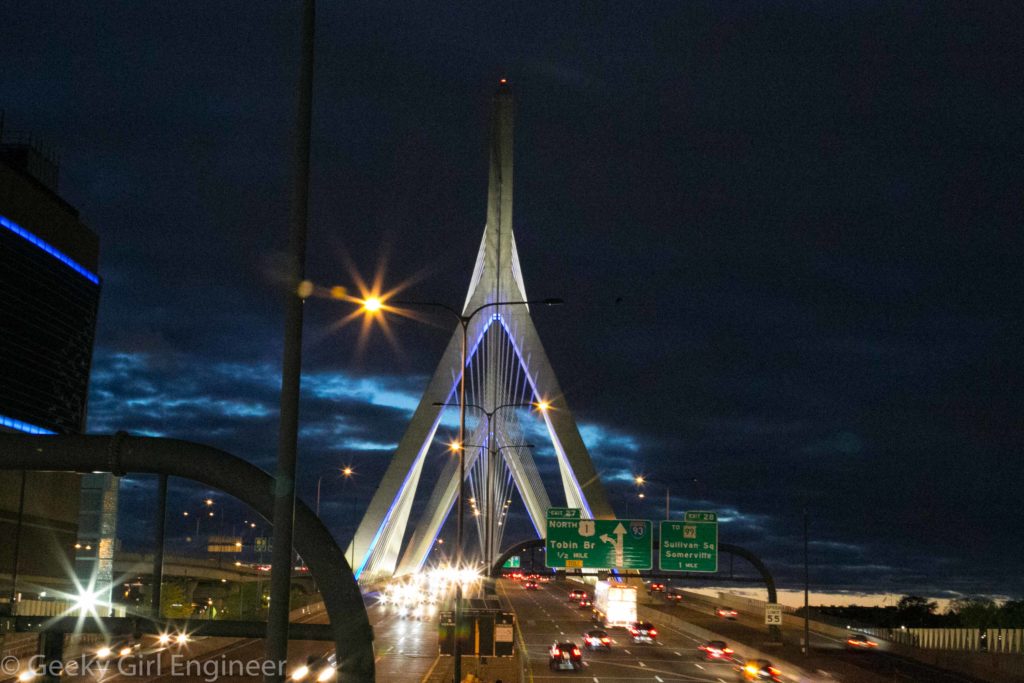
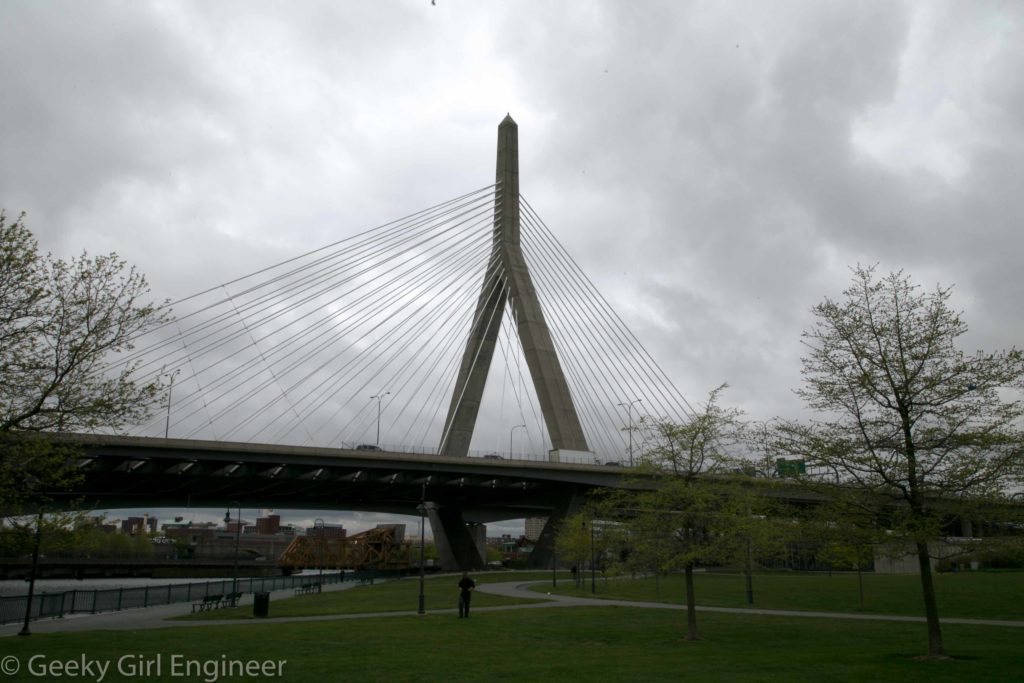
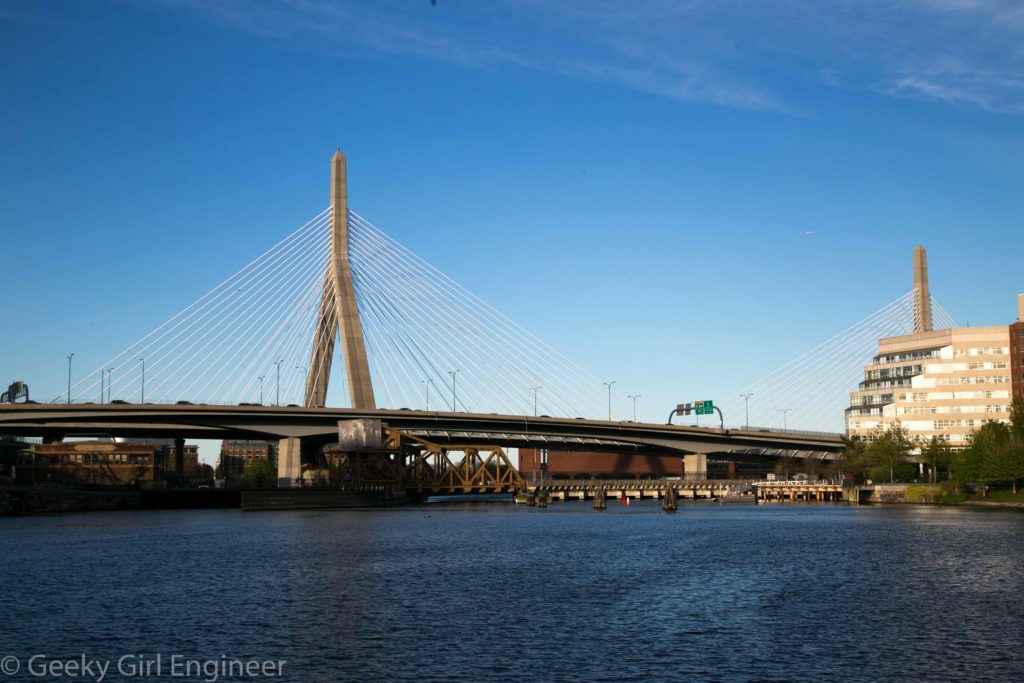
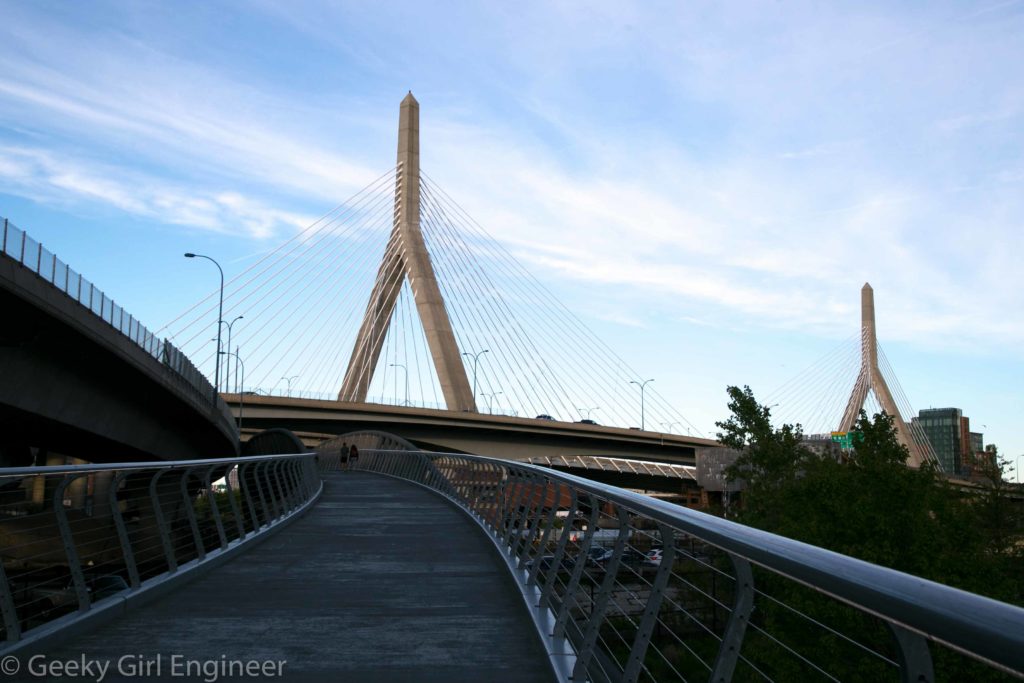
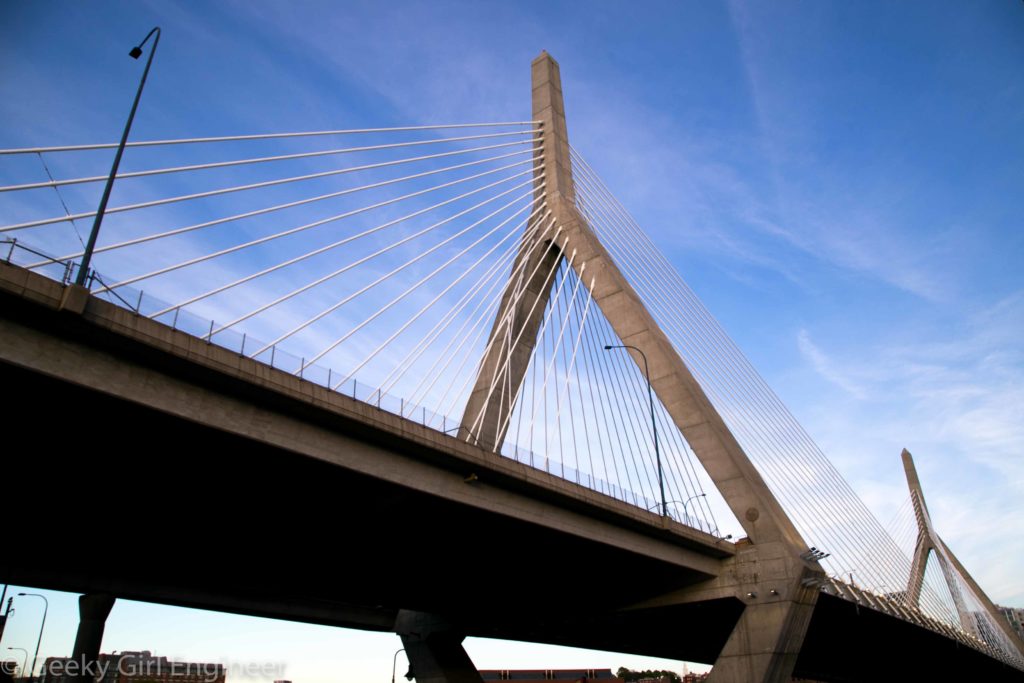
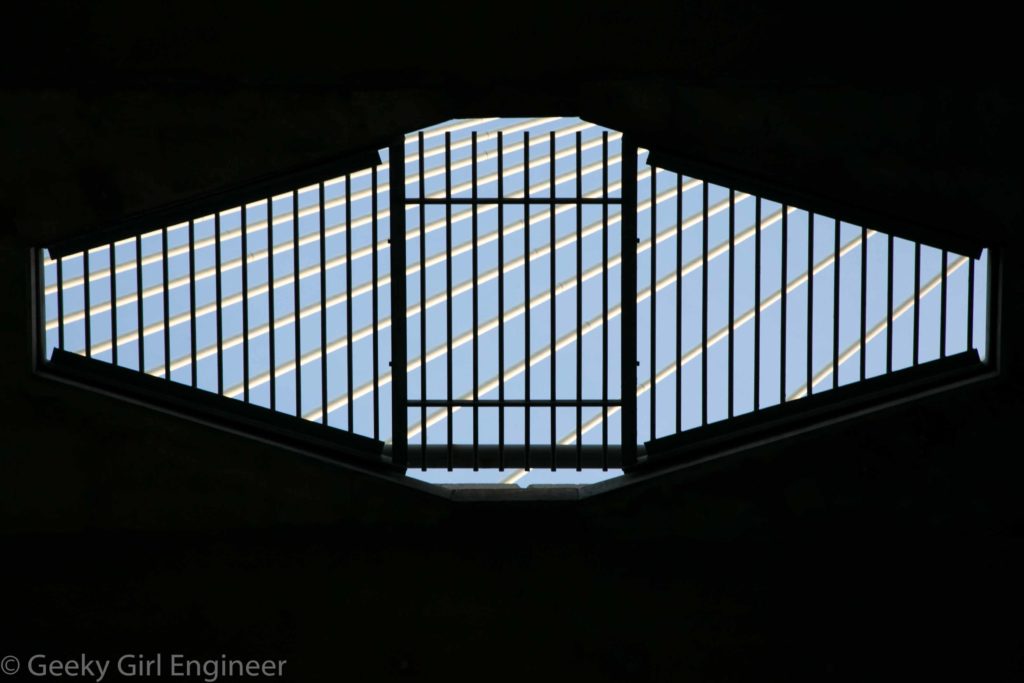
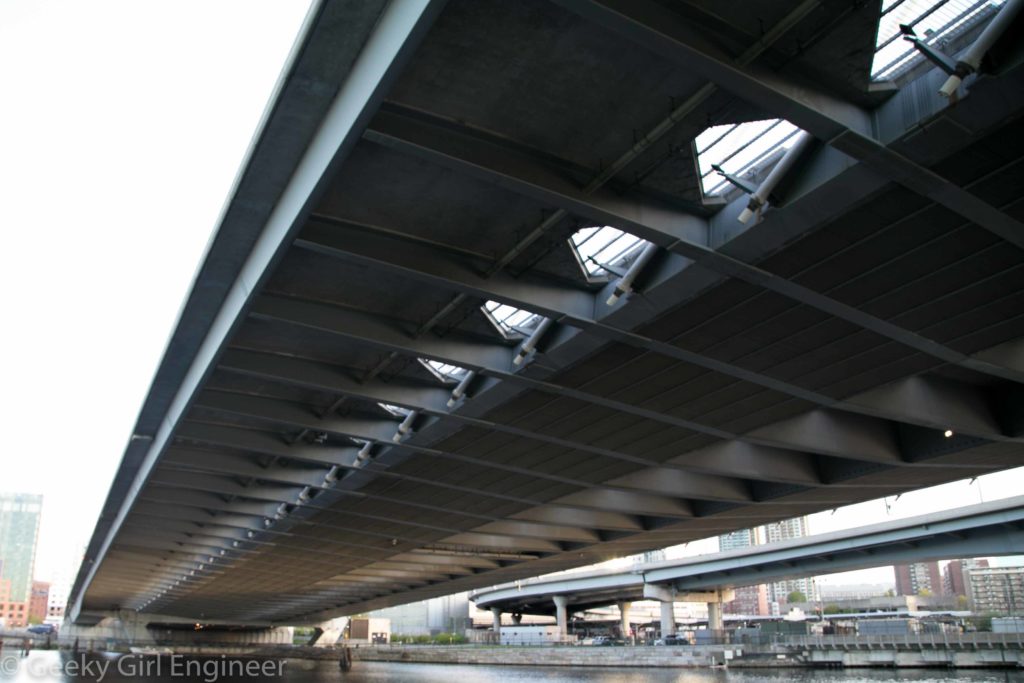
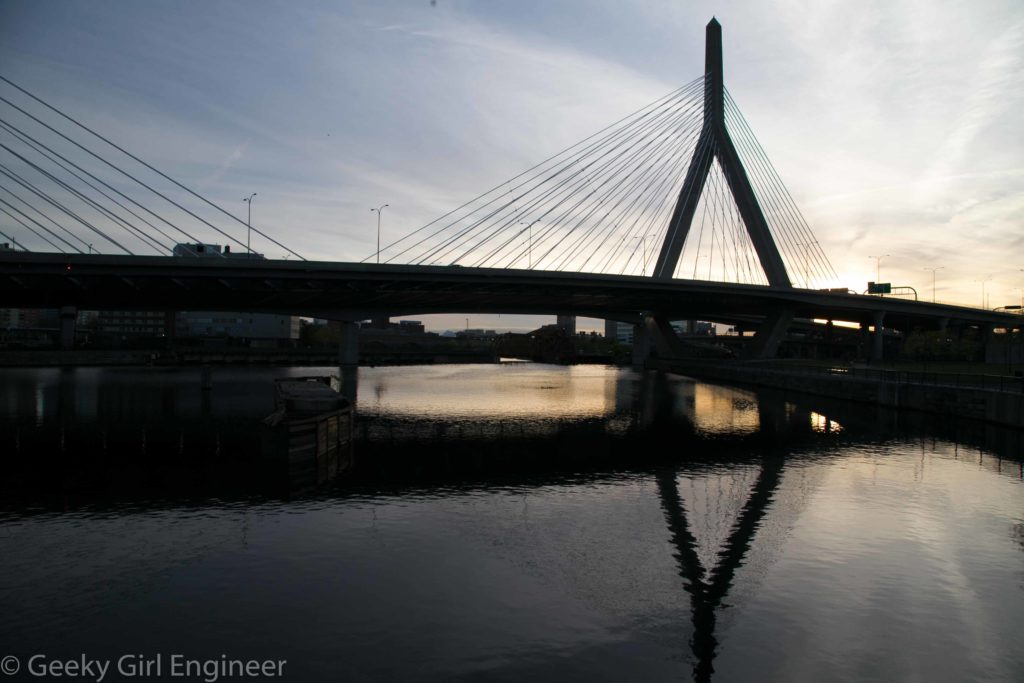
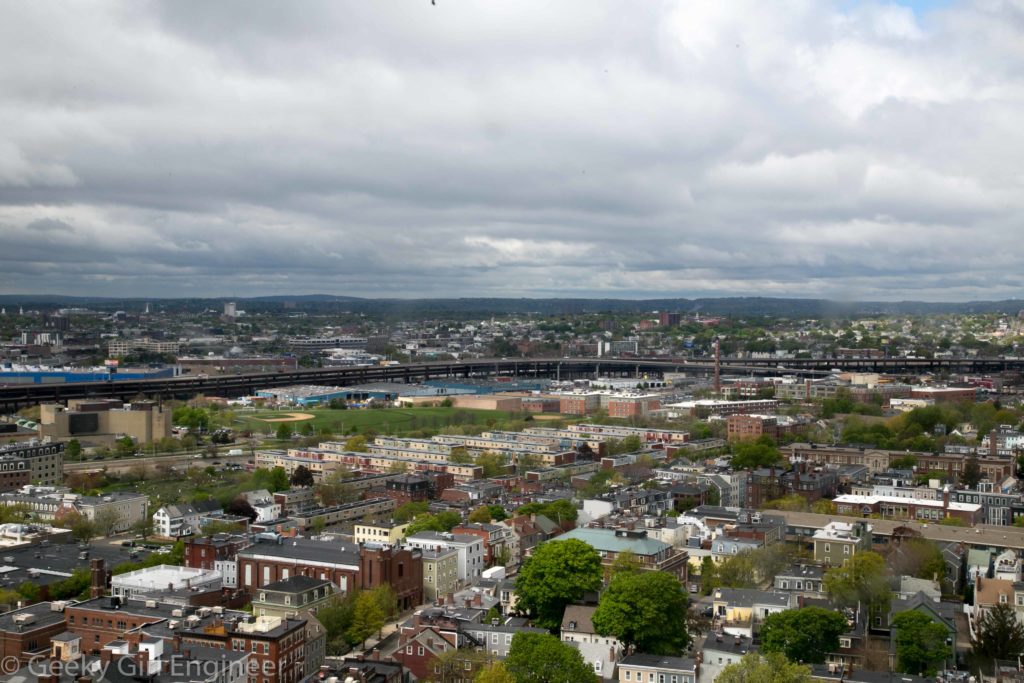
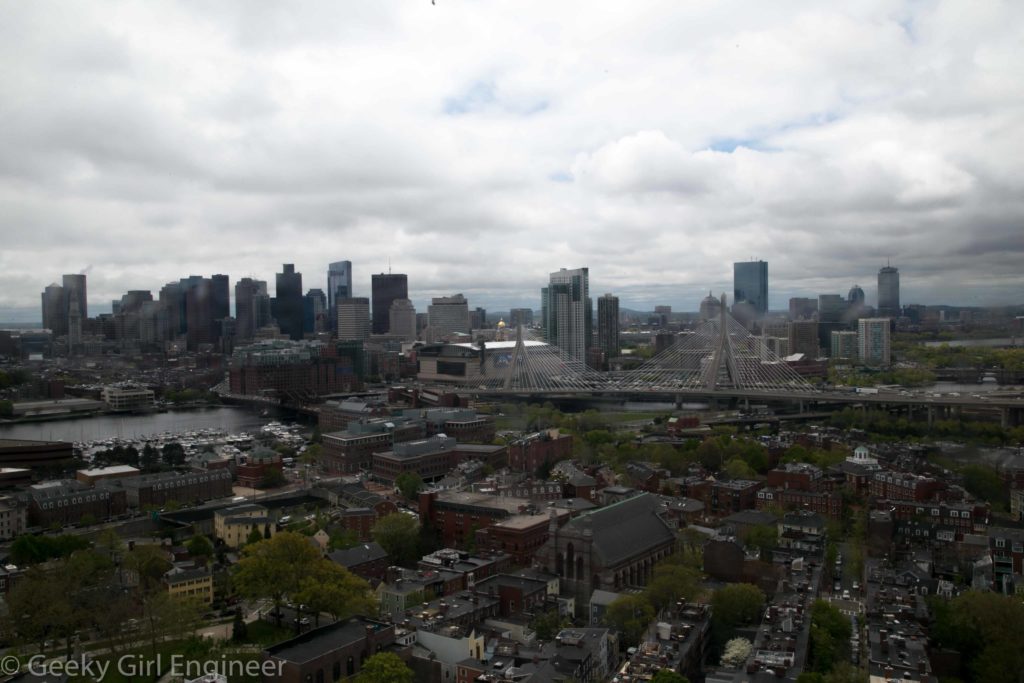
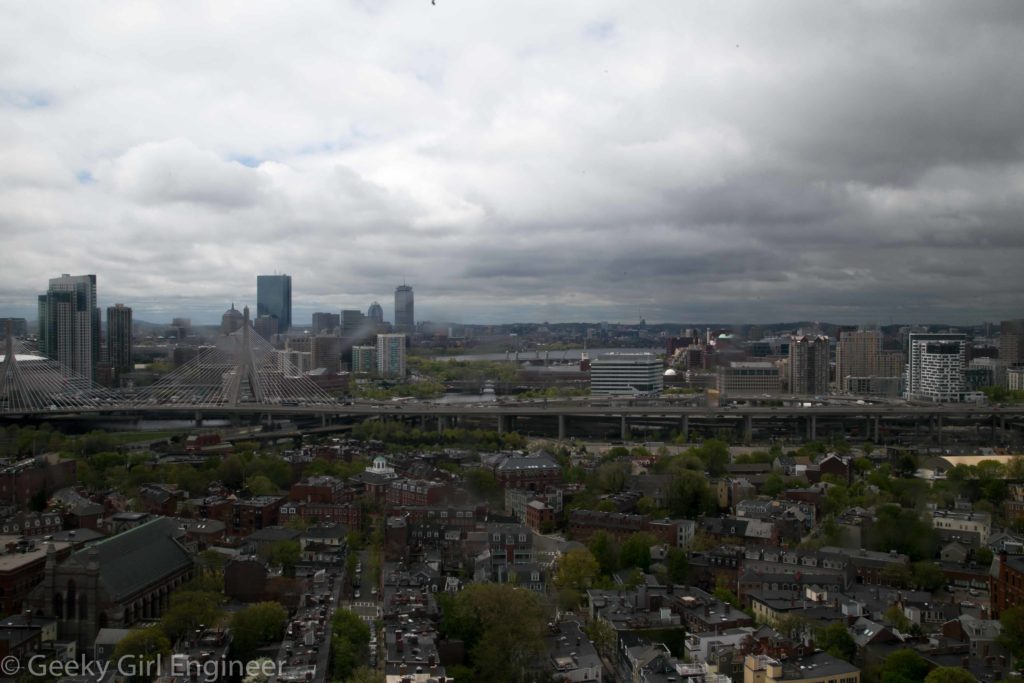
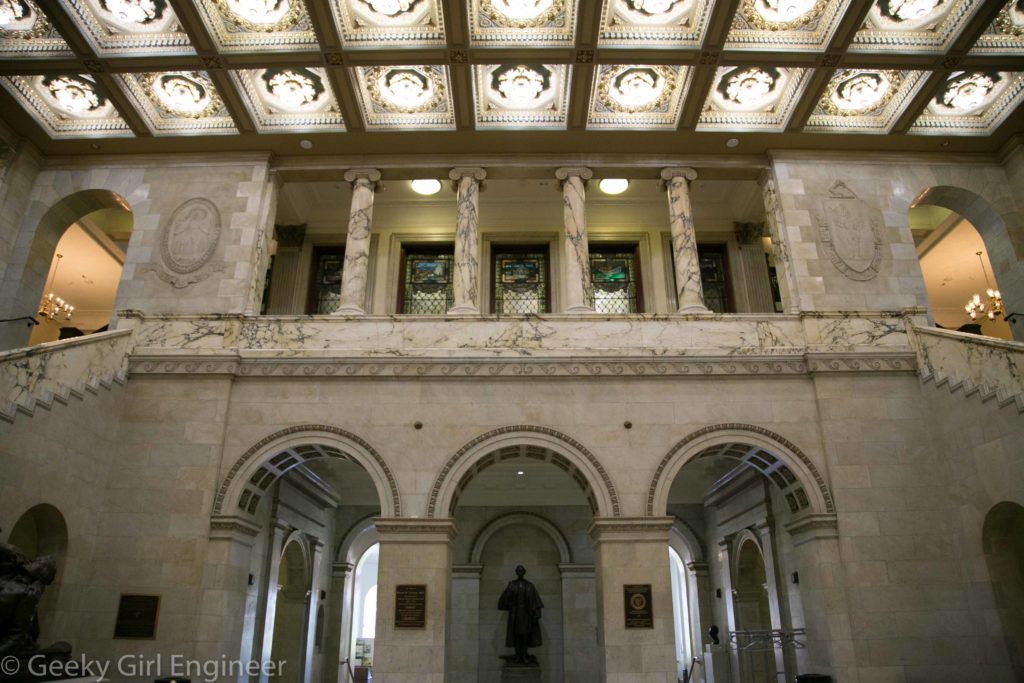
I have this thing for bridges. I love them. However, I have a particular thing for cable-stayed bridges. They are my favorite. I love the simplicity of them. They are modern, sleek, functional, graceful, and gorgeous, all at the same time. Boston has a cable-stayed bridge right next to downtown, the Leonard P. Zakim Bunker Hill Bridge, by which I-93 crosses the Charles River. So naturally, while in Boston, I took a lot of photos of this bridge. Here are just a few.
Tag Archives: Travel
Boston’s Freedom Trail
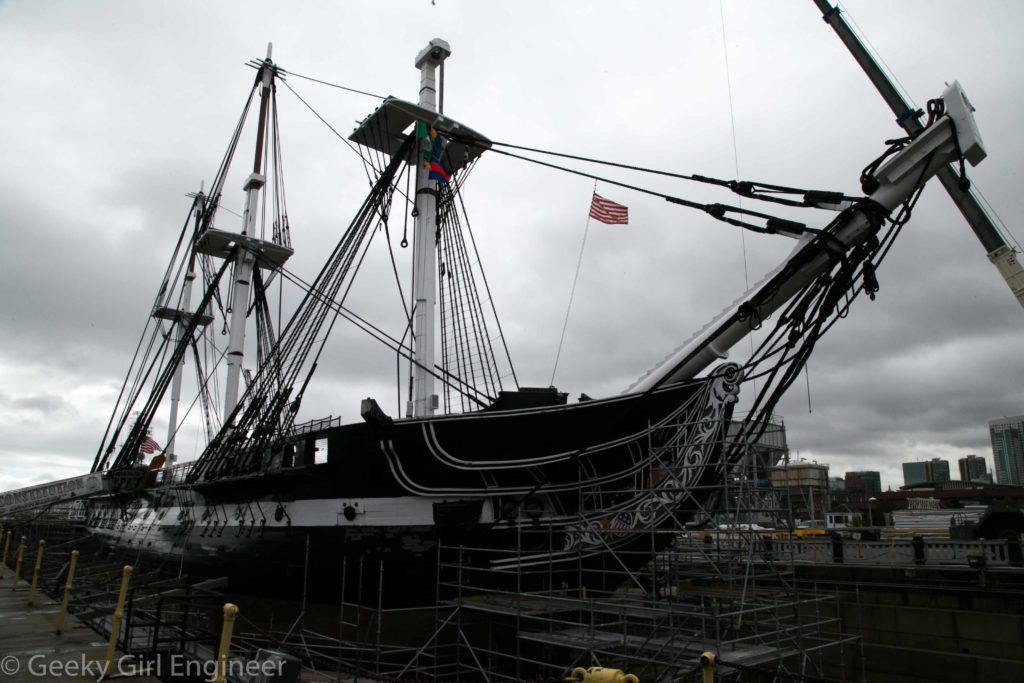
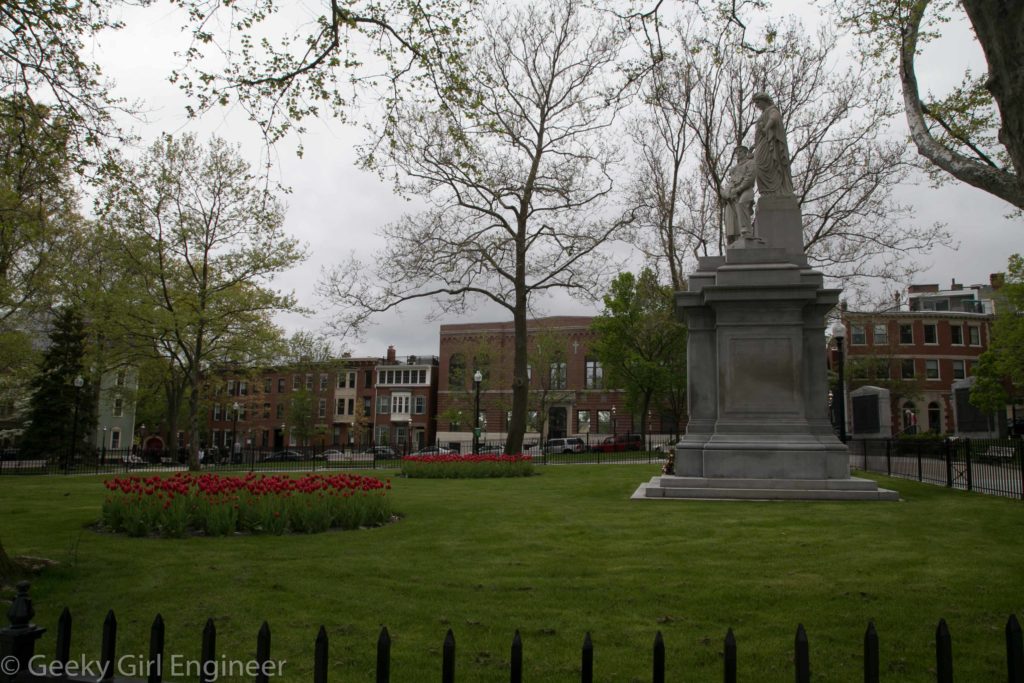
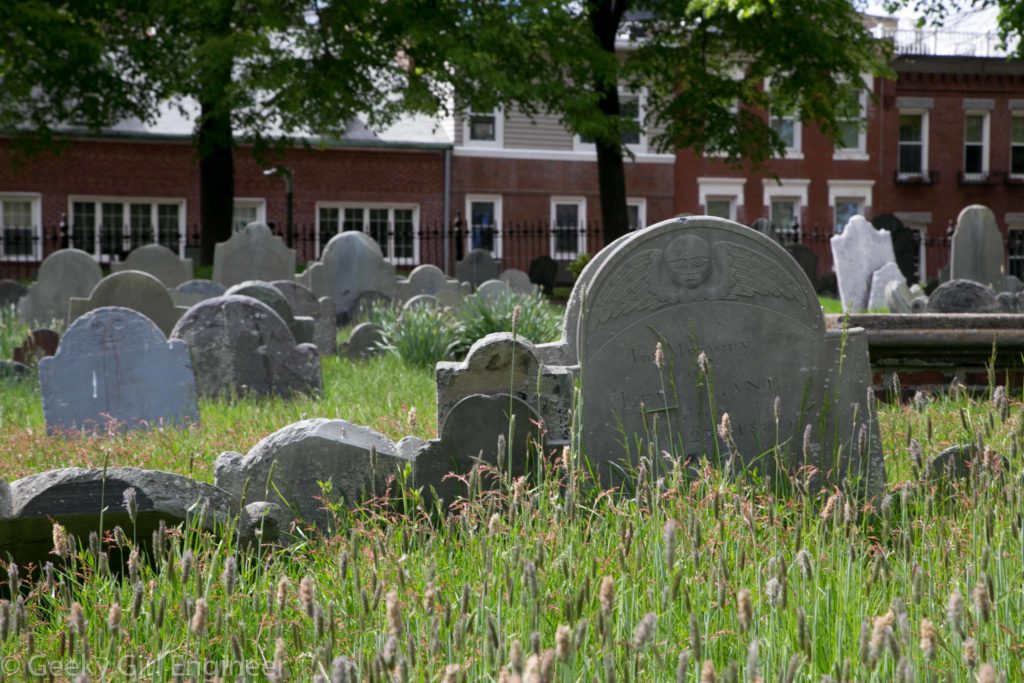
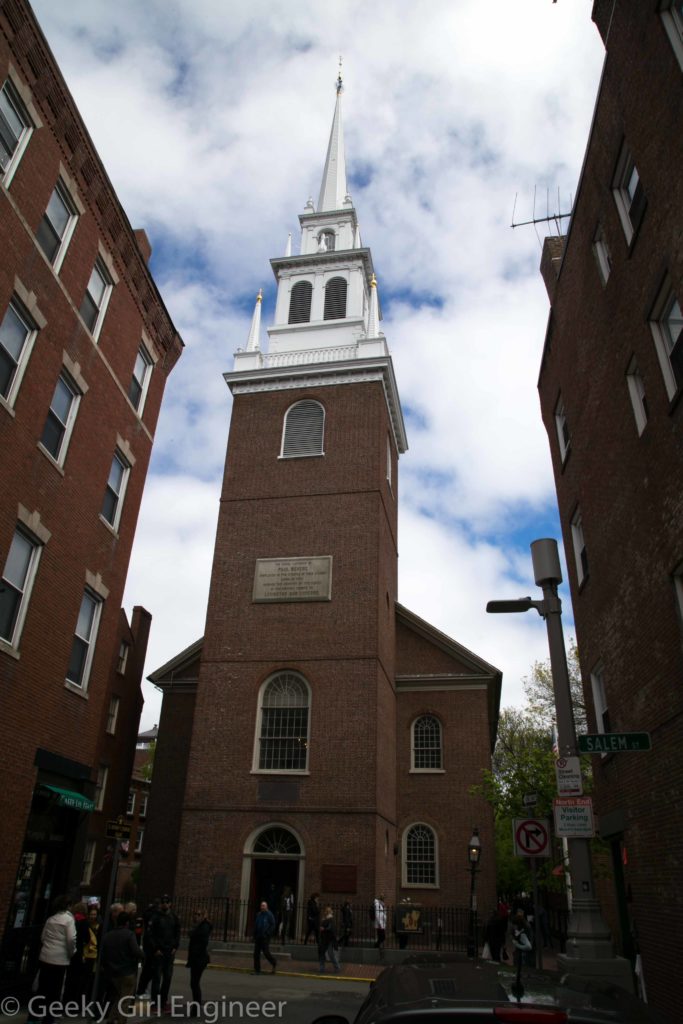
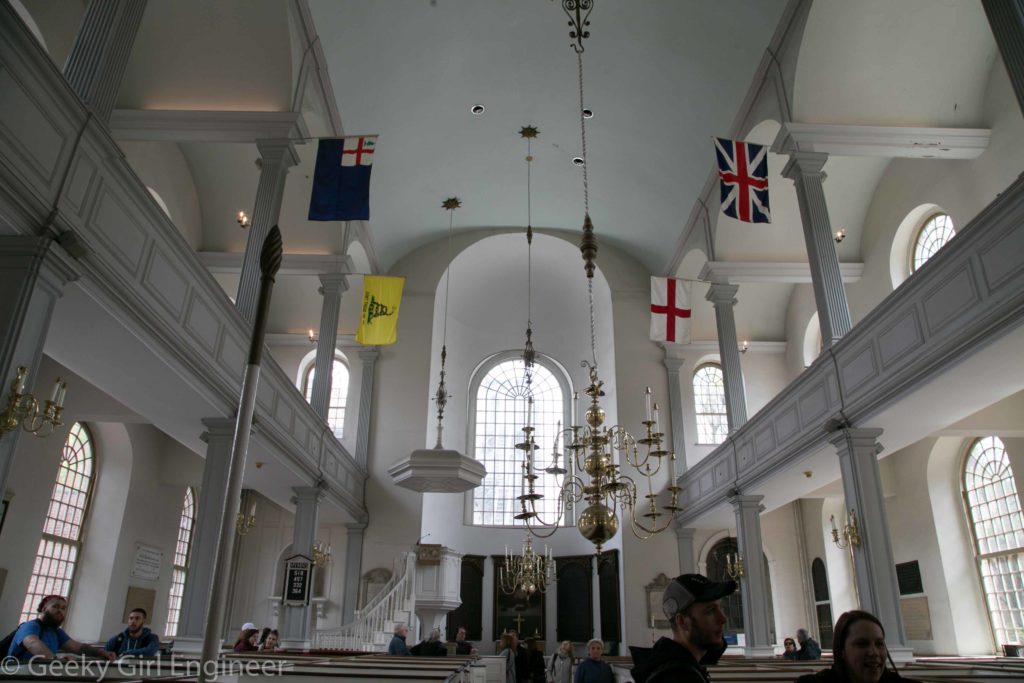
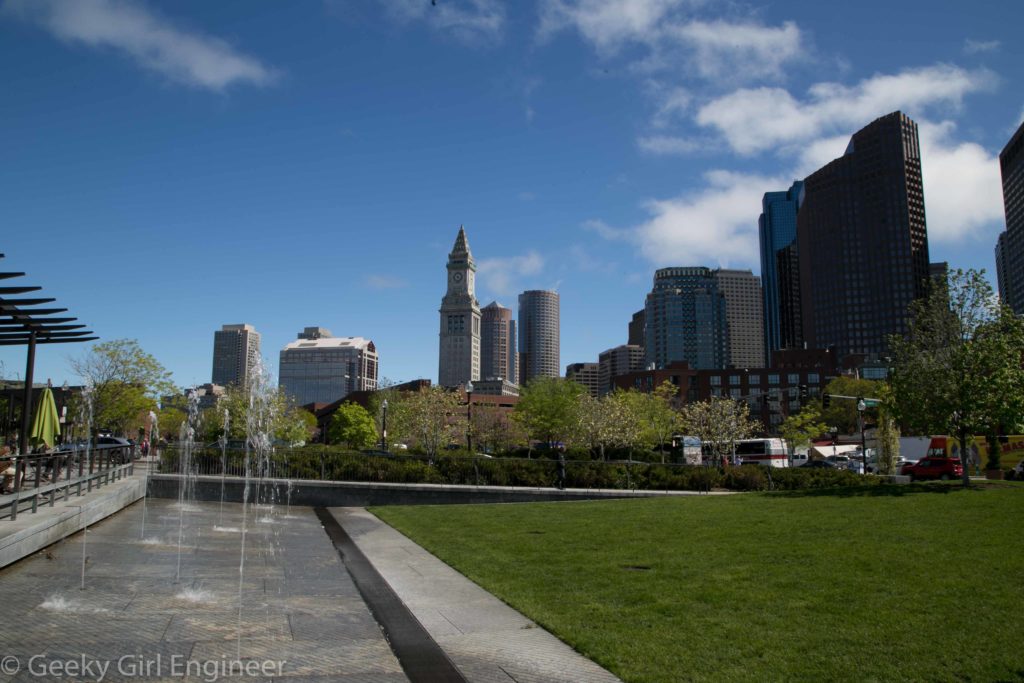
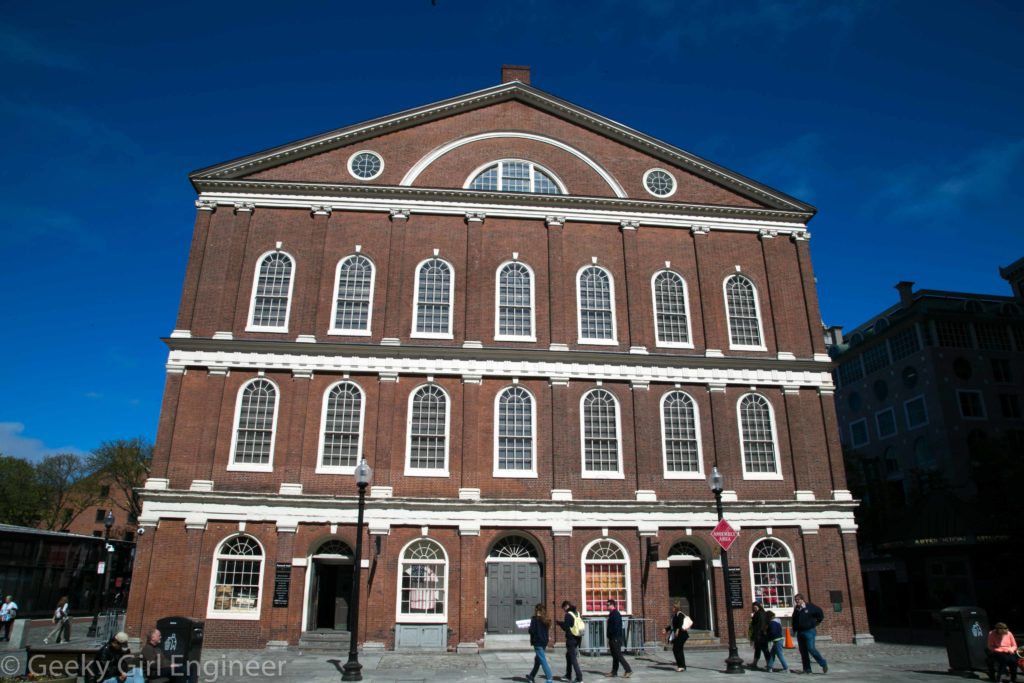
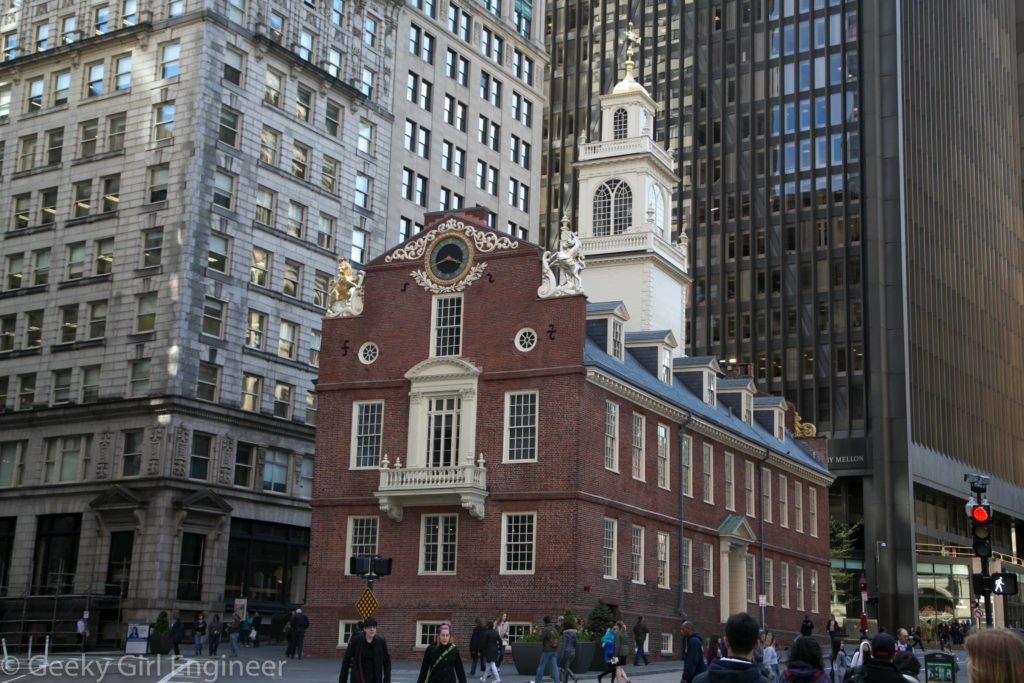
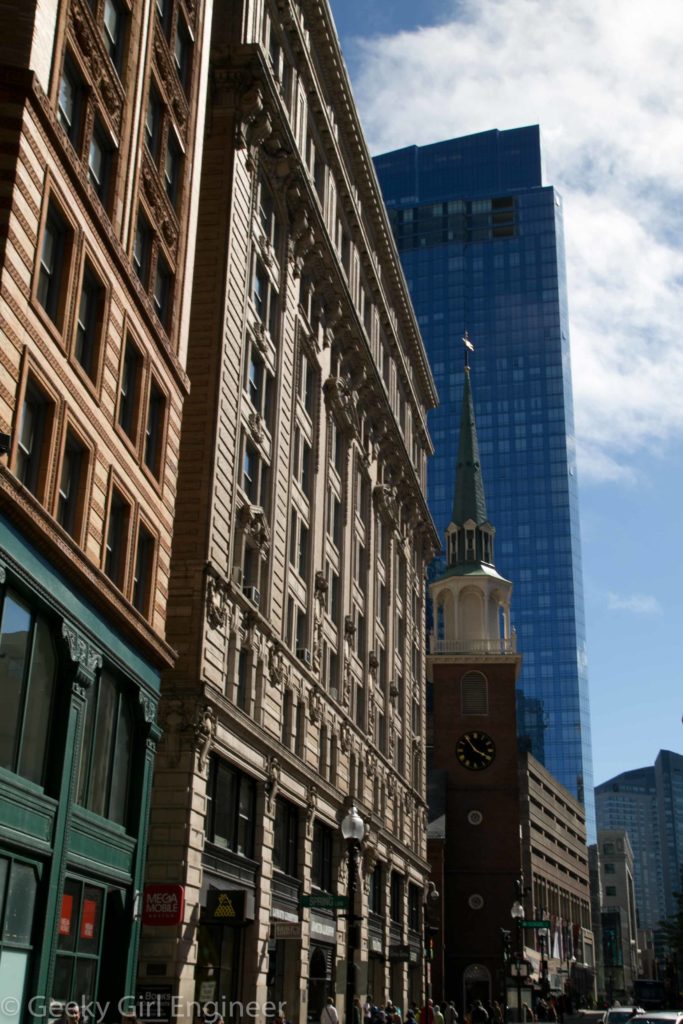
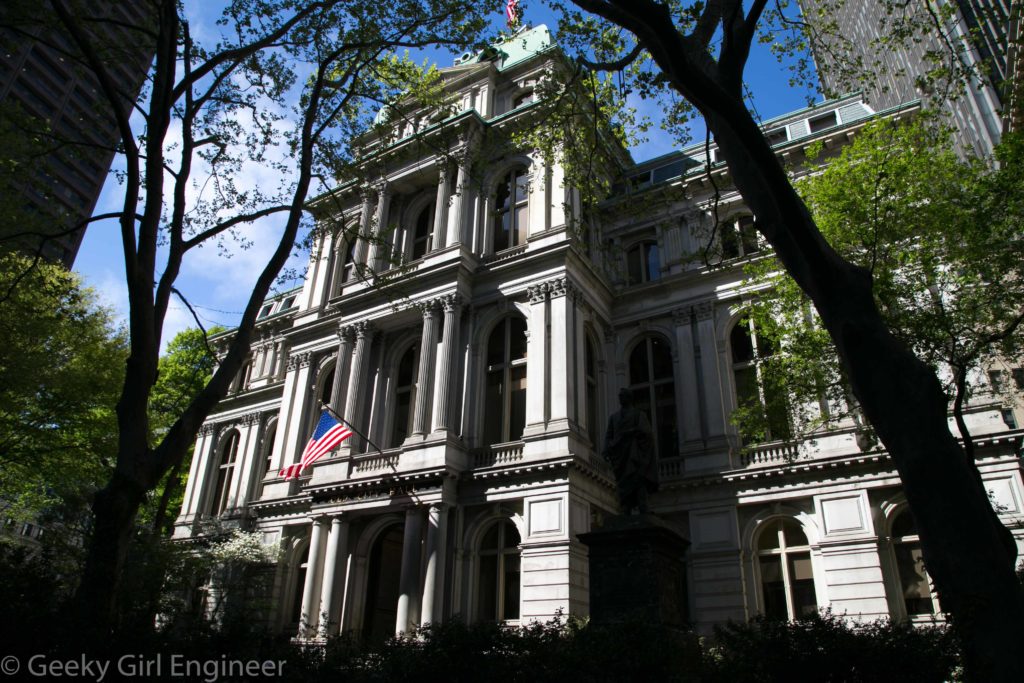
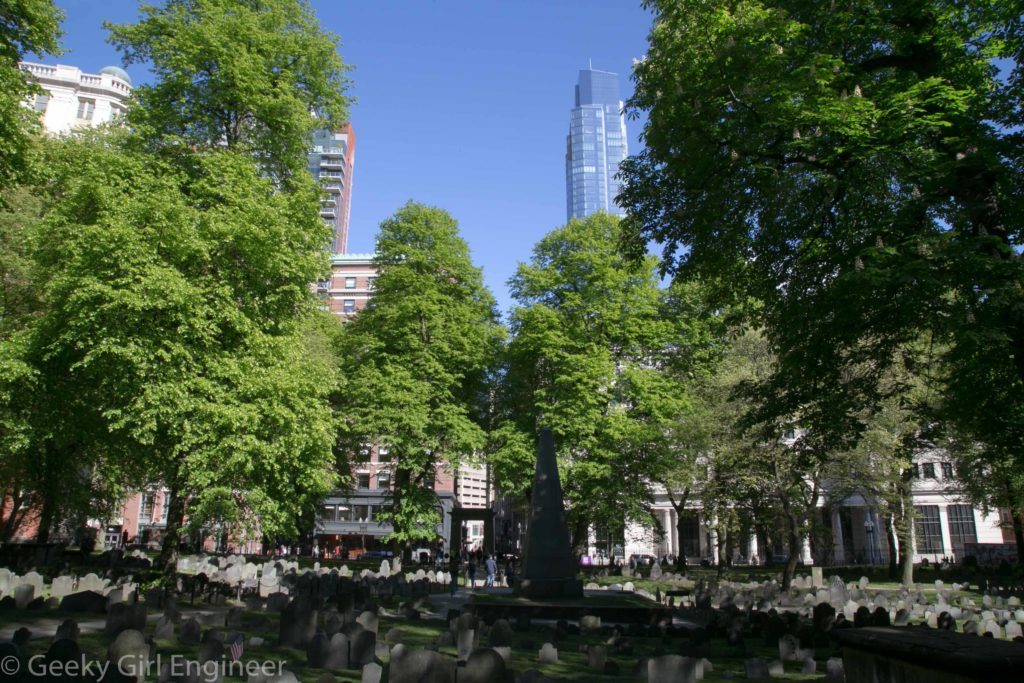
While in Boston, I walked the entire 2.5-mile Freedom Trail. It is a nice walk except for avoiding all the street construction. I have to admit also, as a tourist, it is nice not to really have to check a map, but rather just follow a red brick path in the sidewalks. I previously posted photos of the Massachusetts State House and the Bunker Hill Monument. Here are a few more photos from sites and just views along the Freedom Trail.
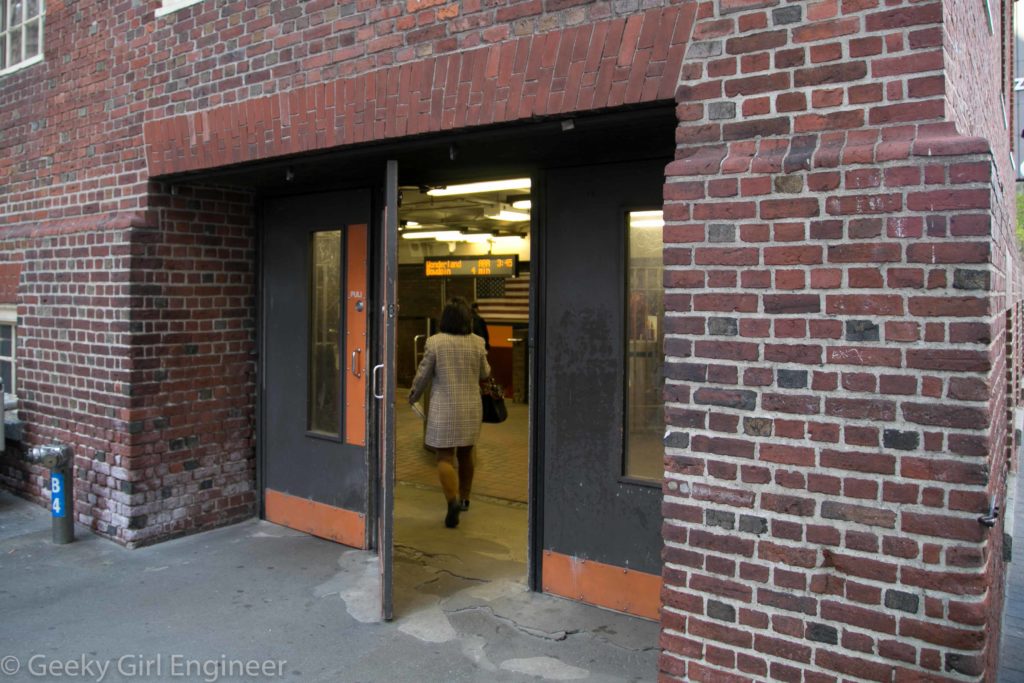
A brief explanation of why I am posting the below photo. There is a T (subway) train station right below the Old State House, with an entrance through the building. As an engineer, I find this amazing. Consider how old the building is and the studies of the building that must have occurred to determine it could handle both the space being dug out of its foundation and also the ability to take vibrations from the subway and people going in and out of it.
Bunker Hill Monument
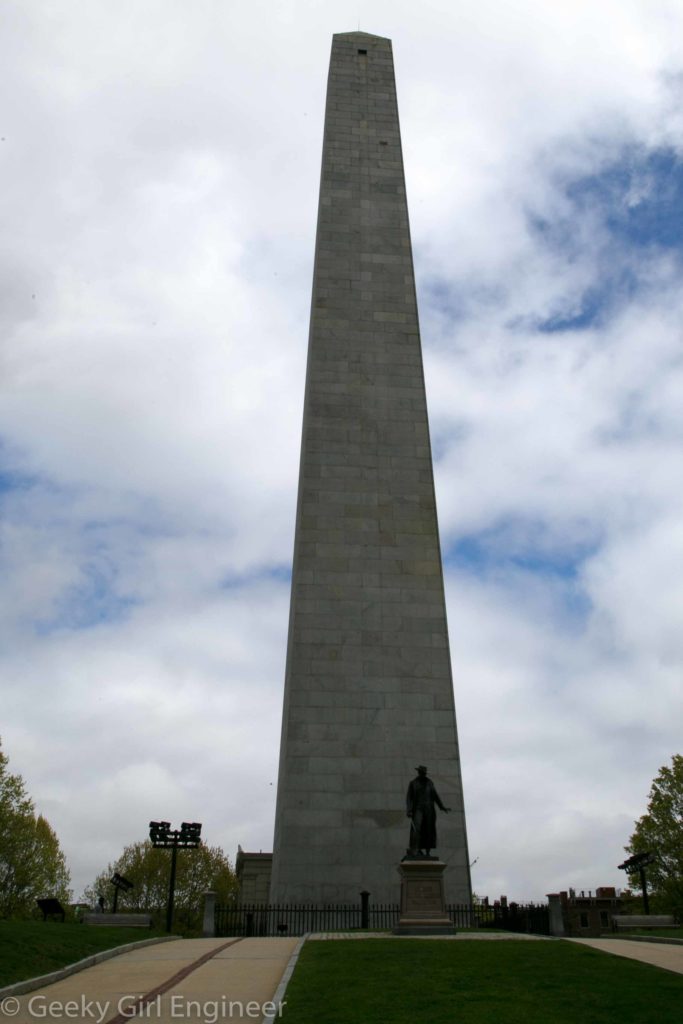
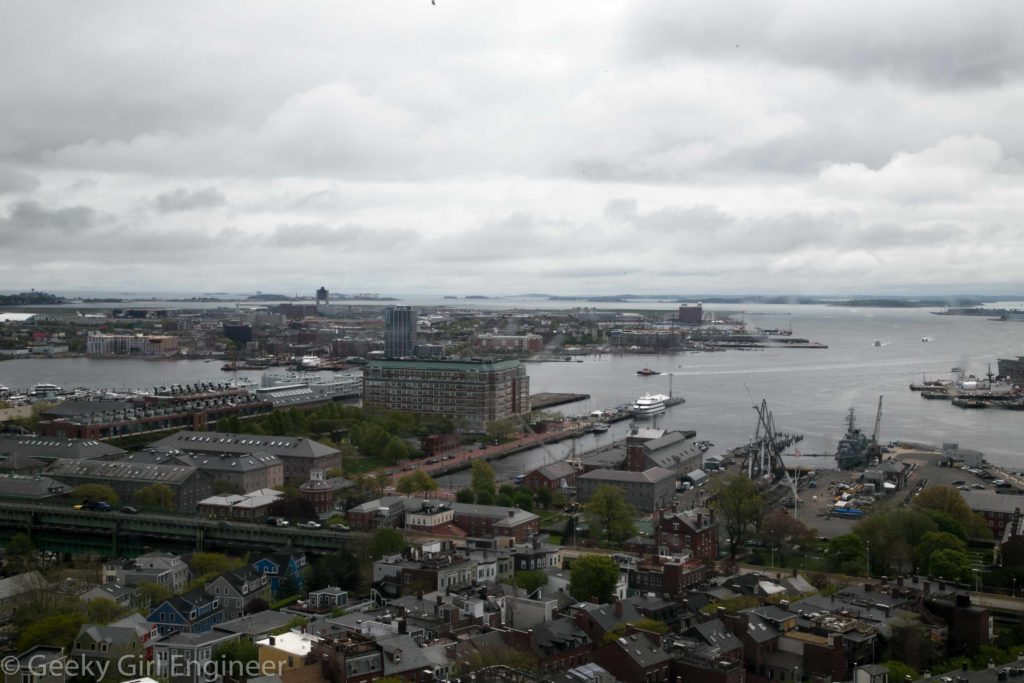
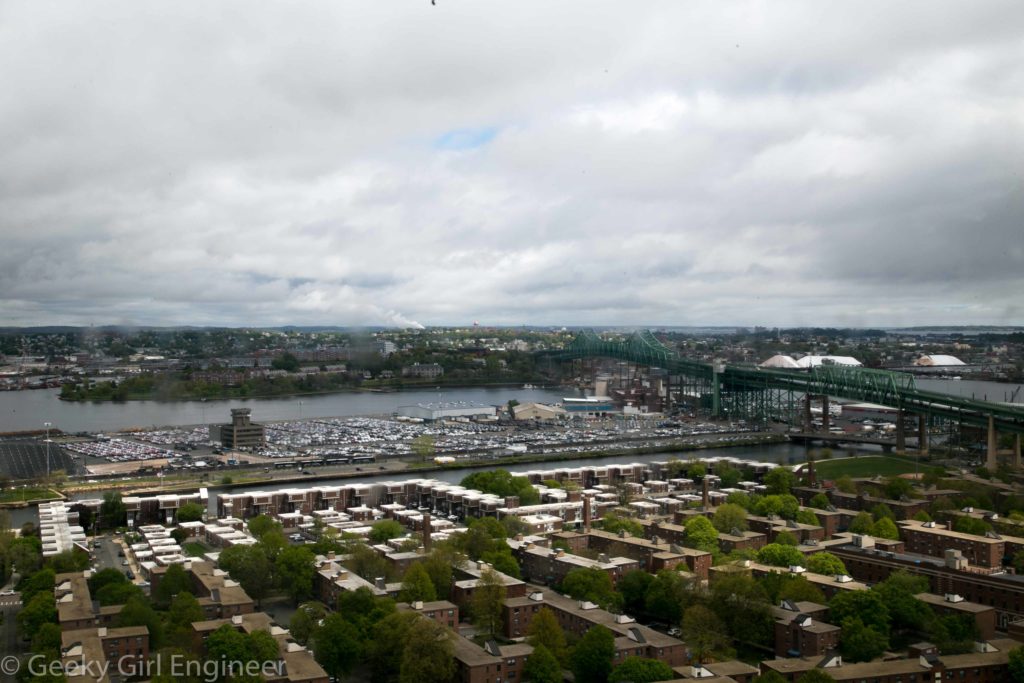
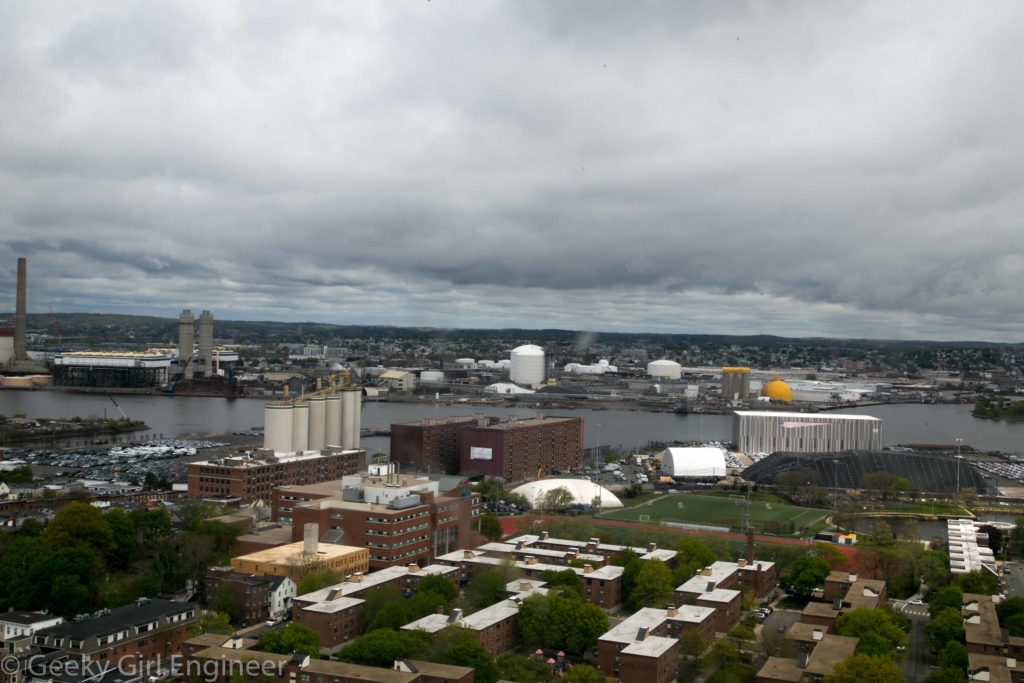
I was in Boston for a few days, and I decided to walk the Freedom Trail. I got to the Bunker Hill Monument, and I was told I should go to the top because the views are great. This seemed like a perfectly good reason to climb 294 steps. My legs afterwards had some thoughts on this idea. Anyway, here are some photos from the top, so you don’t have to climb it.
Massachusetts State House
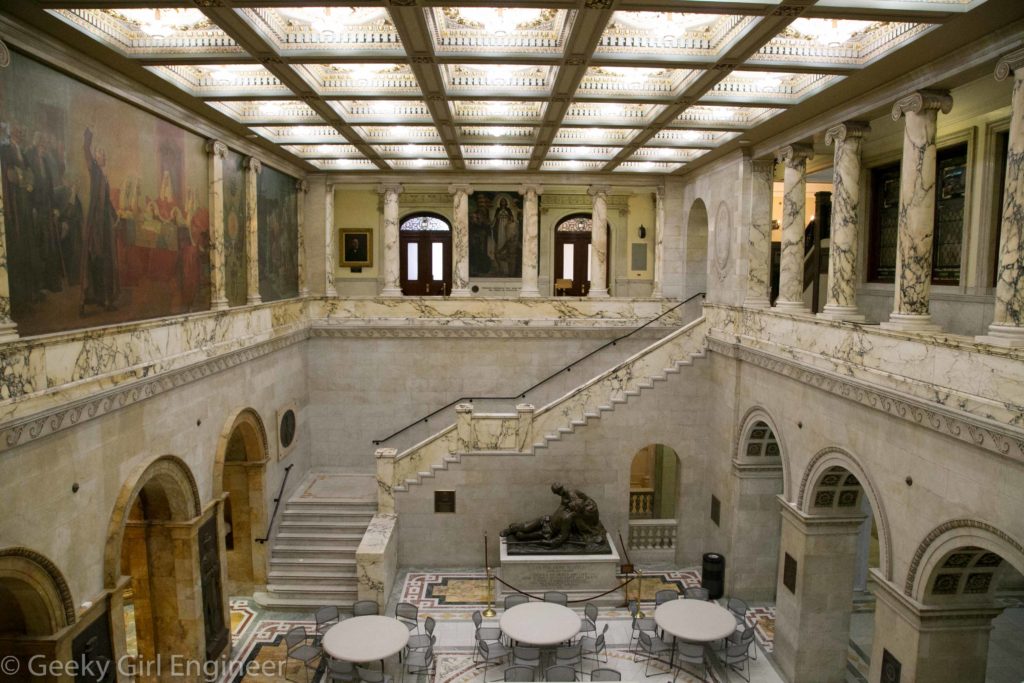
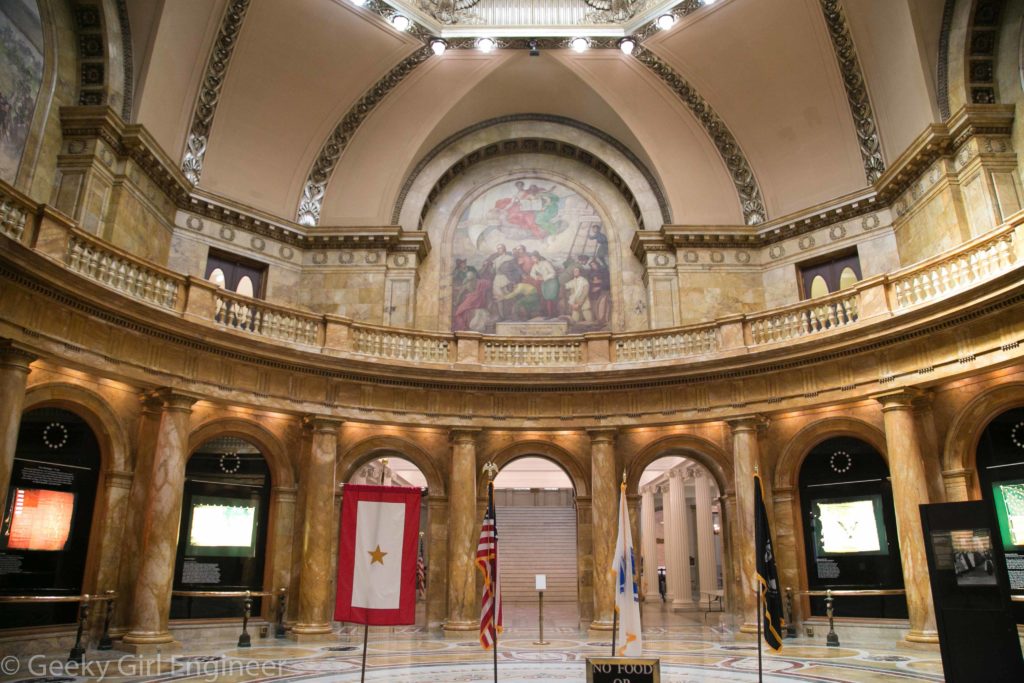
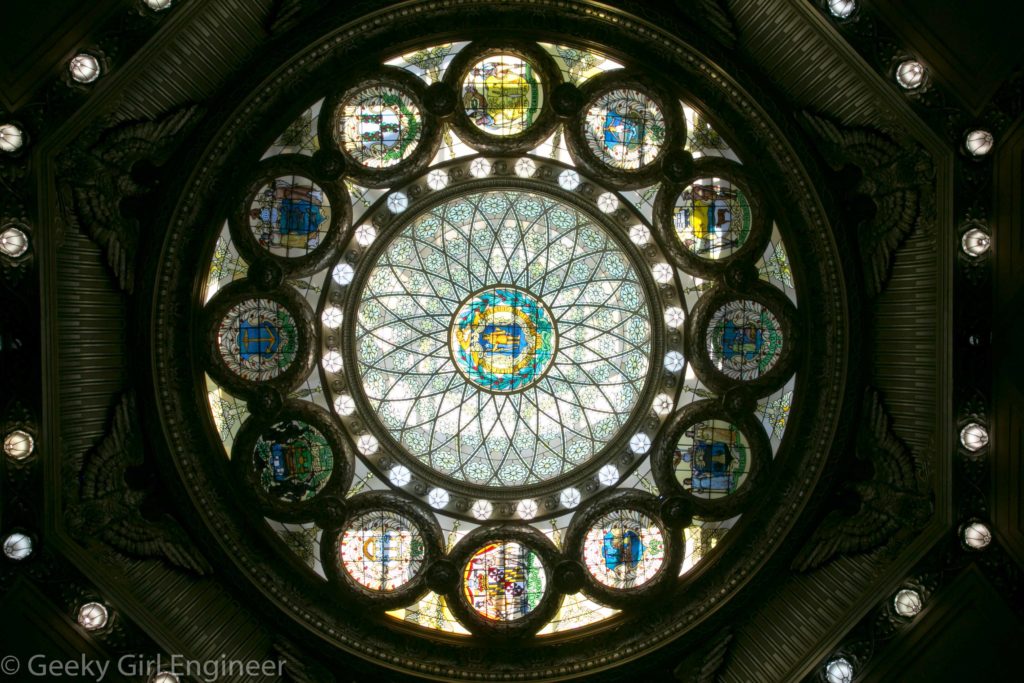
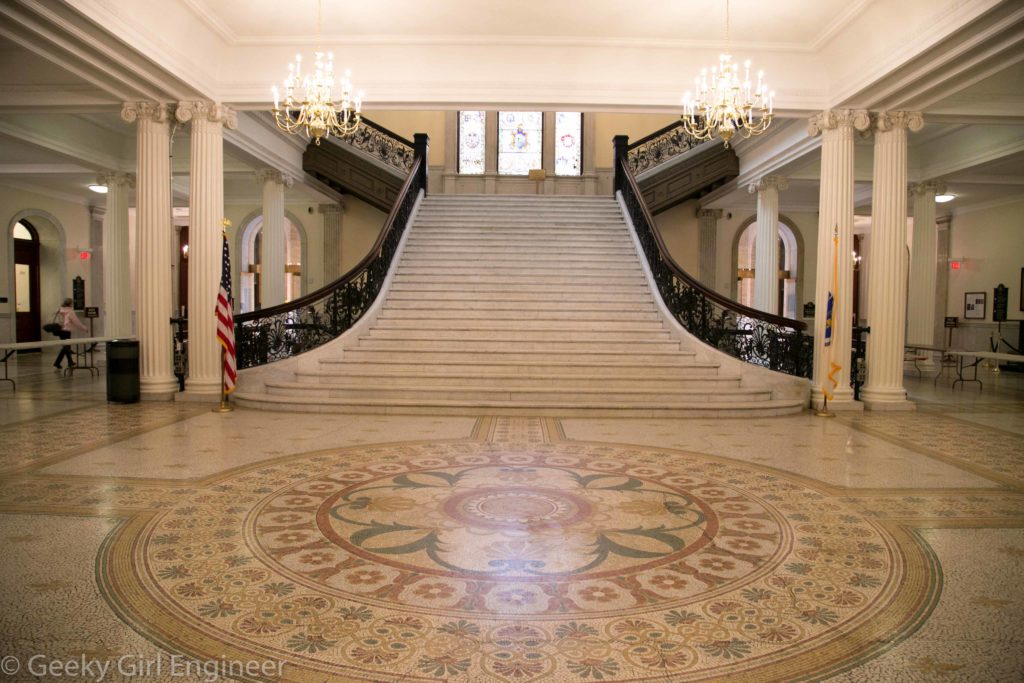
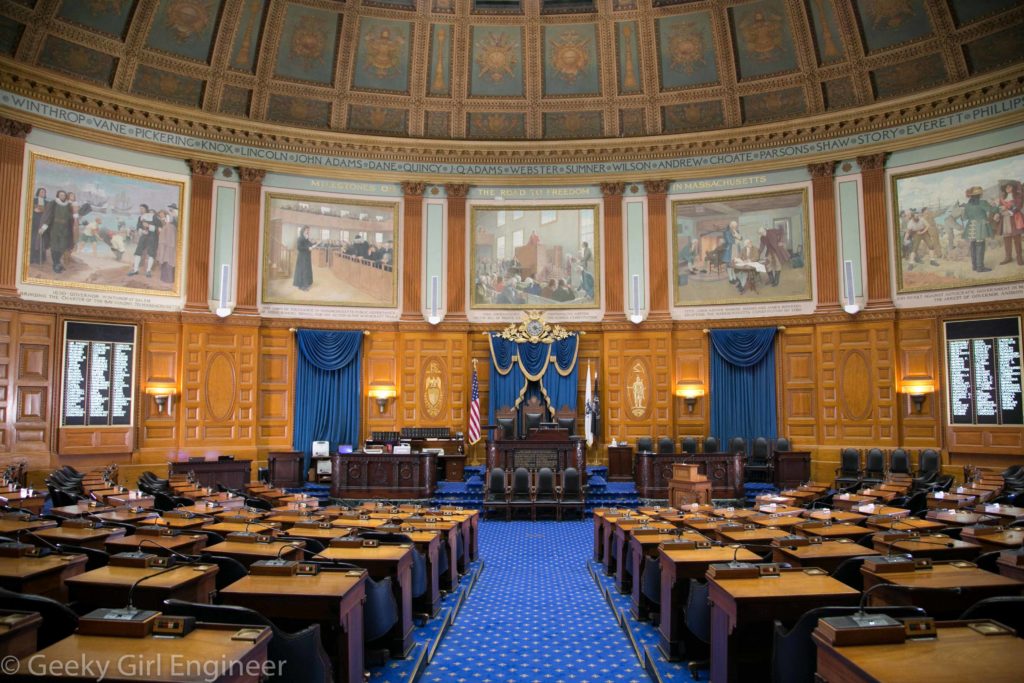
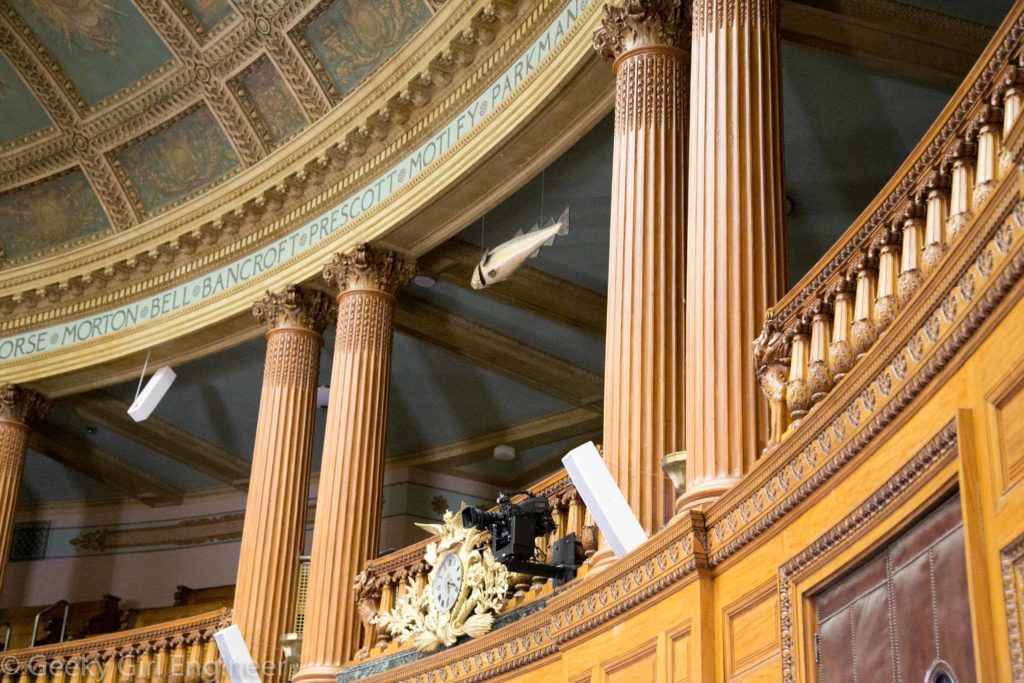
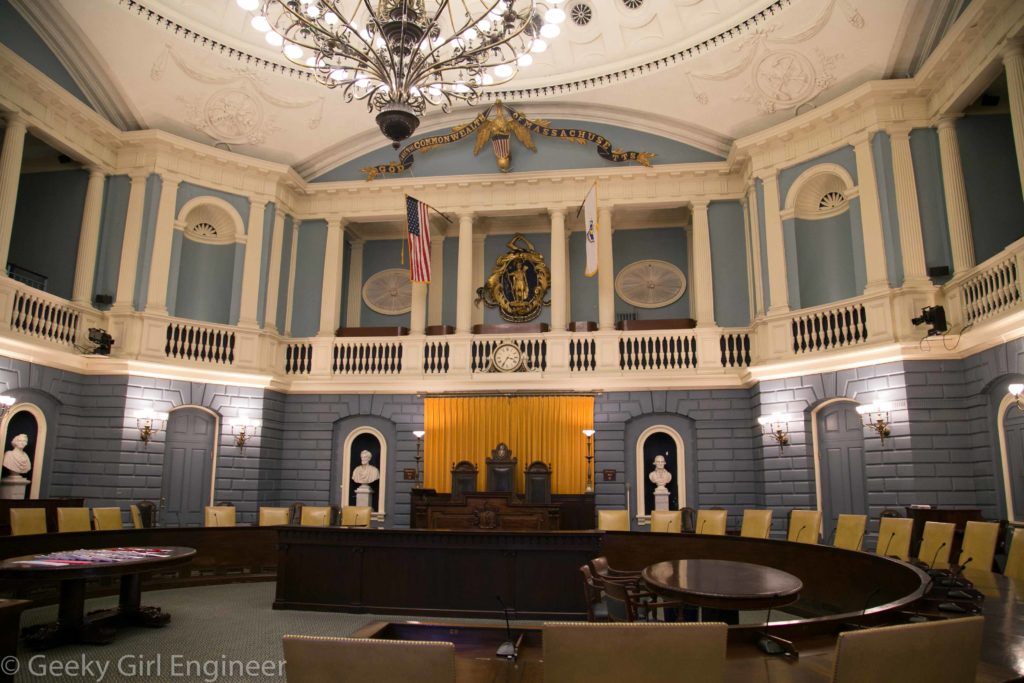
I have a goal to visit all 50 state houses. I am in Boston for a few days, so I was able to visit the Massachusetts State House. The State House is very pretty with a whole lot of marble. There is a definite sea theme in it, with waves and fish in many different areas. There is a large fish in both the House of Representatives and the Senate Chamber. The main portion (or pretty area as one worker there called it), is smaller than I originally thought it would be. However I guess the actual working area is generally more functional, not as pretty.
Quechee Gorge
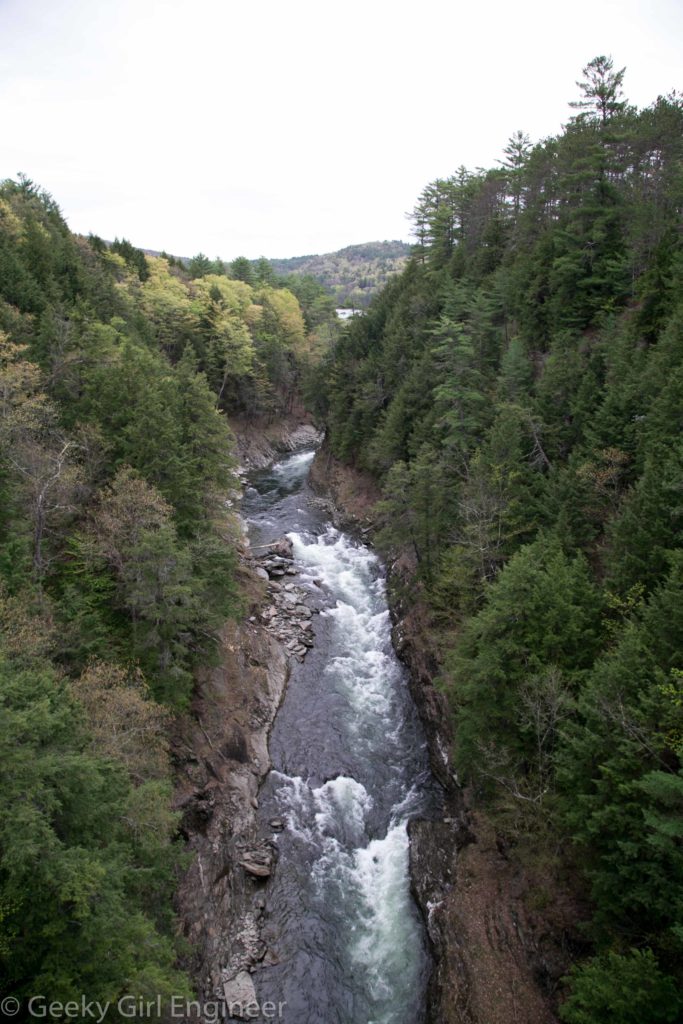
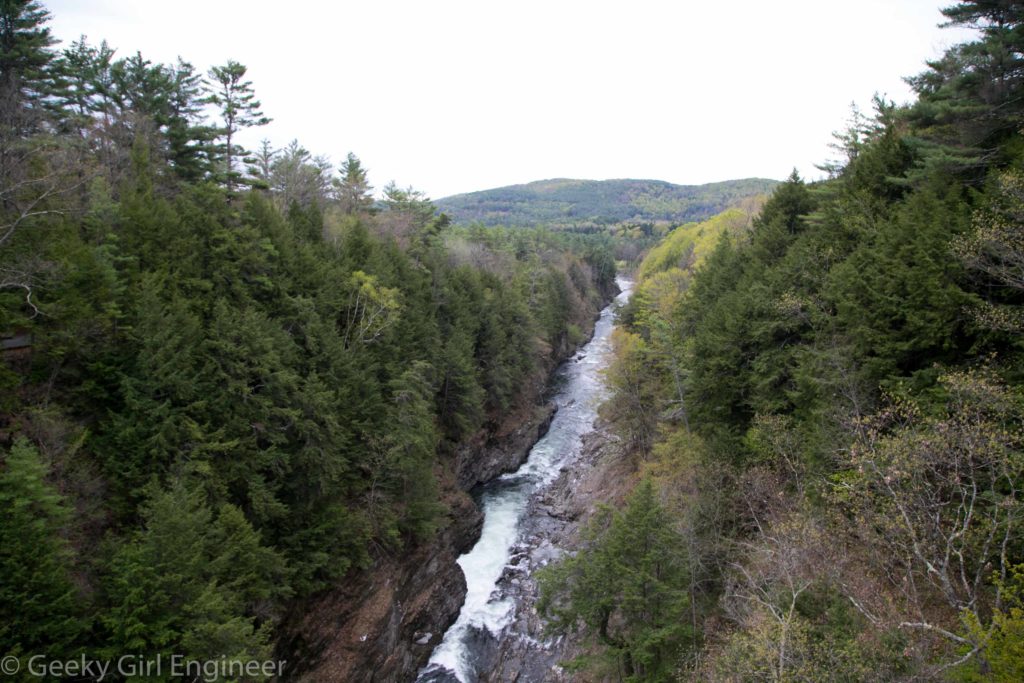
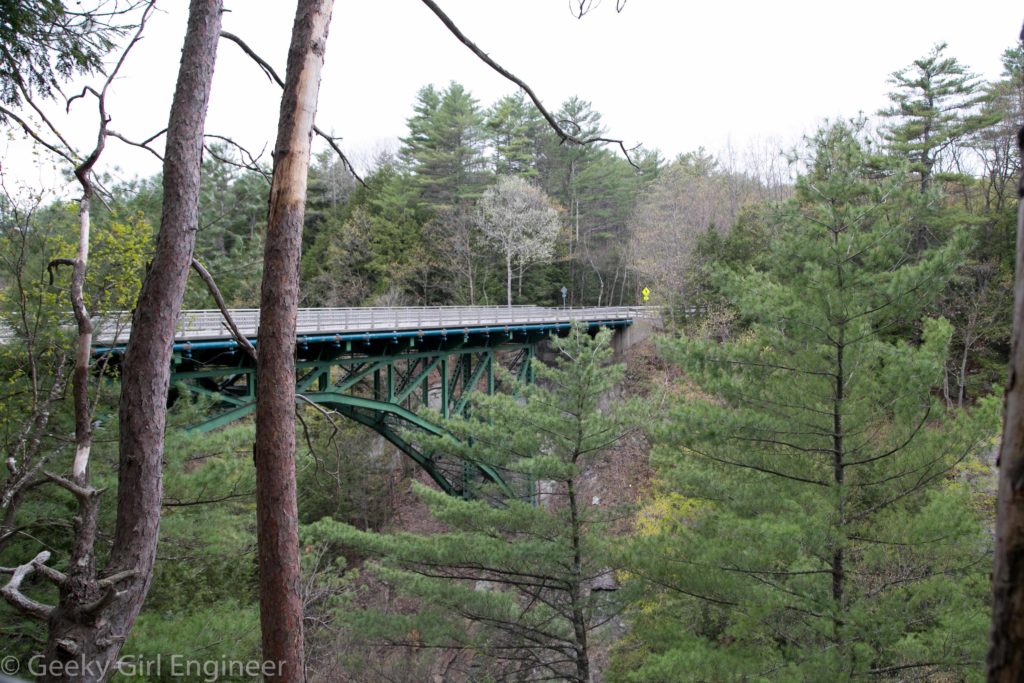
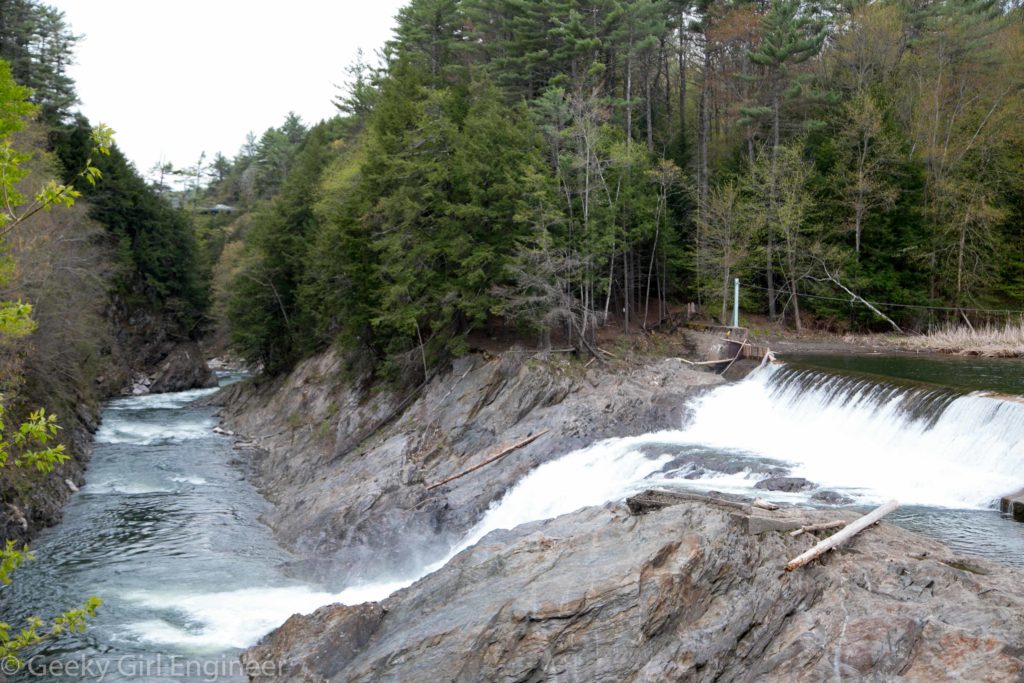
I’m in White River Junction, Vermont for a very short work trip. My waiter at dinner last night tells me if I have any free time, I need to make the 10 minute drive to see the Quechee Gorge. He was right. I didn’t have time to go hiking down to the bottom, which I would have loved to do. I only had time to walk along a little to see the dam. I do love to see dams and bridges.
MTA Substation #13
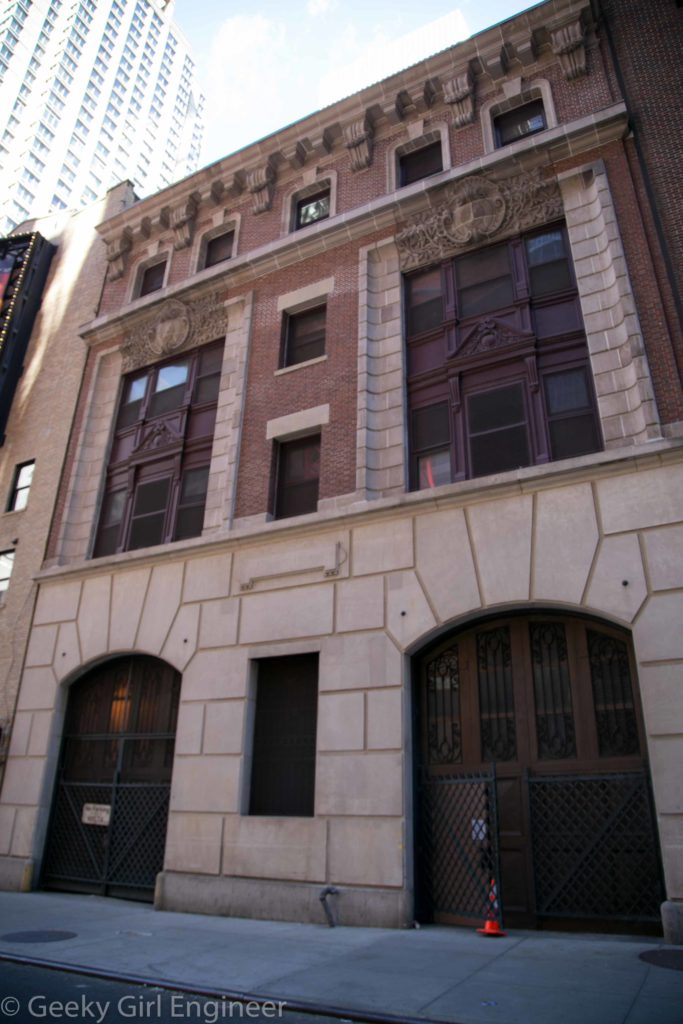
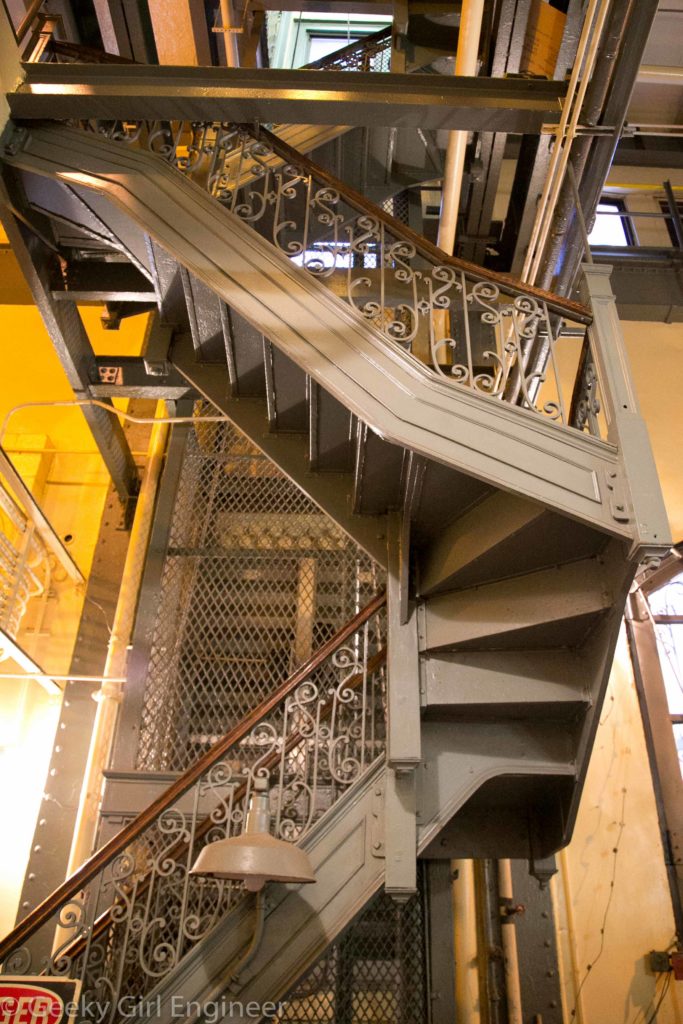
I got to the MTA’s Substation #13 through the New York Transit Museum recently. The substation converts high voltage AC electricity from the grid and converts it to a lower voltage DC electricity that is used to operate subway trains via the third rail. The substation was originally built in 1904, and it fits into the category of “they don’t build them the way they used to.” The outside looks like a nice neighborhood building, and it has architectural aspects that I really wouldn’t expect from a substation. For example, an interior staircase has lovely decorative balusters.
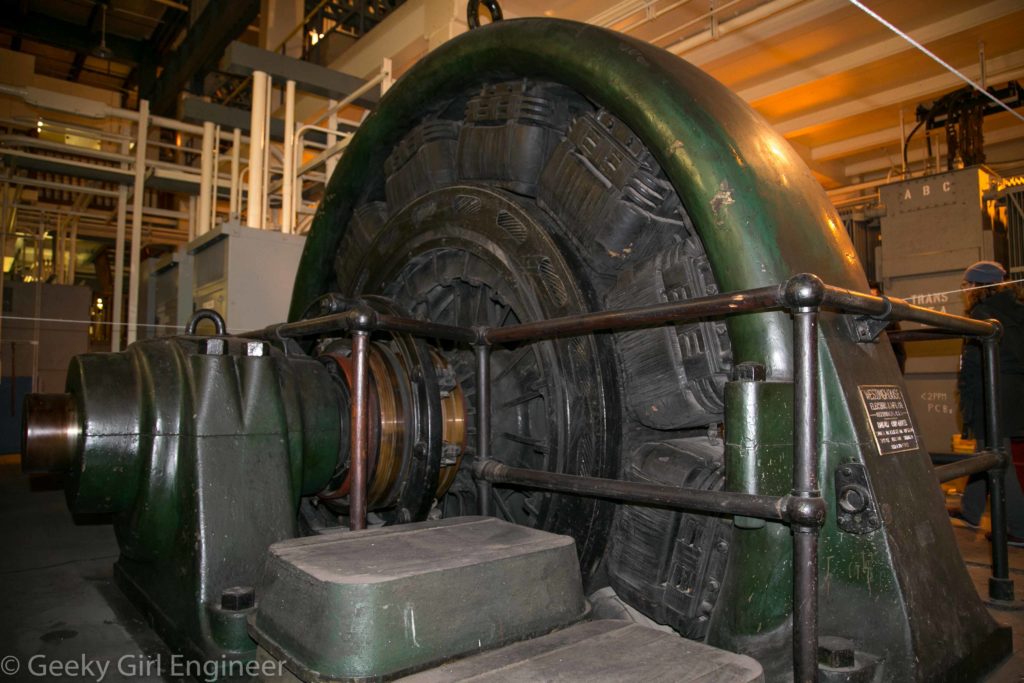
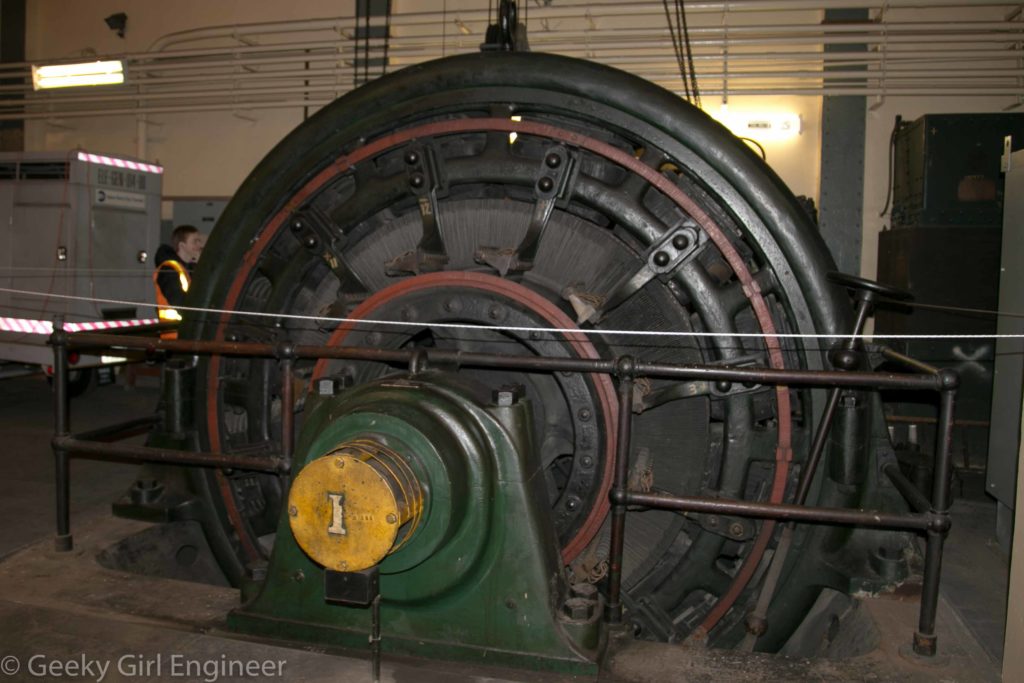
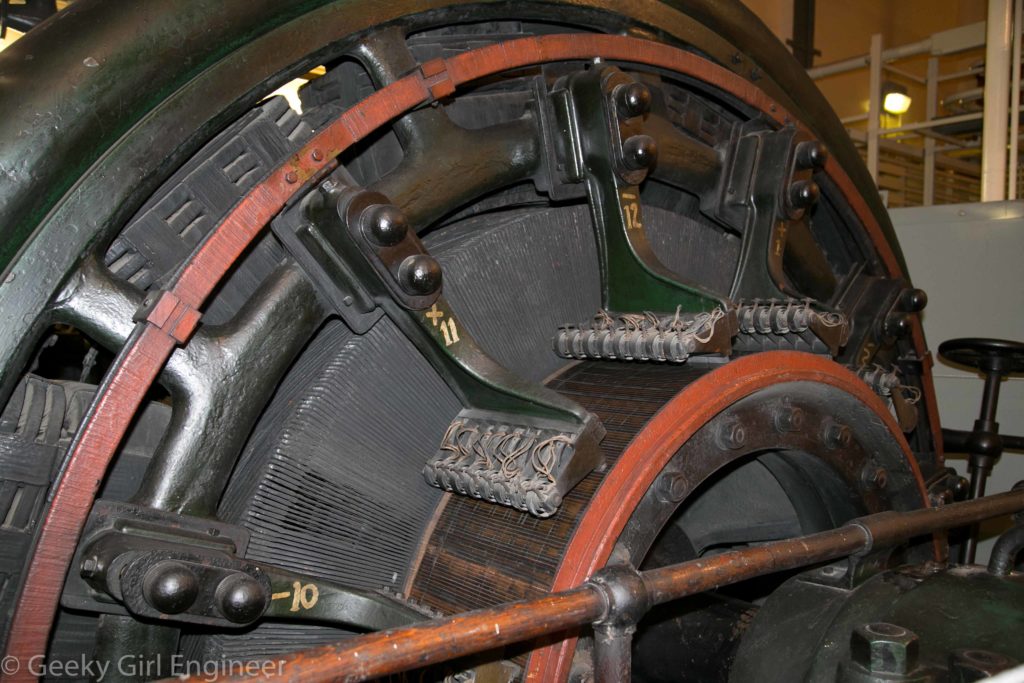
Inside the substation are large rotary converters, specifically Westinghouse 1,500 kilowatt Rotary Converters. The rotary converters are what used to transform the AC electricity to DC electricity. Now modern solid state rectifiers are used to transform the electricity, and they are much more compact. The old rotary converters were used until 1999, when this substation was switched to the new equipment.
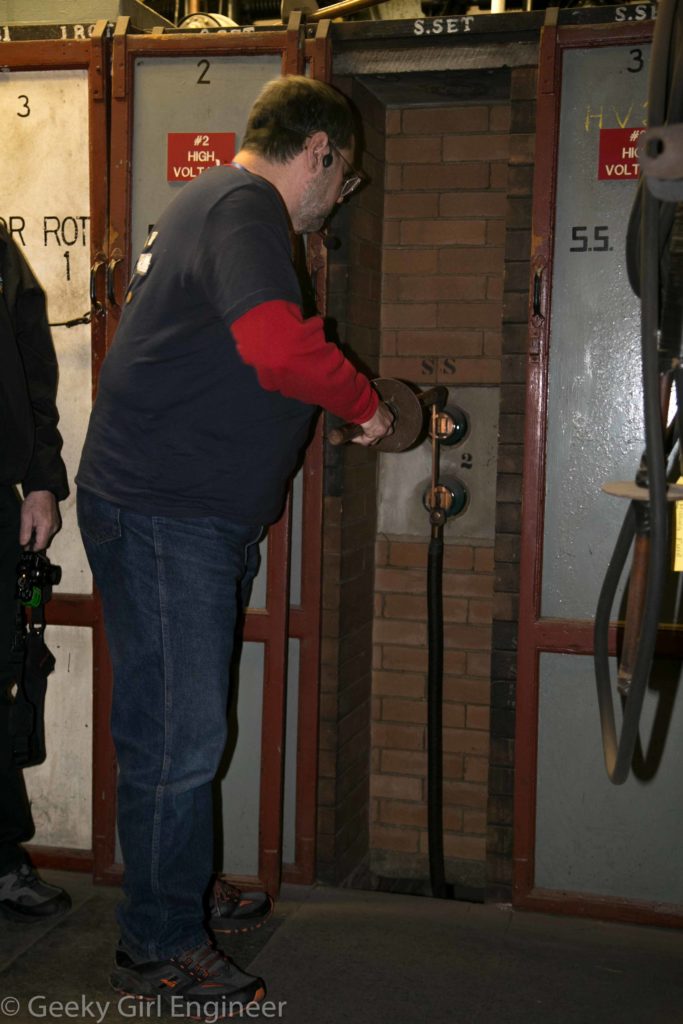
Our guide was retired general superintendent Robert Lobenstein, who showed us around. He also showed us how workers used to have to do normal work, like changing switches and listening for crackling to make sure a wire was not live.
We got to go into the basement which had all sorts of old equipment.
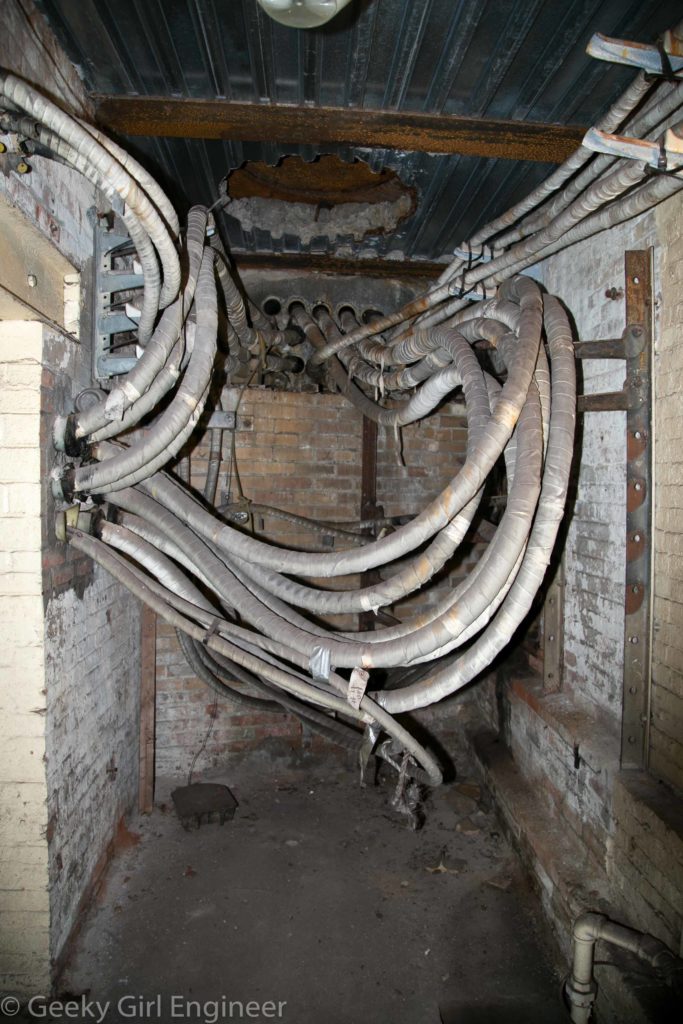
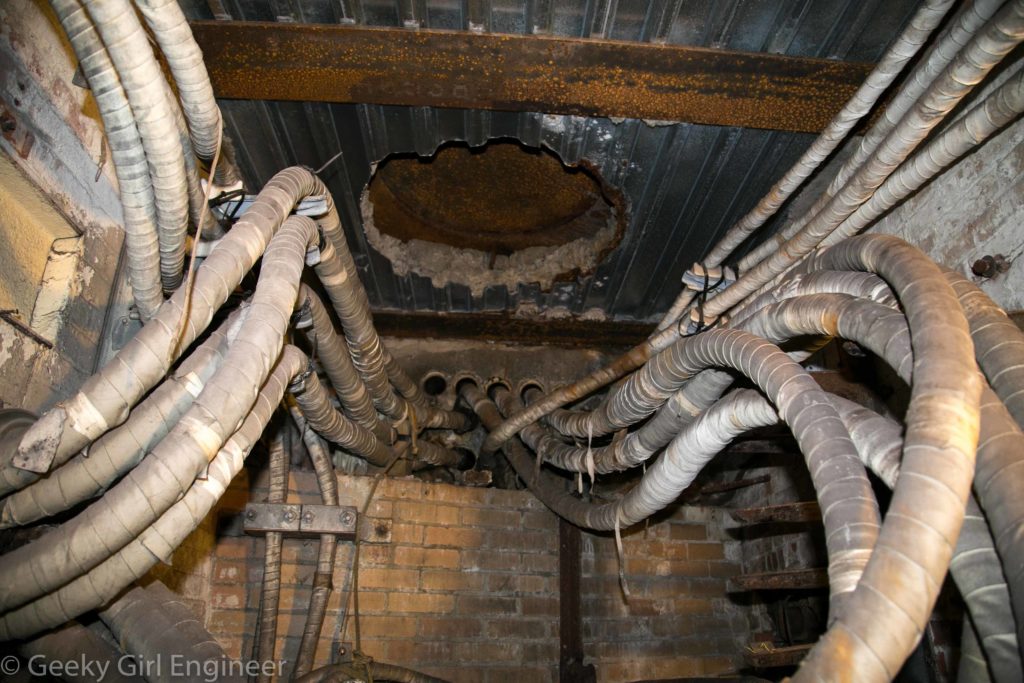
We even got to go into a vault under the street where cables left the substation to go to the subway. The vault can be accessed through a door in the basement or through a manhole in the street. Normally this type of vault could only be accessed through a manhole. The cables go through conduits that are buried under the street. The cables are tagged, but it still looks like it would be difficult to find the right one if needed.
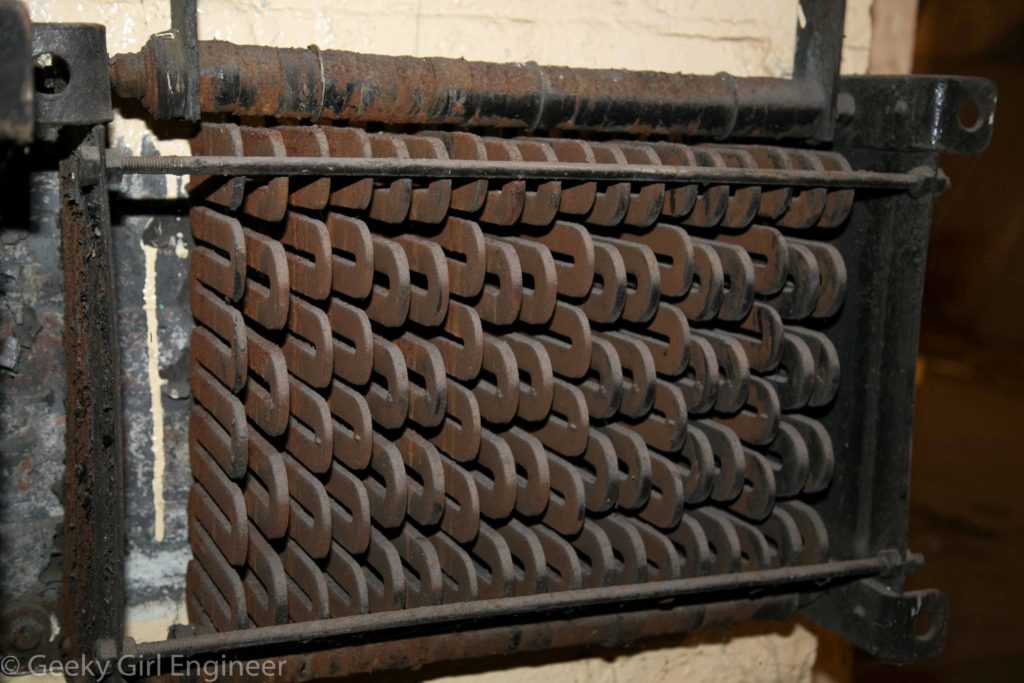
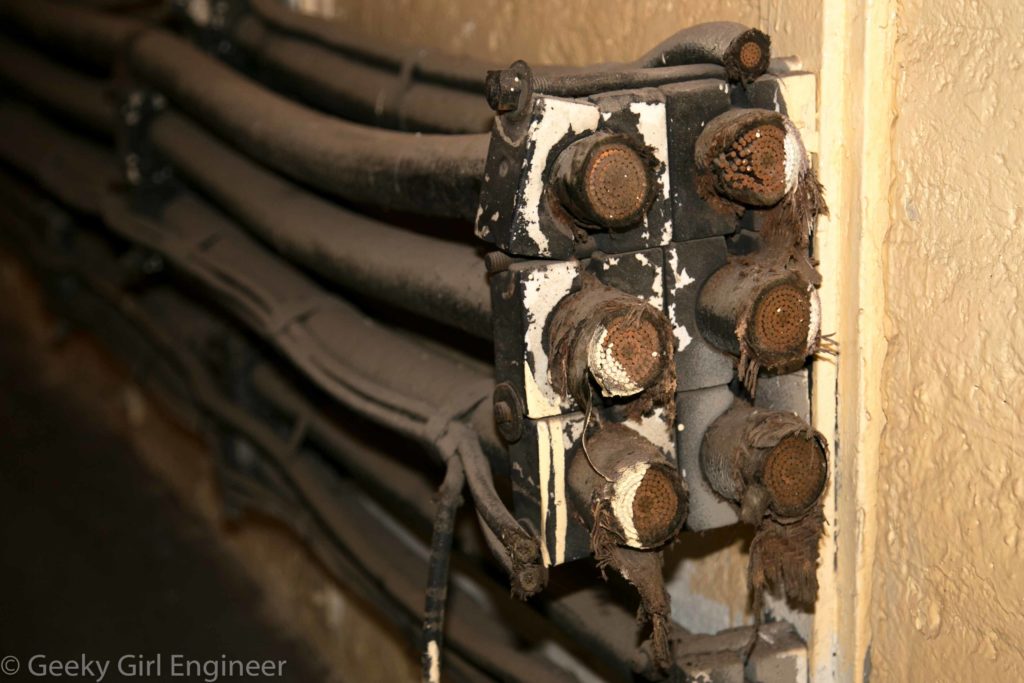
Back inside the basement, some of the equipment was still being used, but some was no longer needed, like some massive cables that were cut.
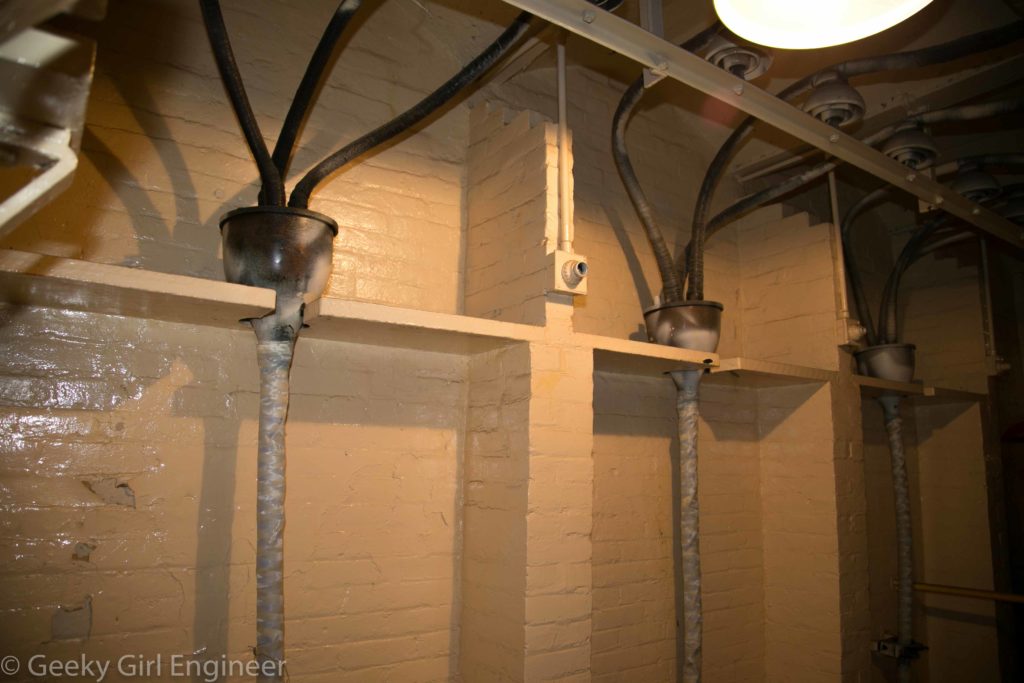
Cables come in from the ground from the grid and are then split before going upstairs to the transformation equipment.
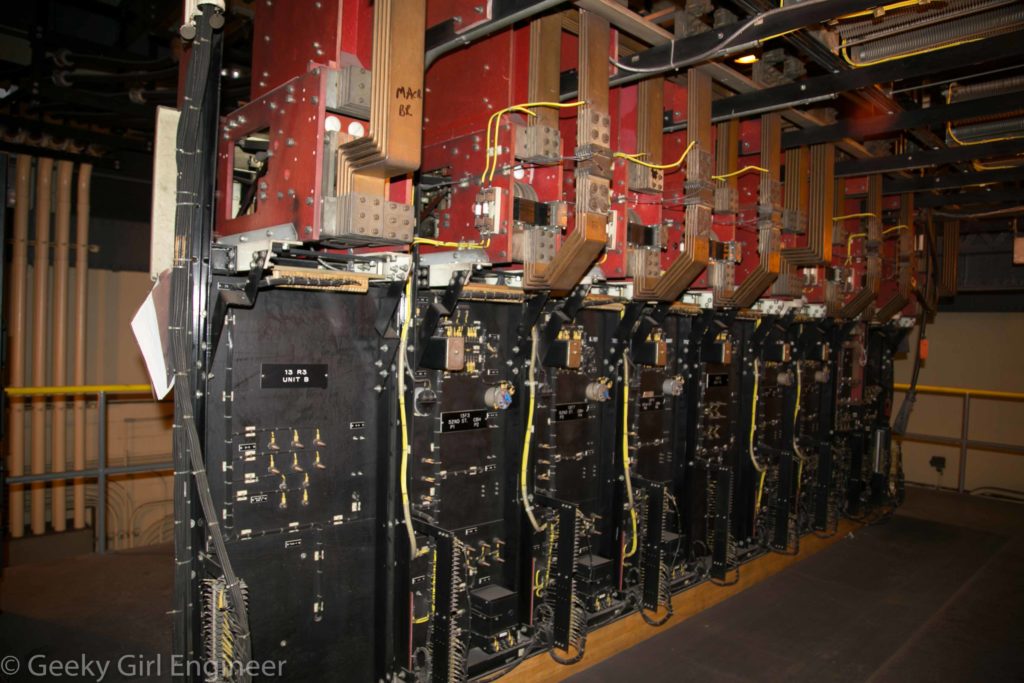
We then went upstairs were the new equipment was, including the solid state rectifiers and the biggest breakers I have ever seen. The breakers are in the circuit with the third rail. They detect surges in the third rail and cut off power before a fire or some other damage can occur. There is a lot of redundancy with the circuit breakers. Our guide turned one off, so we could hear how loud it is, but because of redundancy, it had no effect on the subway.
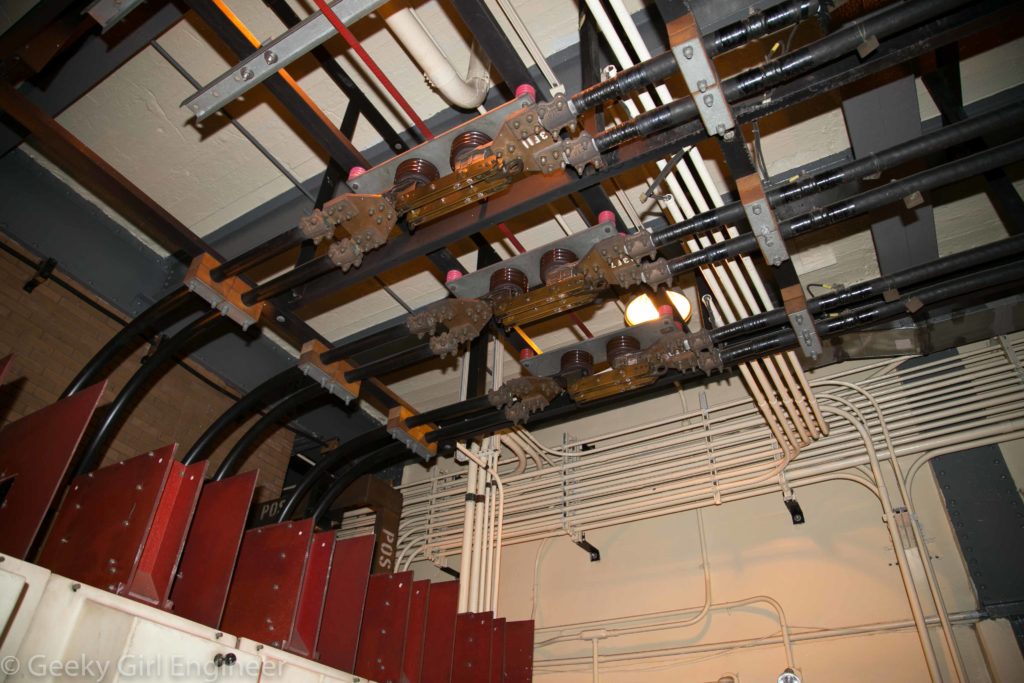
The solid state rectifiers are very different in appearance, at least, from the rotary converters. [I understood very little about this.] What amazed me during the tour, was when I finally understood I was actually staring at the third rail. The long copper plates in the photos are the third rail, which leave the substation and go to the subway. The positive rail is the equivalent of the black or red wire in a house’s wiring. The negative is the equivalent of the white wire in a house’s wiring.
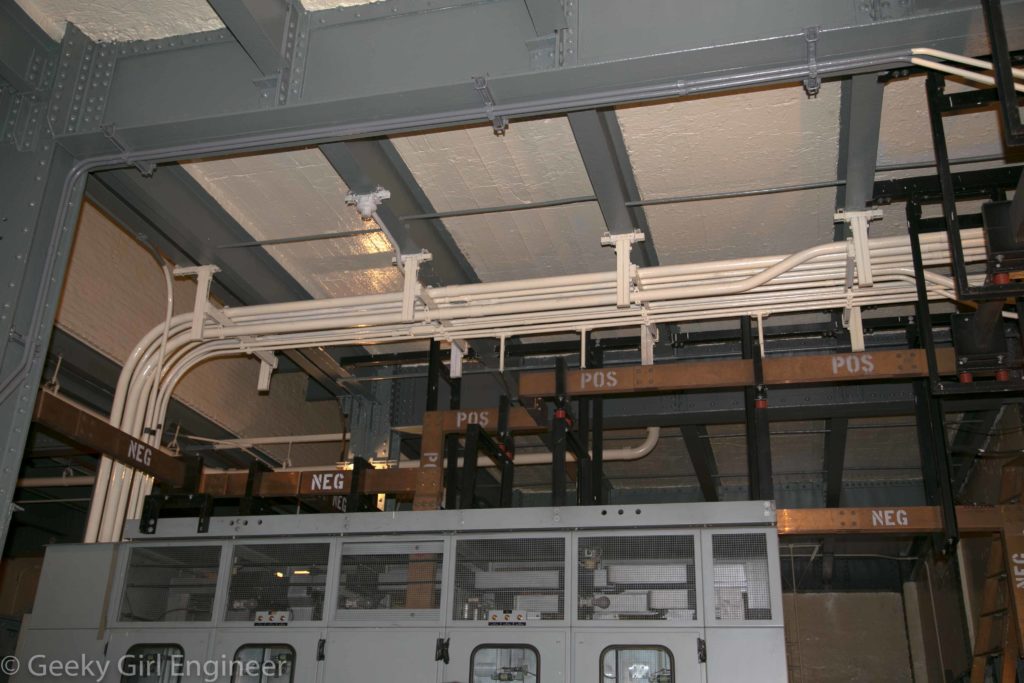
Third rail leaves the rectifiers. The positive rail “POS” goes to the subway. The negative rail “NEG” goes to a central location to complete the circuit.
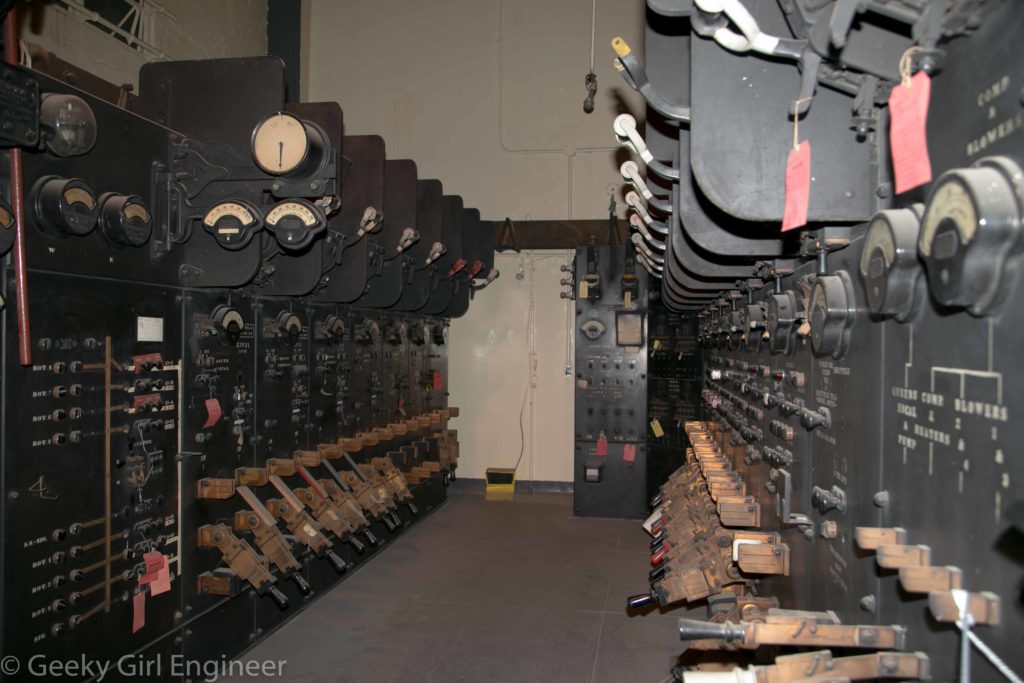
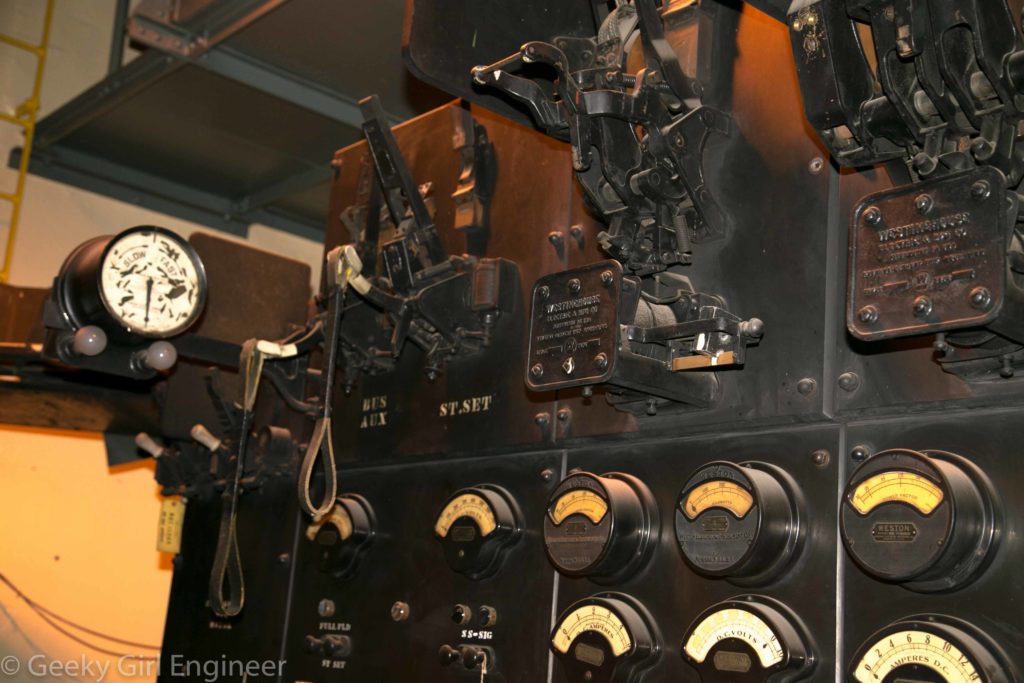
Also upstairs was this amazing old series of electrical switches, dials, and gauges. None of this stuff is used anymore, but it really cool looking. I liked how everything was tagged out, never to have the tags removed again and be turned on again.
Finally at the end of the tour, they turned on the rotary converter for us. Below is a video if you want to see it in action. It is almost hypnotic. During a portion of the video, you will see five lightbulbs on a wooden board sitting on the floor. They are being powered by the converter. After it is turned off and slowly slows down, the lights dim and then turn off.
Lowline Lab
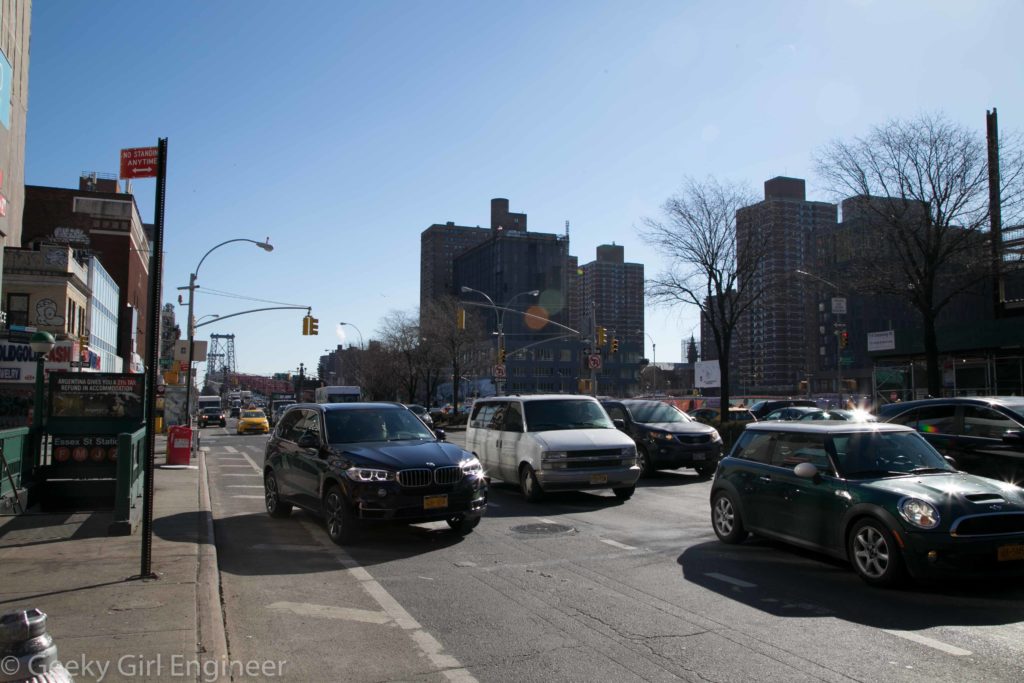
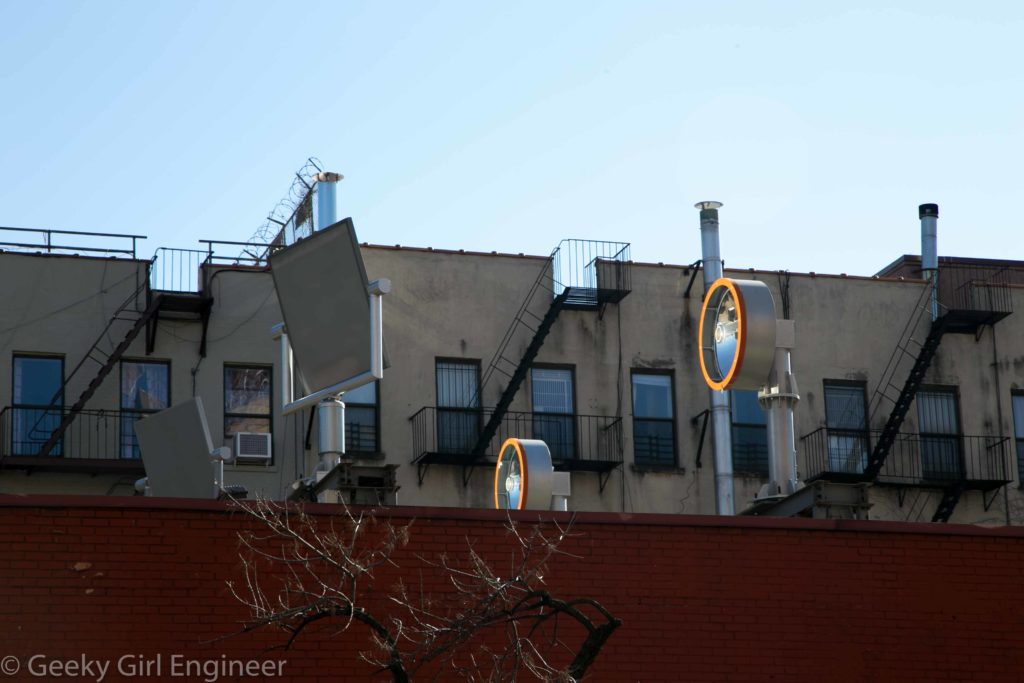
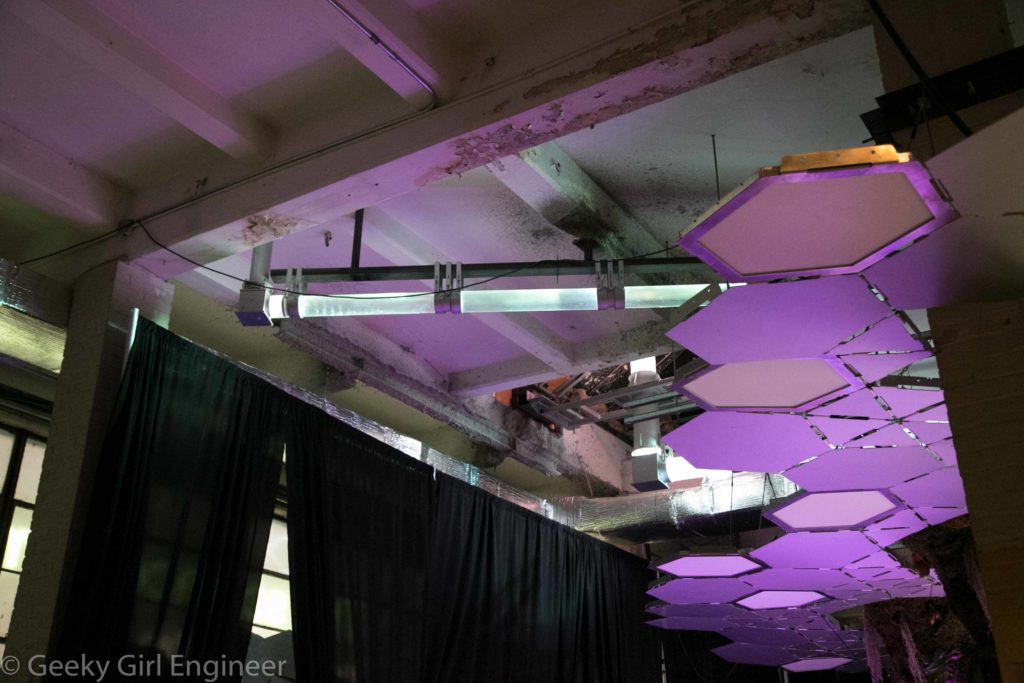
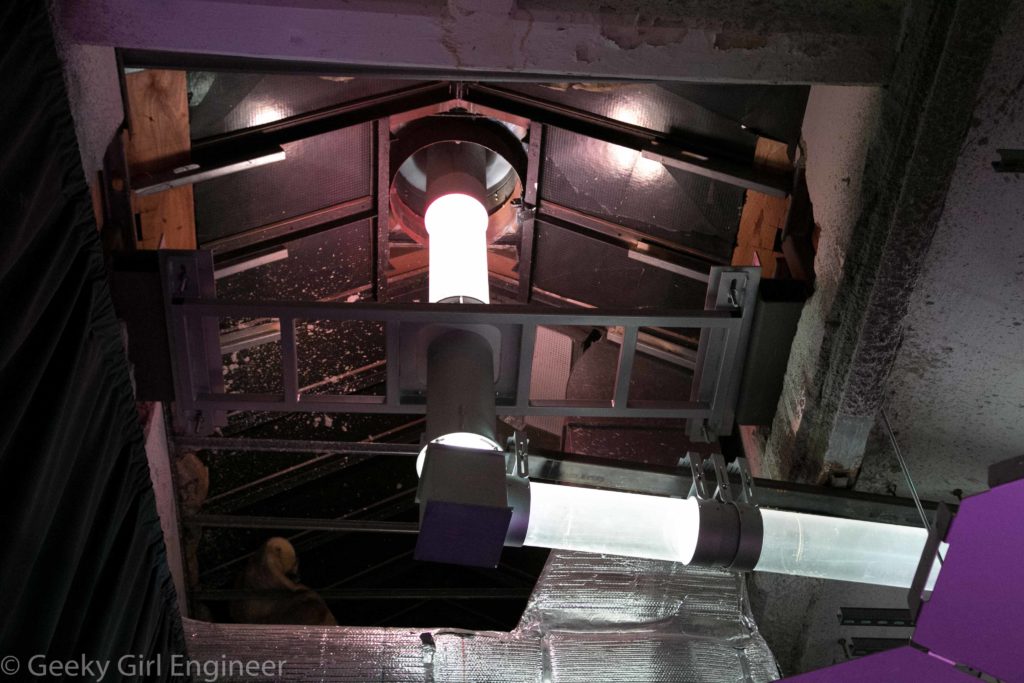
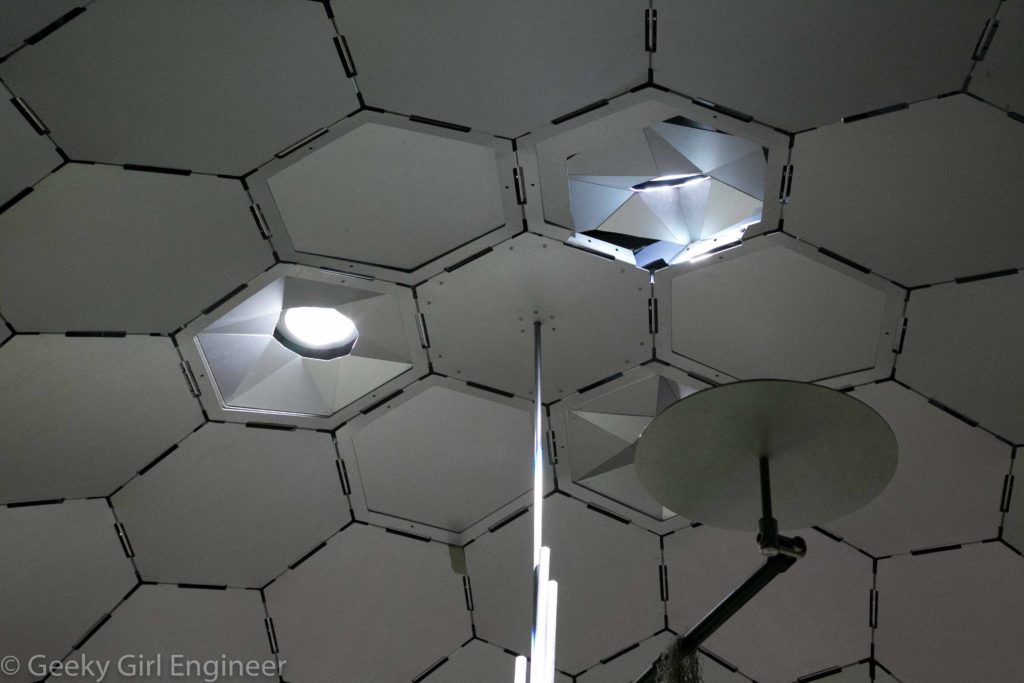
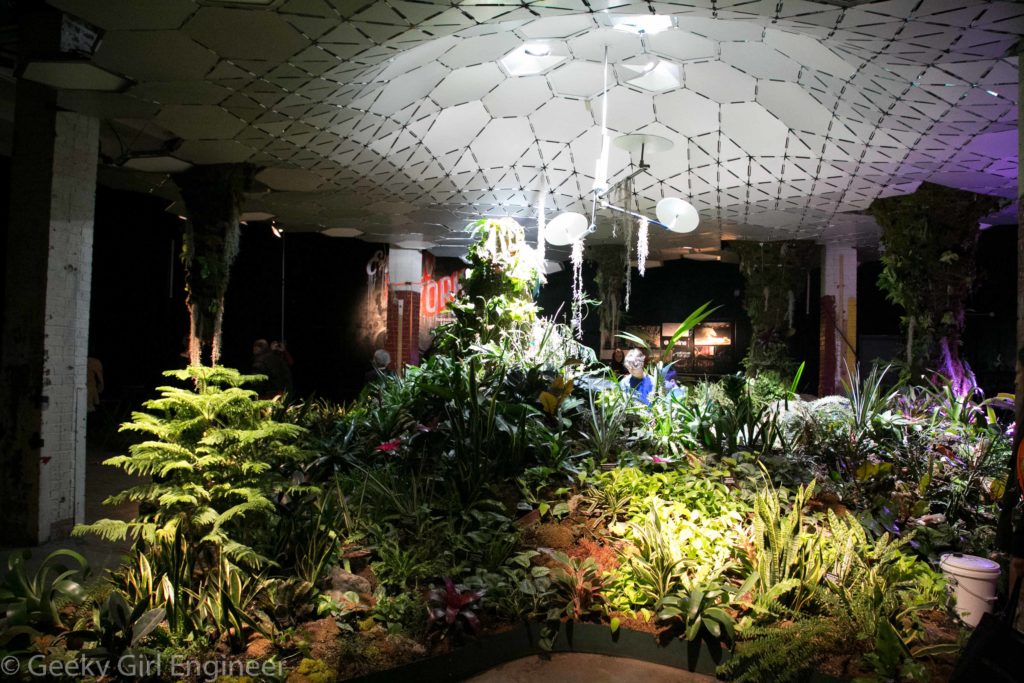
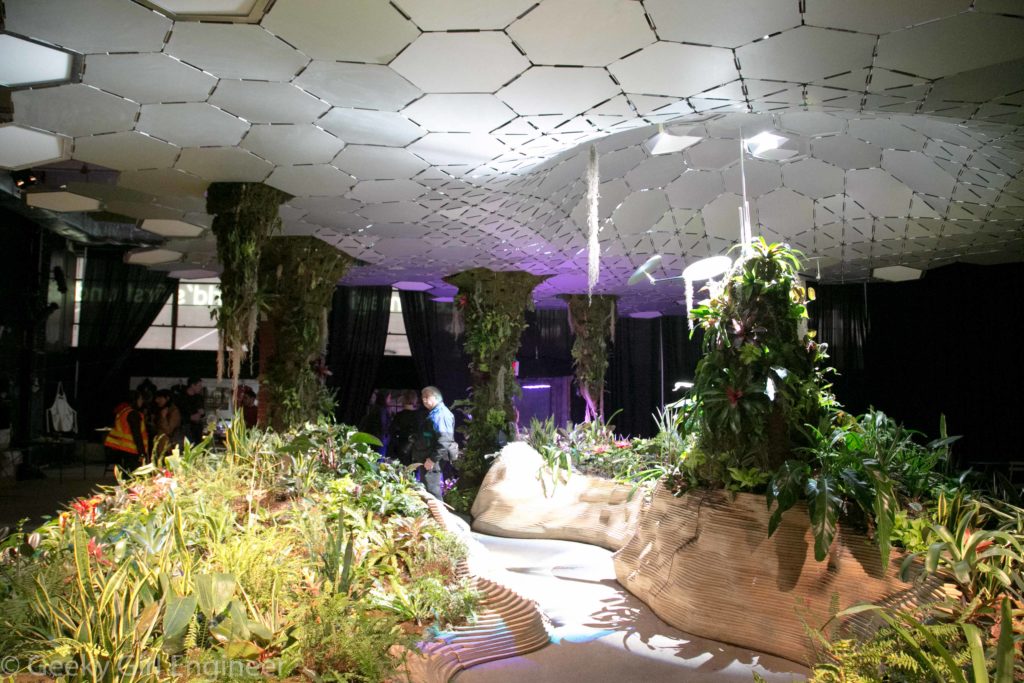
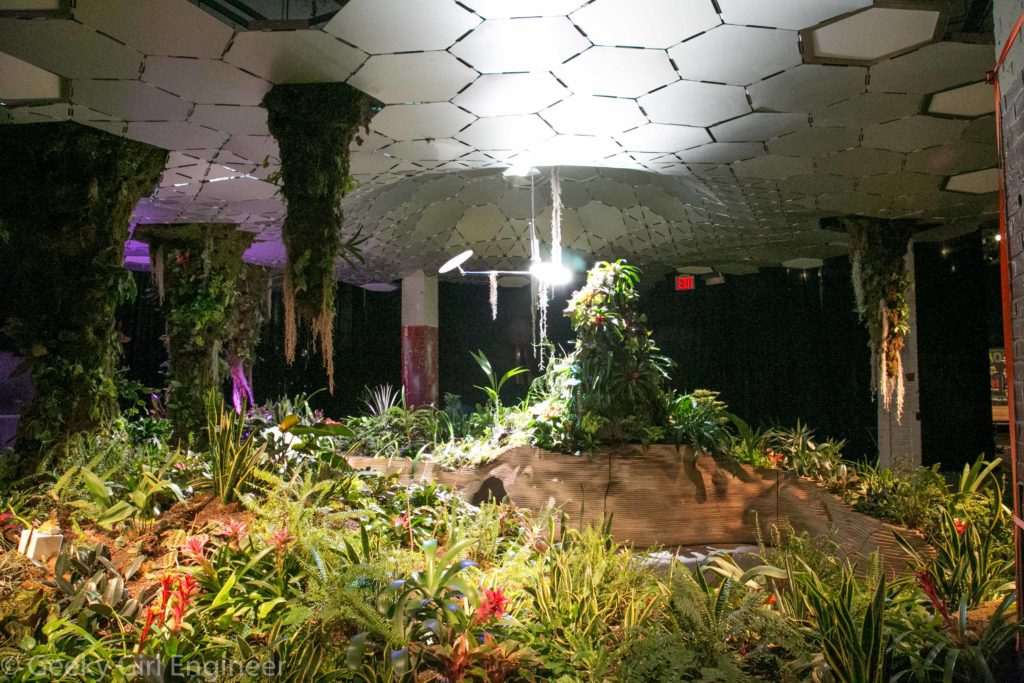
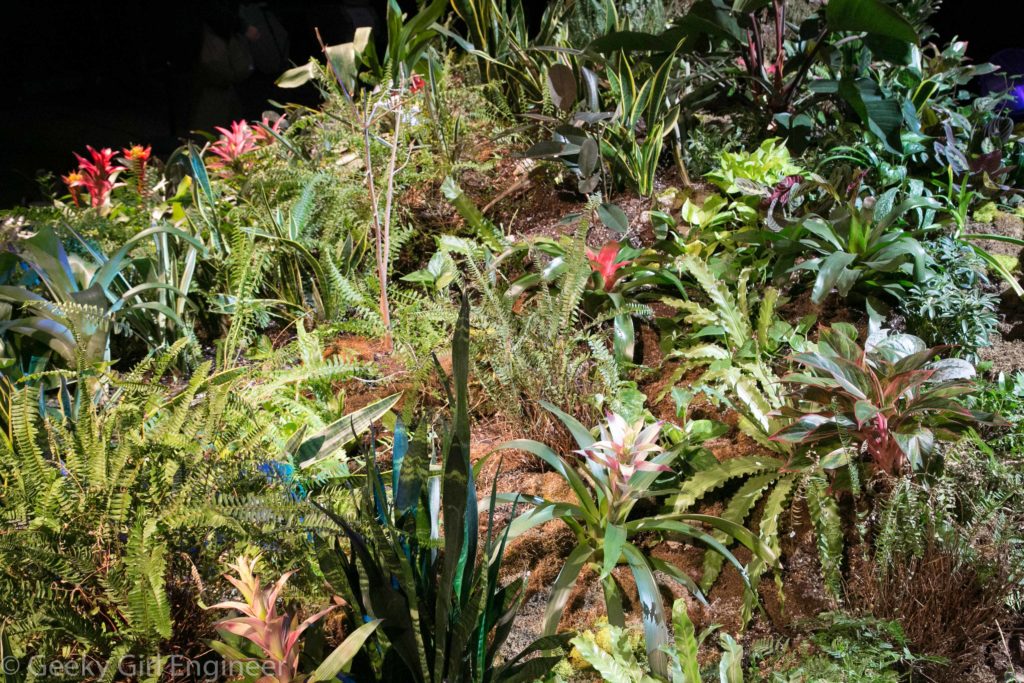
Many people are familiar with New York City’s Highline, which has become a really popular spot with tourists and residents. It it is really cool, and beautiful all year round, in the dead of winter and in bloom. Because of the Highline’s success, some people came up with the idea of the Lowline. The Lowline would make use of of the abandoned Williamsburg Bridge trolley terminal under Delancey Street, which is right next to the Essex Street subway station. However, the somewhat radical idea for the Lowline is that it would make use of sunlight to light the space, which is completely underground. To help design and work out issues with this idea, the Lowline Lab was created. It is now closed, but luckily about a month ago I got to tour it.
I encourage your to click the hyperlink to my photos of the Williamsburg Bridge trolley terminal under Delancey Street because in order to comprehend the challenge of this project, you really need to see the space as it is now.
Snorkeling Belize
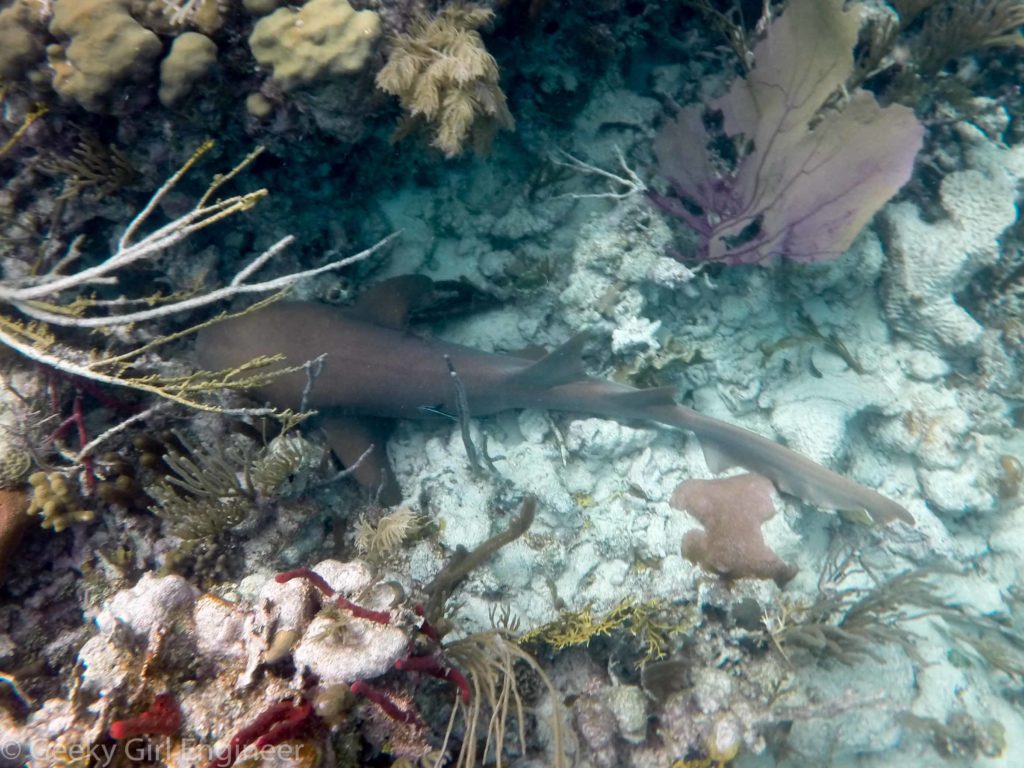
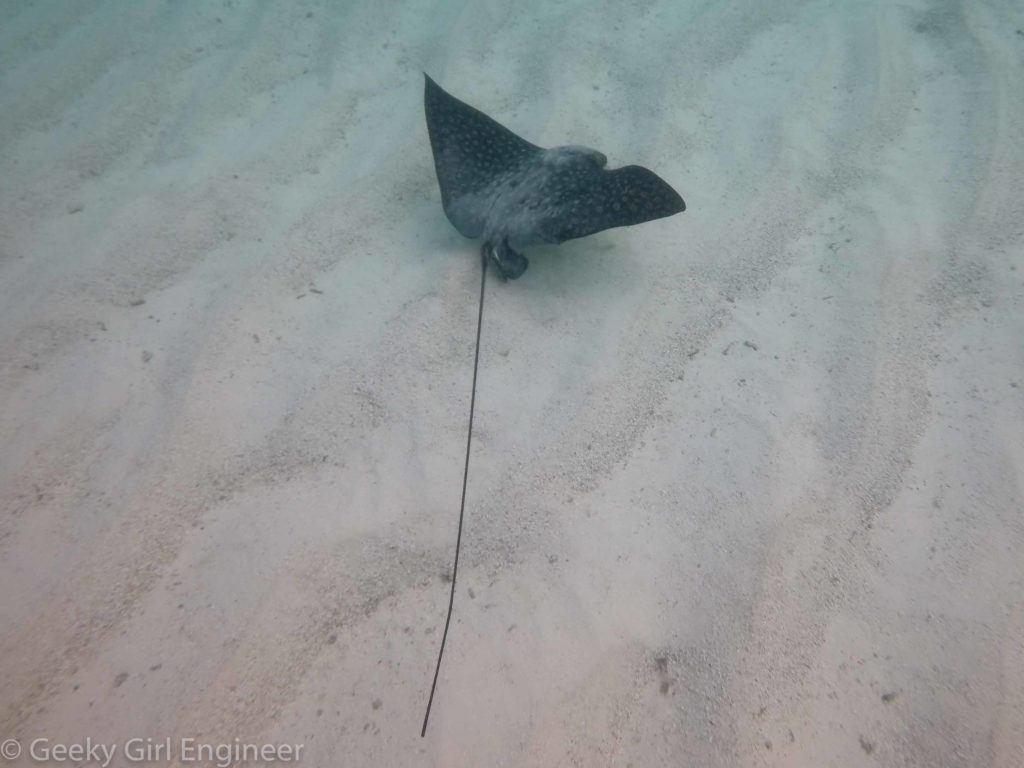
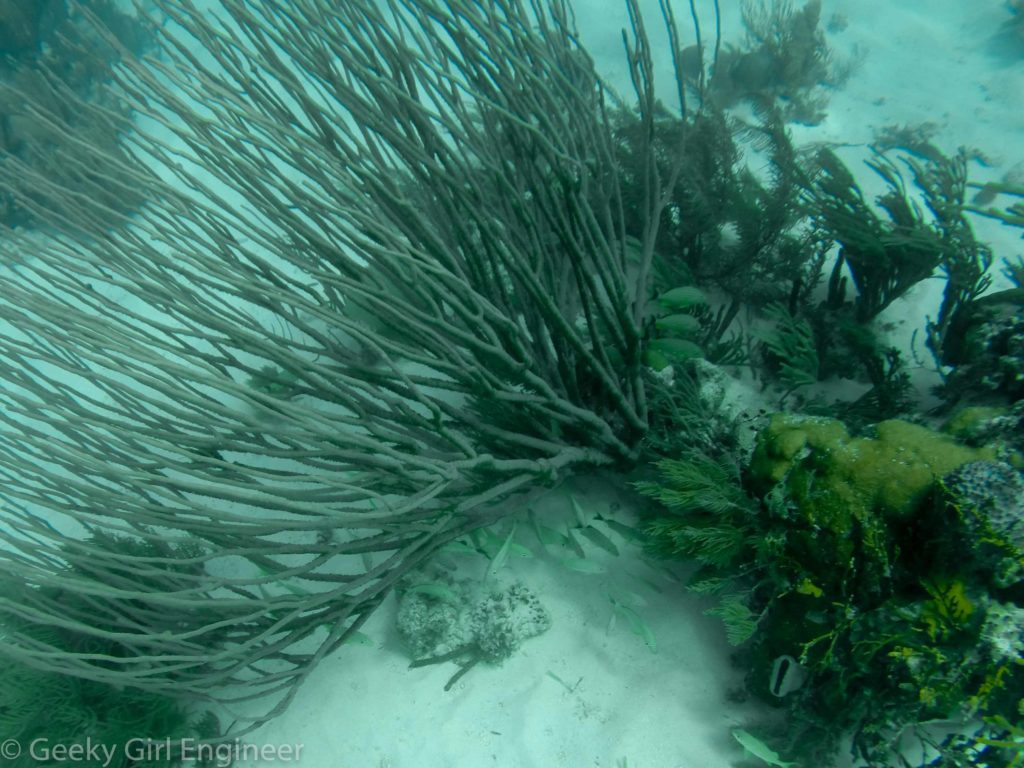
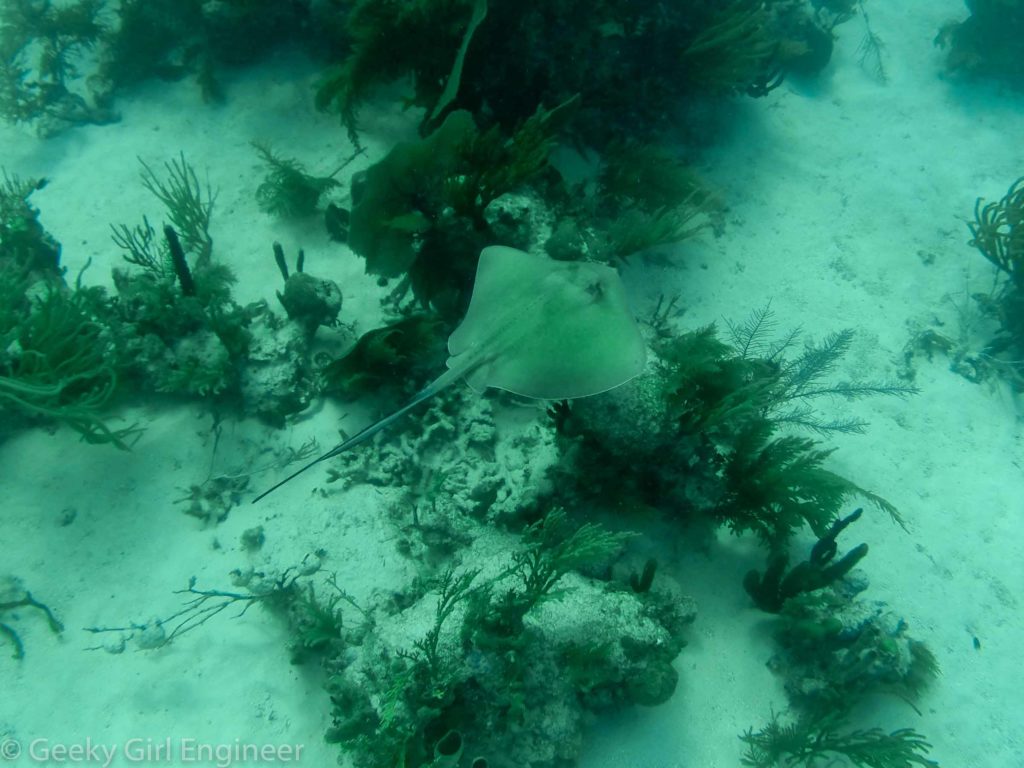
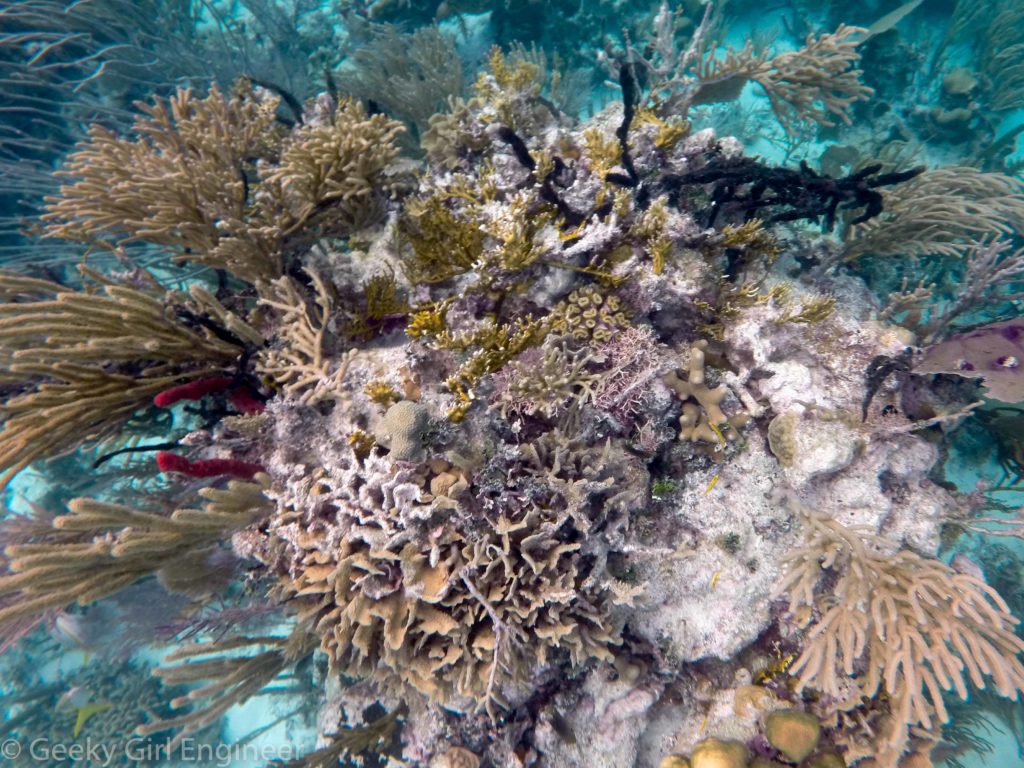
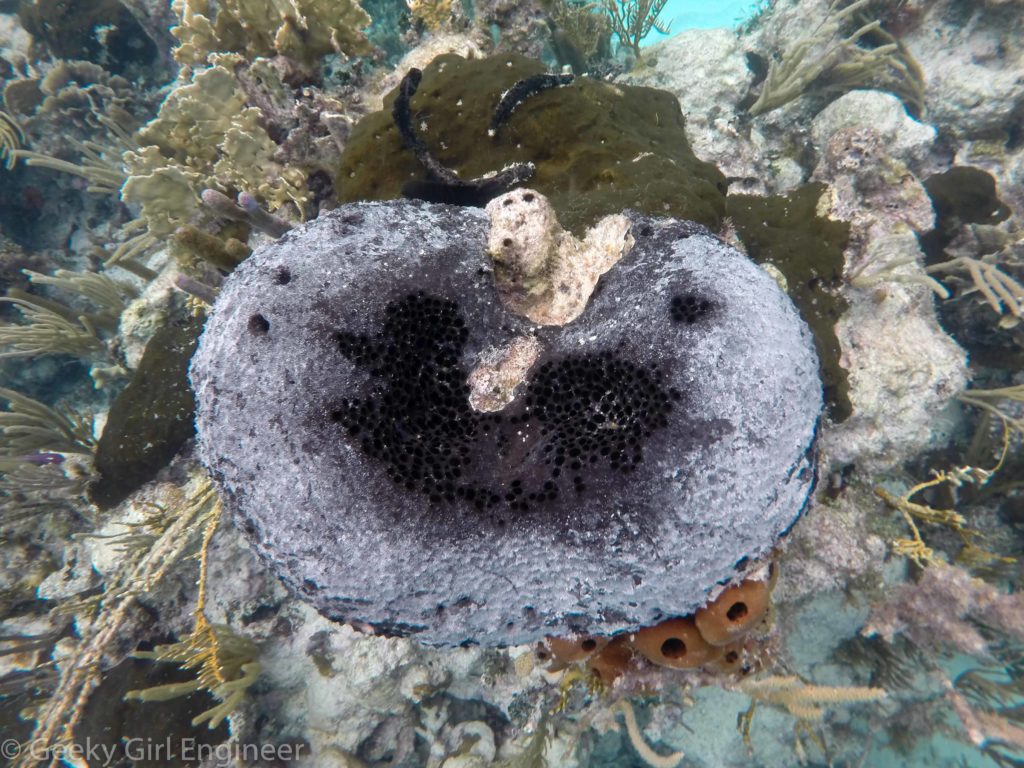
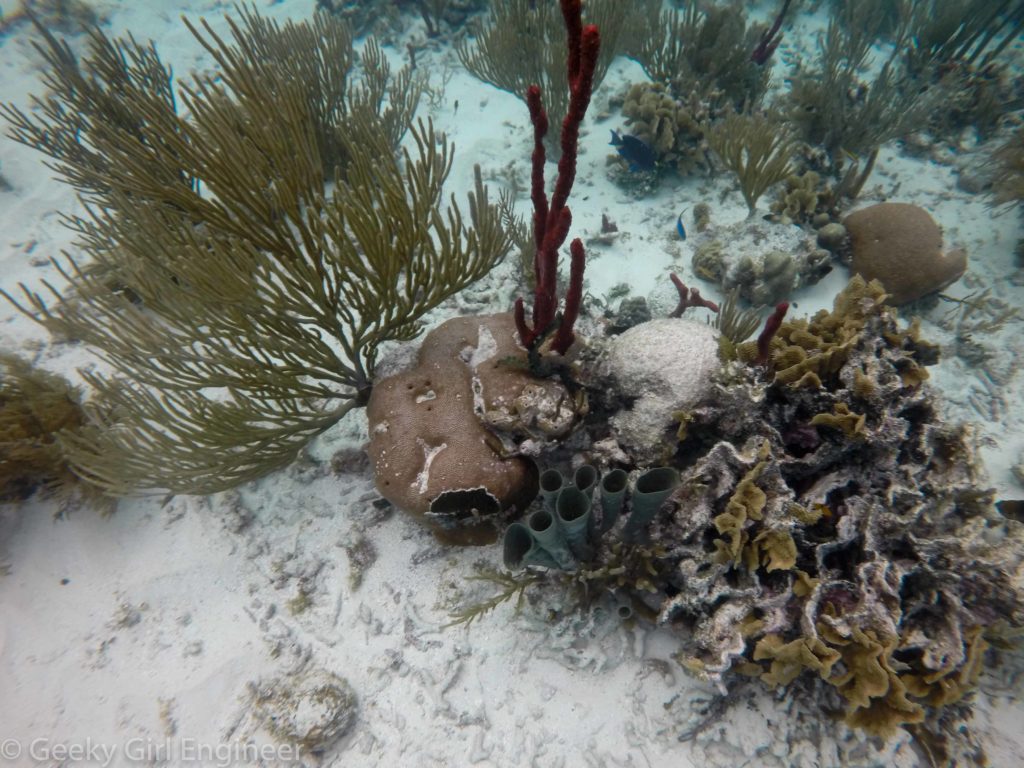
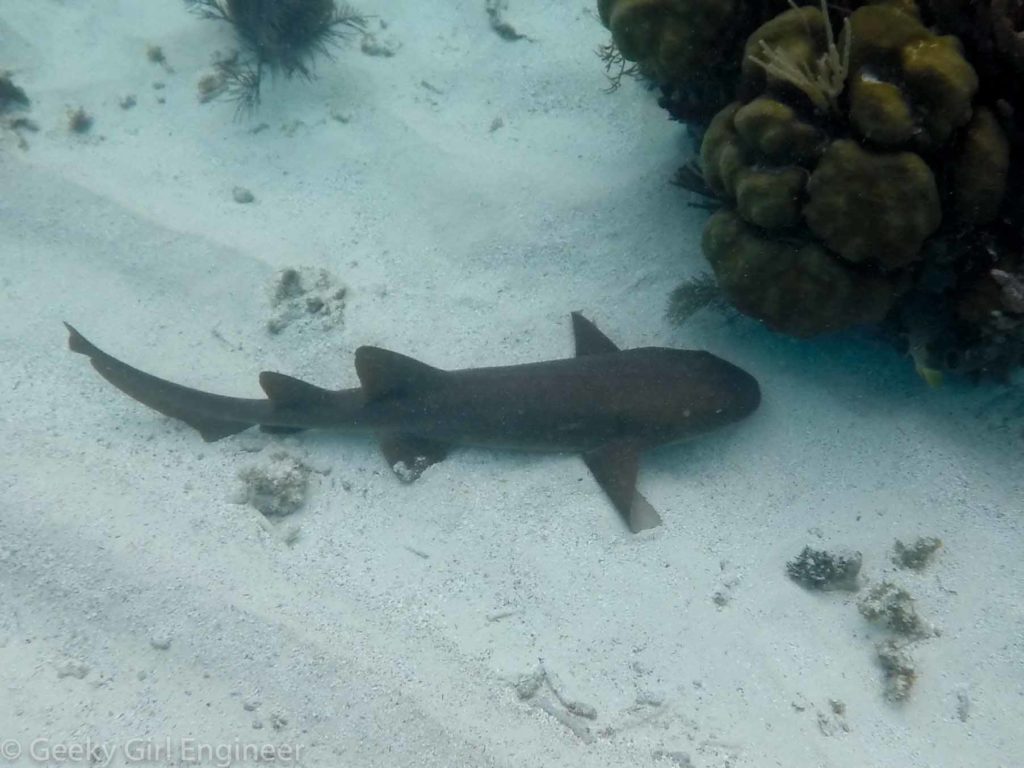
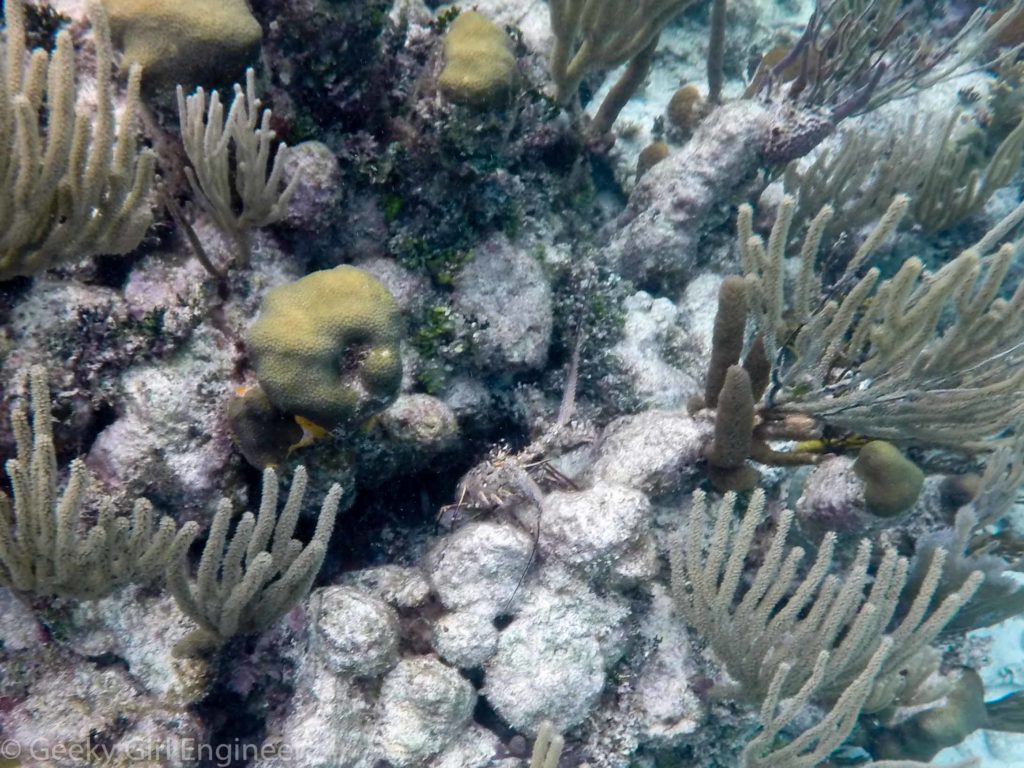
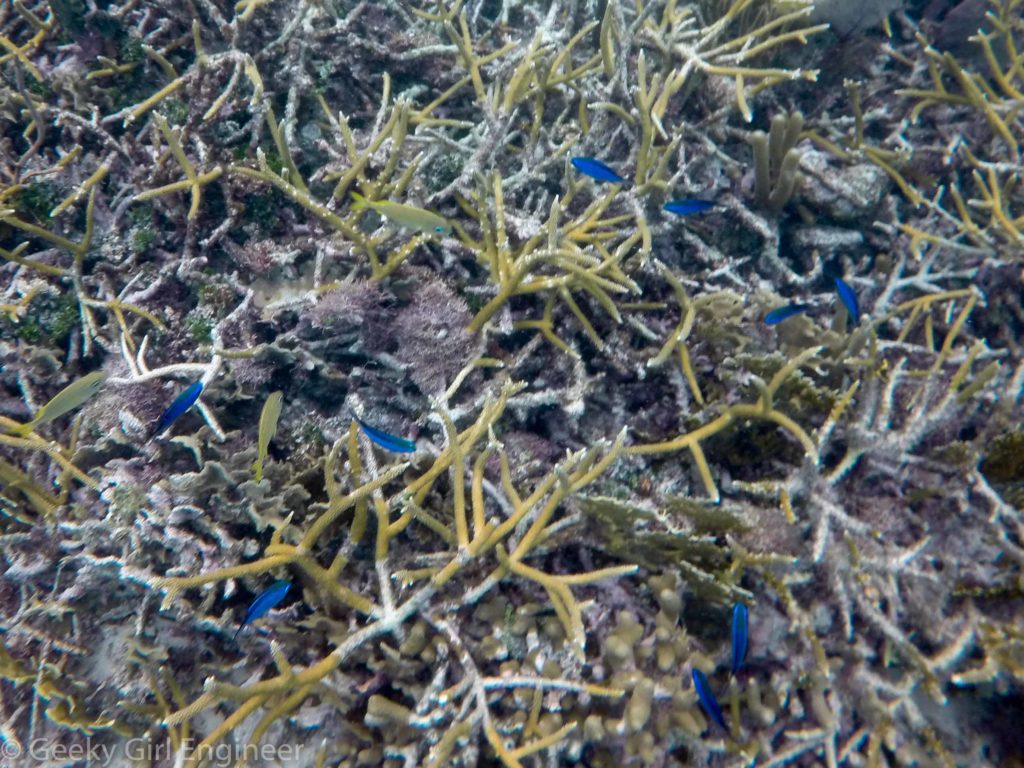
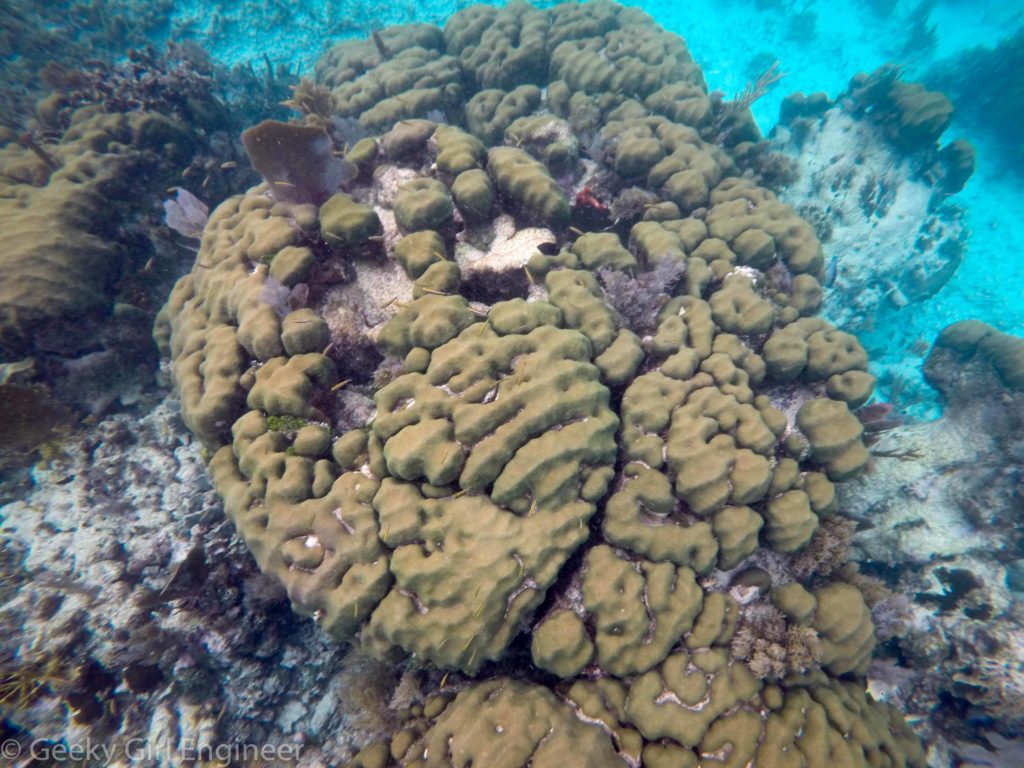
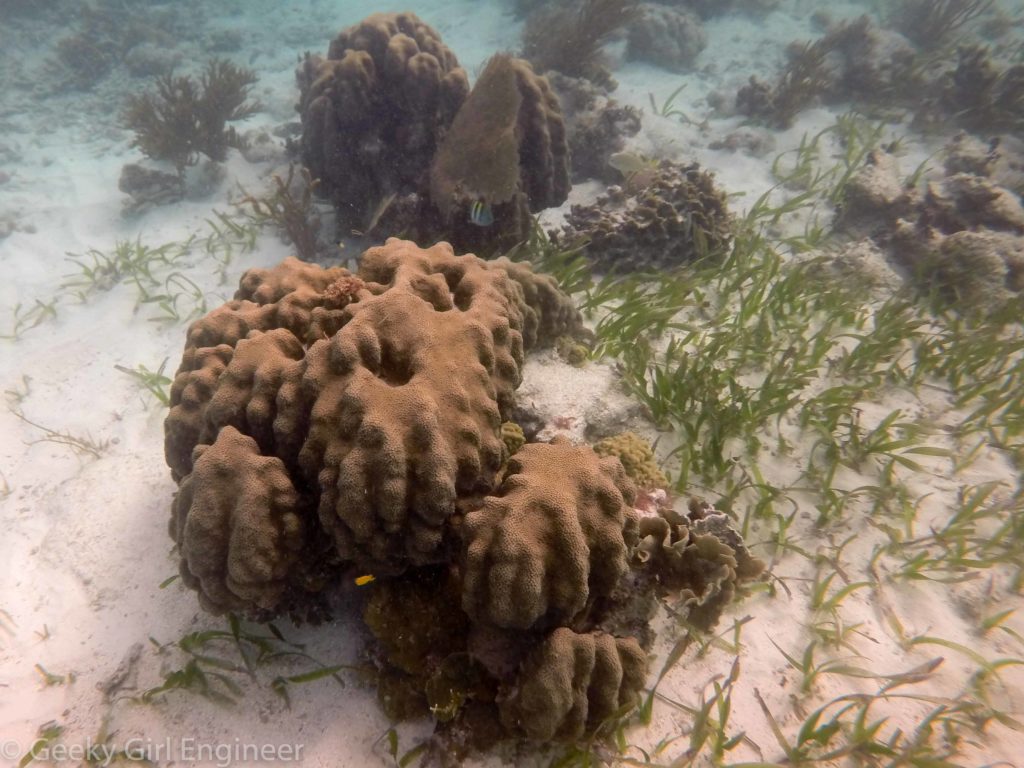
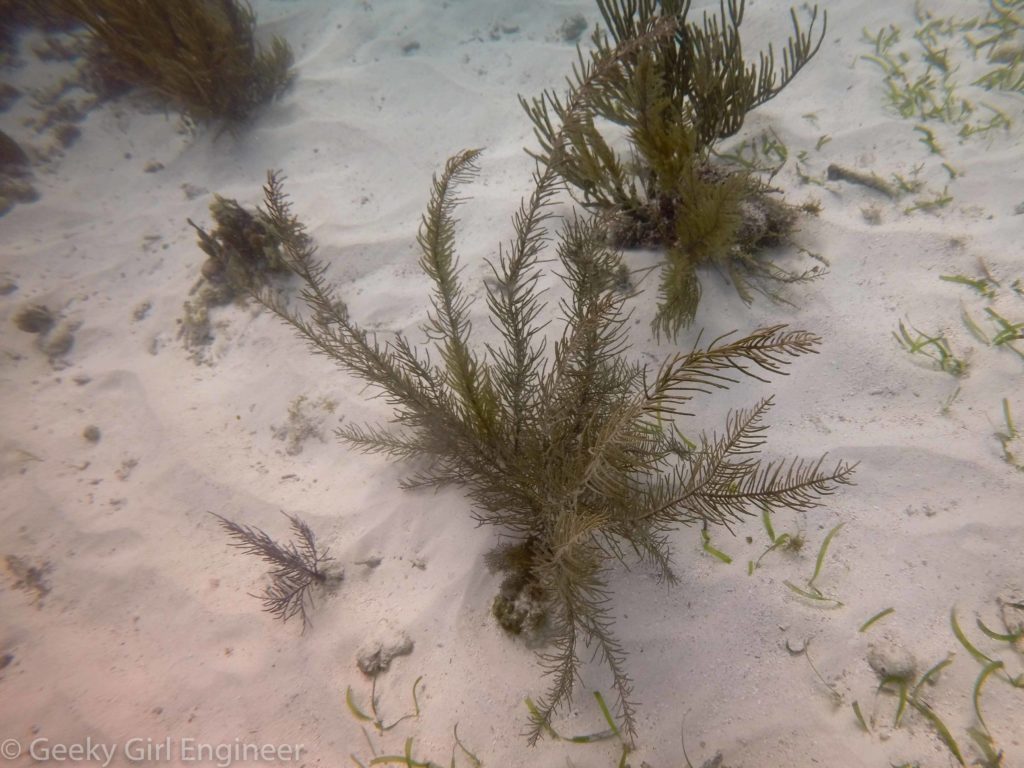
I went snorkeling today off the coast of Belize on part of its barrier reef. I have no true idea where I was, other than they said the boat ride was going to be about 14 miles. So that clears that up. Anyway, I saw several lobsters, a couple of rays, and a couple of nurse sharks. I was super excited by the rays and sharks. The coral was lovely, but somewhat sparse in that area. Also, there seemed to be a bit of what I can only assume was coral bleaching, which was rather depressing.
On the Monkey River
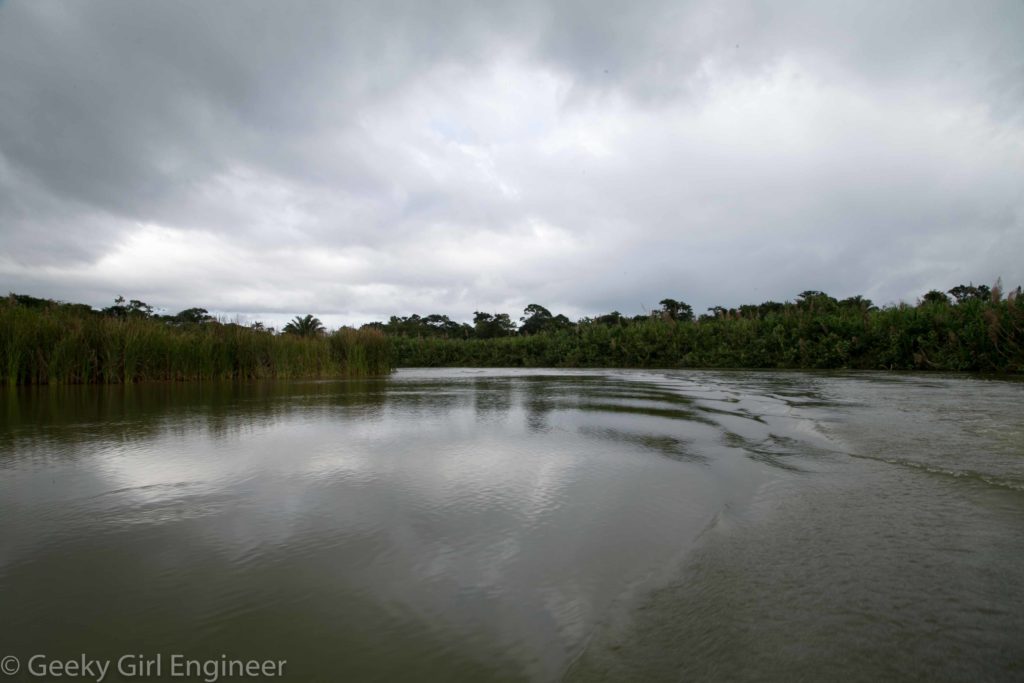
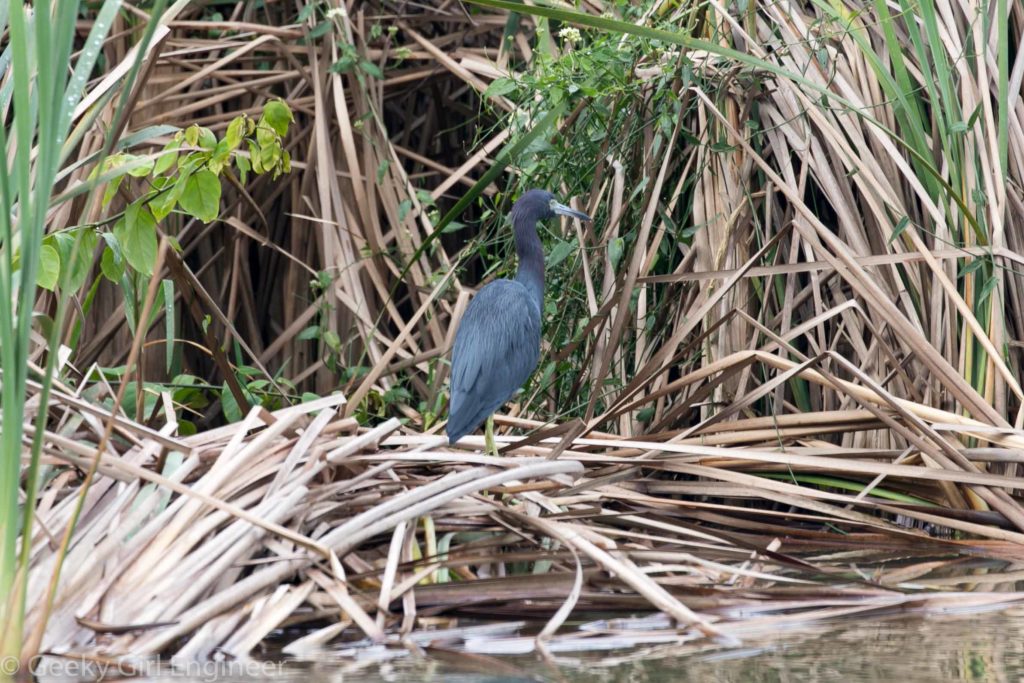
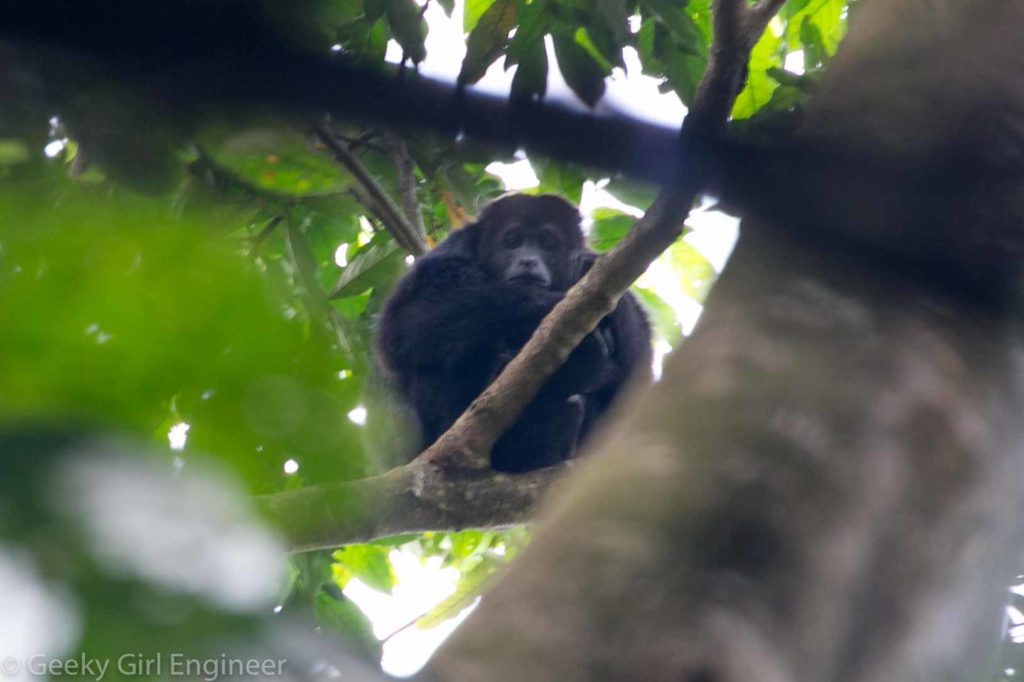
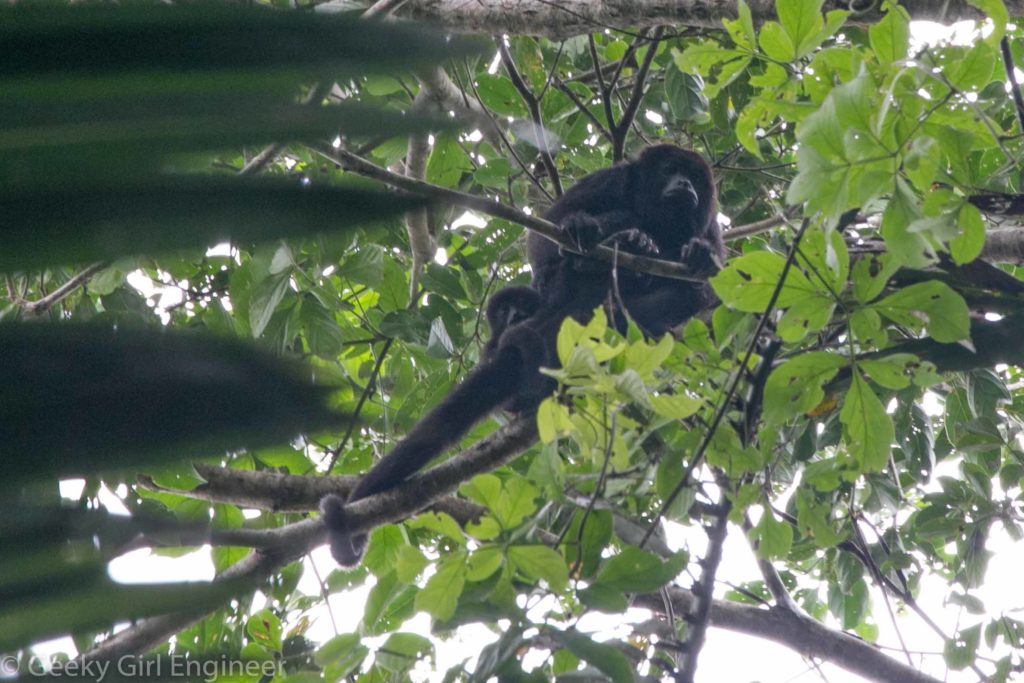
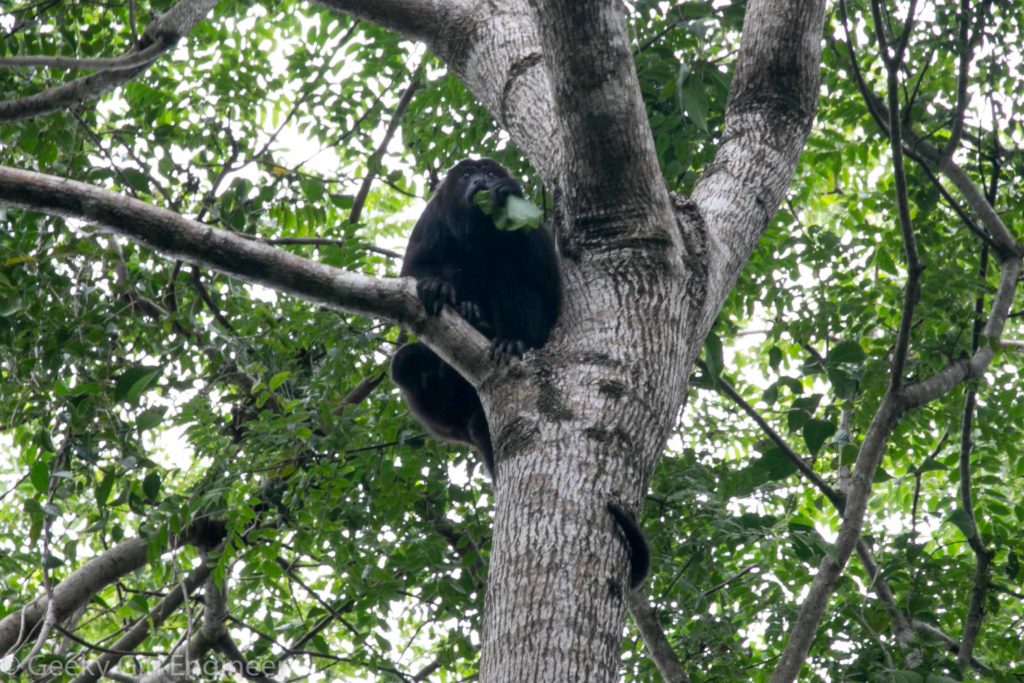
I took a cruise up the Monkey River today. Getting there was an adventure into itself. An hour drive to Placencia, then at least a half hour boat ride to Monkey River Town, to finally then cruise up the Monkey River. The journey ended at a spot in the jungle which is completely overrun by mosquitoes, but there are also some howler monkeys. The howler monkeys are about as loud as you can imagine an animal that gets the name howler would be. The Monkey River flows through a grassy and mangrove area that is quite pretty. There were numerous birds just sitting along the edge waiting to be spotted. Our guide also spotted a crocodile on the way back that nicely ignored us.
Making chocolate
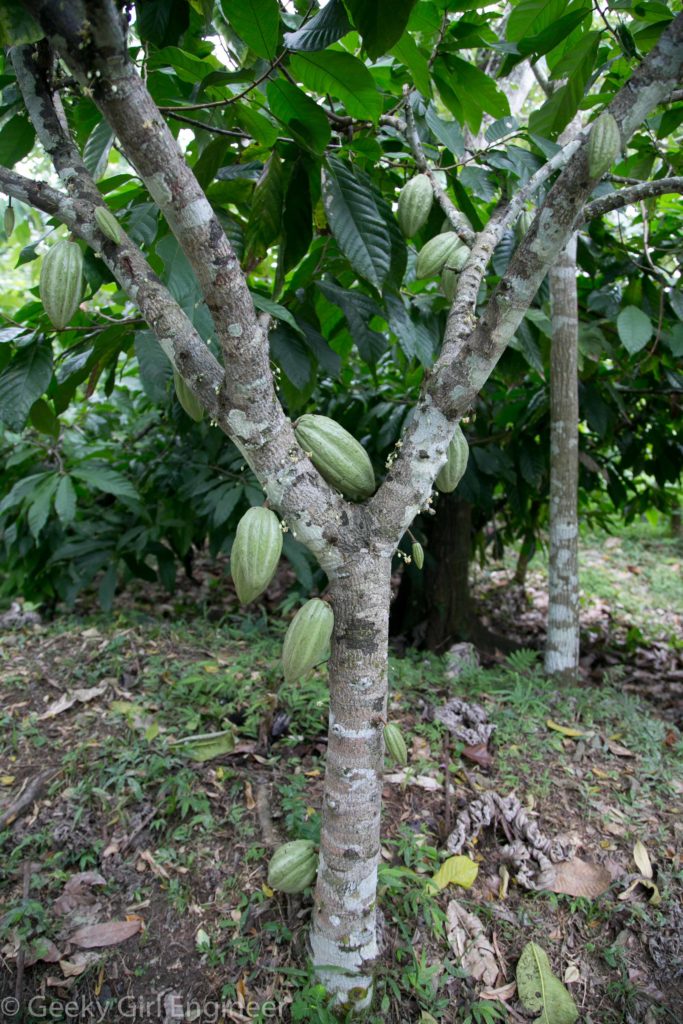
I took a tour of Che’il Mayan Chocolate, which included an organic cacao farm and a tiny factory where they make chocolate. I am not sure it qualifies as a factory, but they make do make a small amount of chocolate there as well as some chocolate products like nibs, cocoa powder, and cacao tea. The tour was fascinating, and the following is a brief synopsis. It all starts off with a cacao tree.
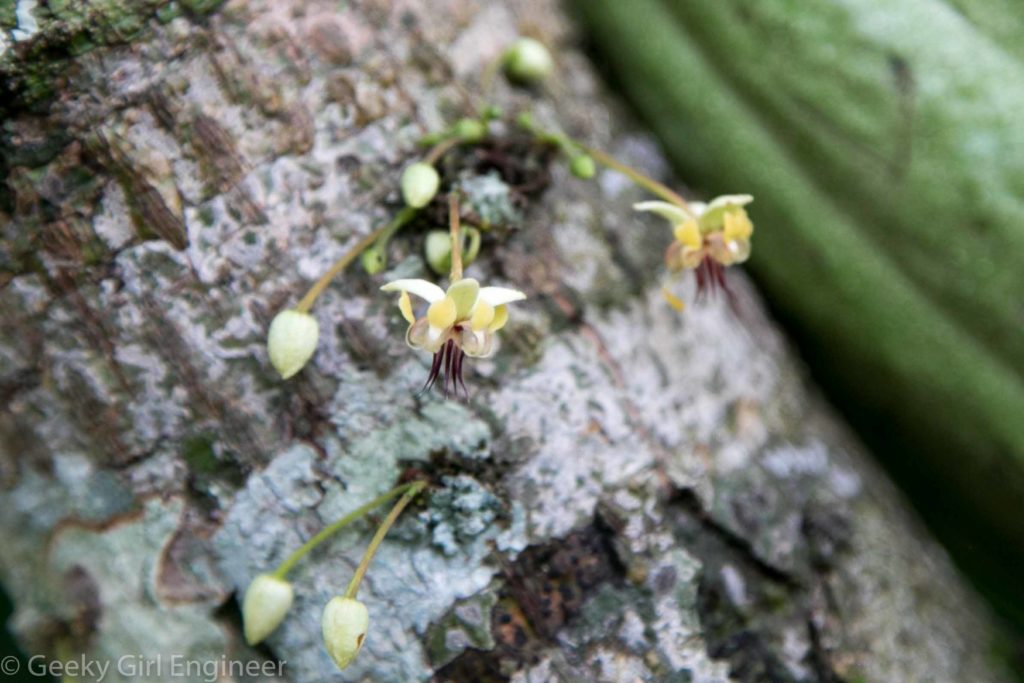
The beginning of the deliciousness that is chocolate starts with a tiny, little flower.
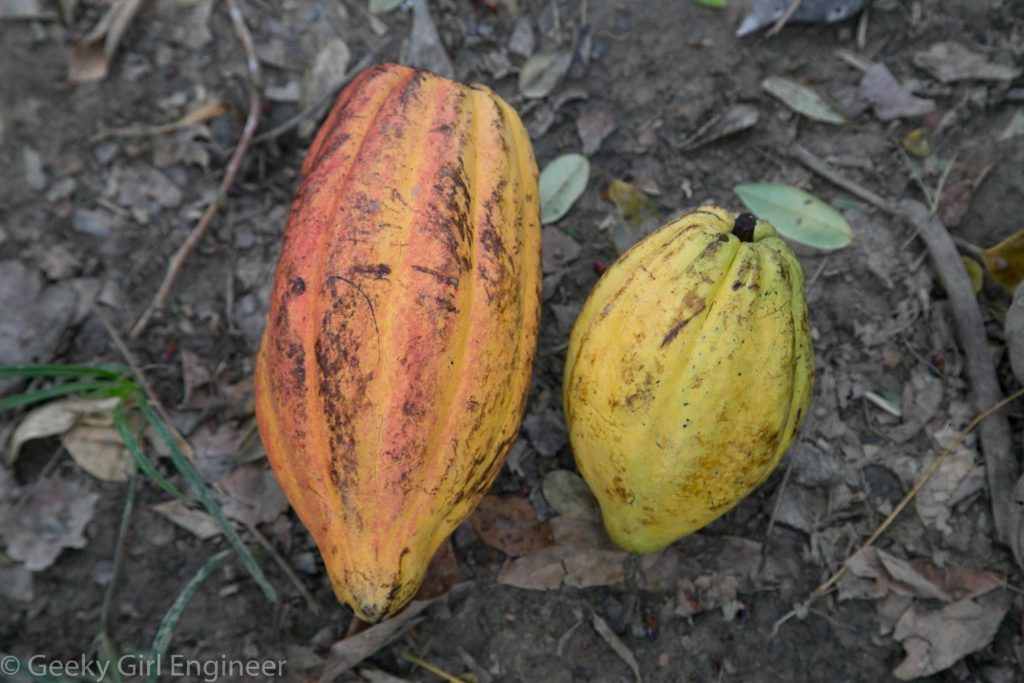
When the flower is fertilized, a giant fruit or seed pod forms. The flowers bloom for months, and hence seed pods form and grow at different times.
The seed pods ripen to a yellow or red color depending on the specific cacao tree species.
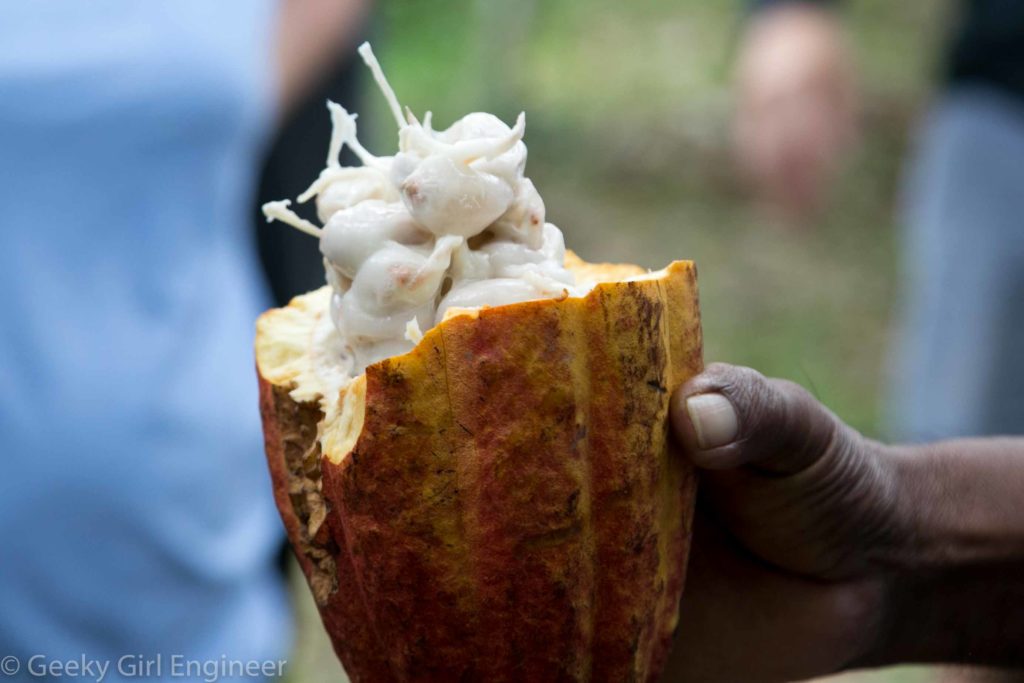
Inside the seed pods are cacao beans covered in a white pulp. We got to take a bean and suck the pulp. The pulp was quite tasty with sort of a creamy, light fruit taste.
The beans have a dark brown interior.
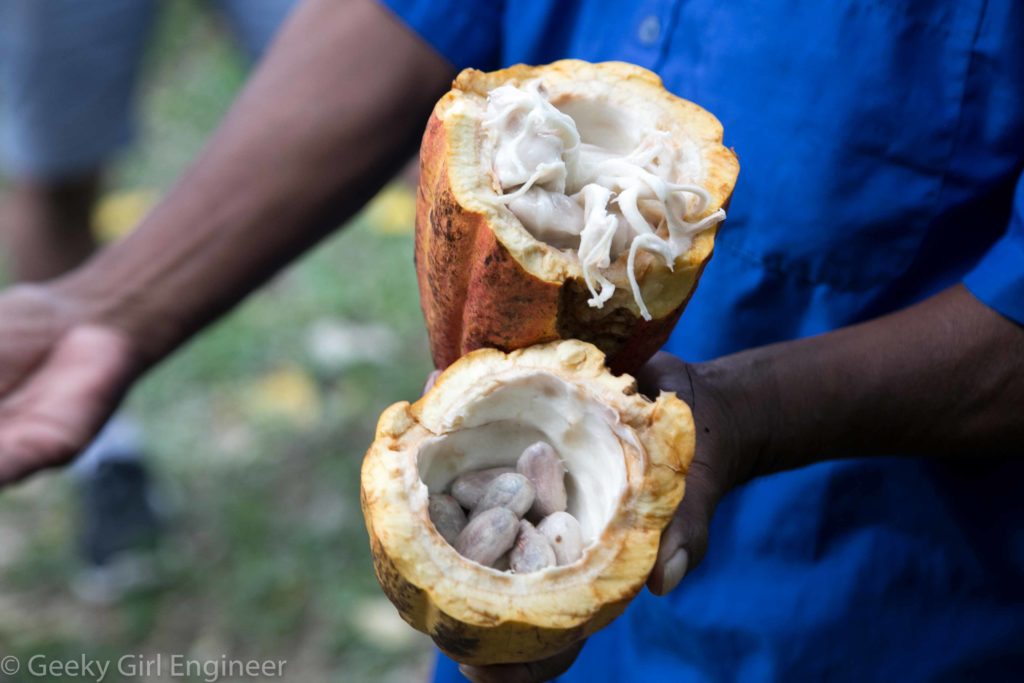
Cacao seed pods with beans covered in pulp in upper half and seeds we sucked pulp off of in lower half
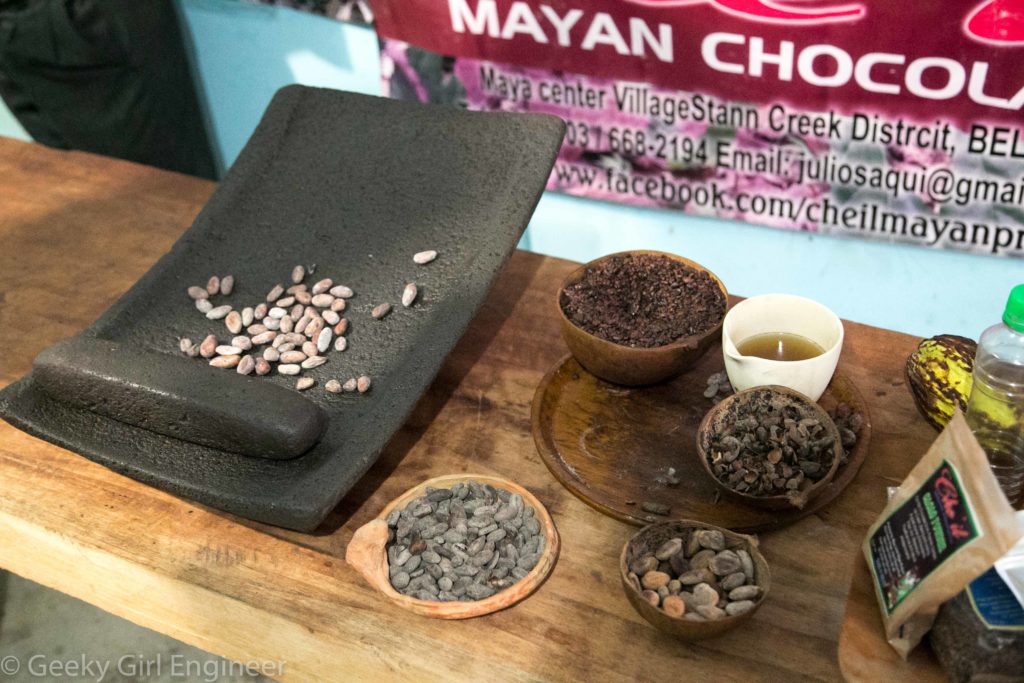
The beans are first fermented in a box for several days. They are then roasted over low heat. In the photo below, the light beans (on the traditional Mayan grinding stone) are the beans that have not been roasted. The dark ones in the middle front bowl have been roasted. Cocoa butter is in the white bowl, and the bowl right in front of it are the shells from de-shelled beans. The shells are removed from the beans before roasting. After roasting the beans, they are ground into nibs, which can be seen in the bowl to the left of the cocoa butter.
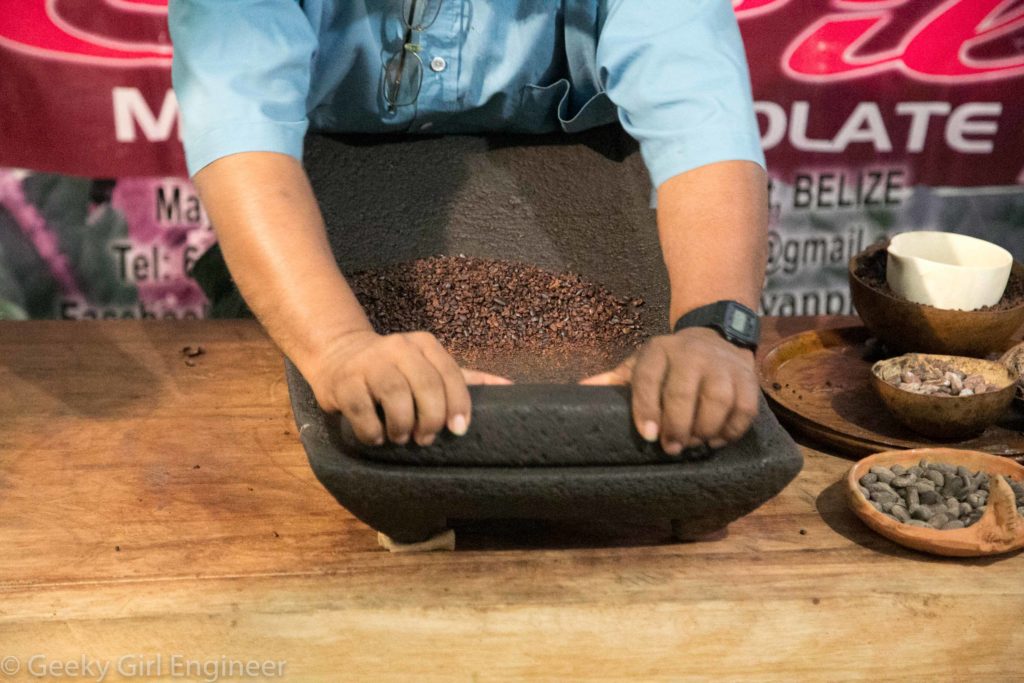
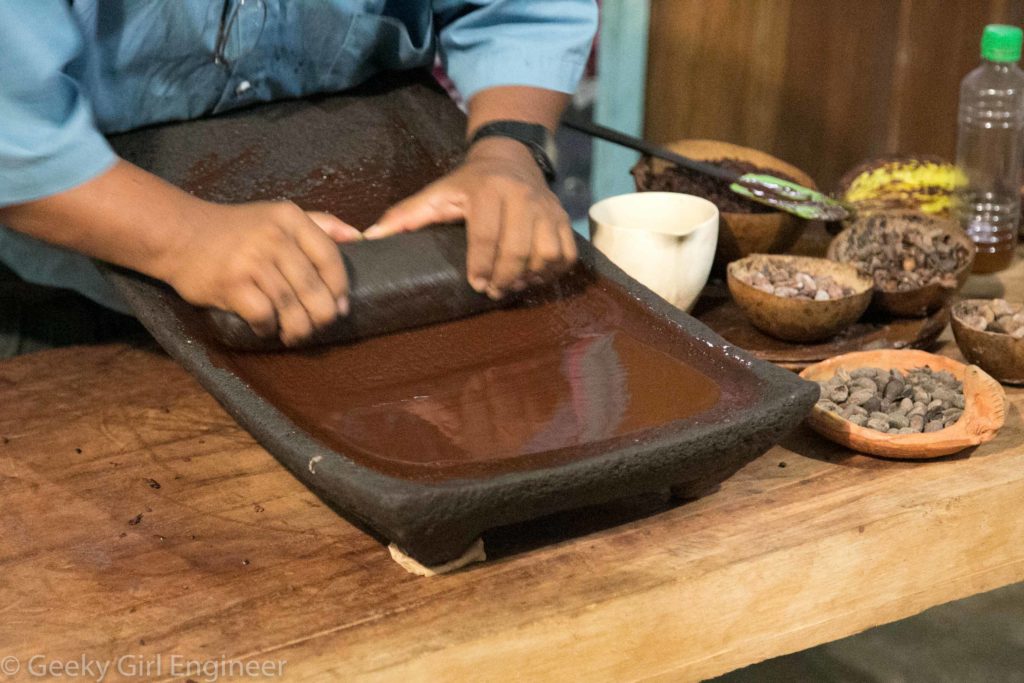
The nibs are placed on the stone and crushed.
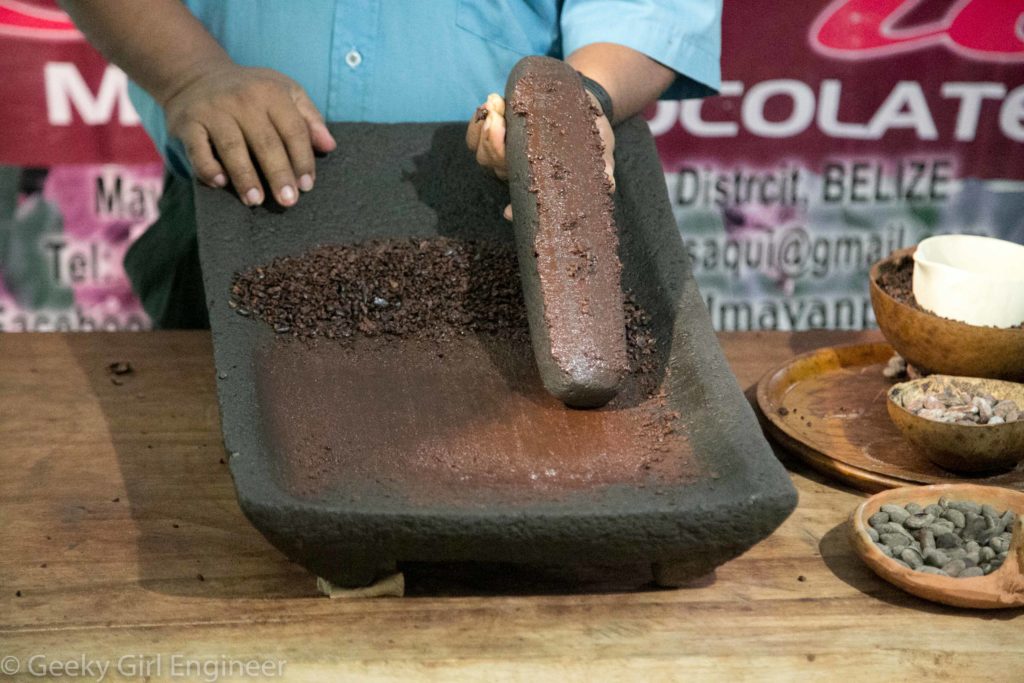
The grinding motion with the stone pulverizes the nibs, and the pressure causes heat, which starts to melt the oils in the nibs. We got to taste it at this point, and the chocolate is rather bitter.
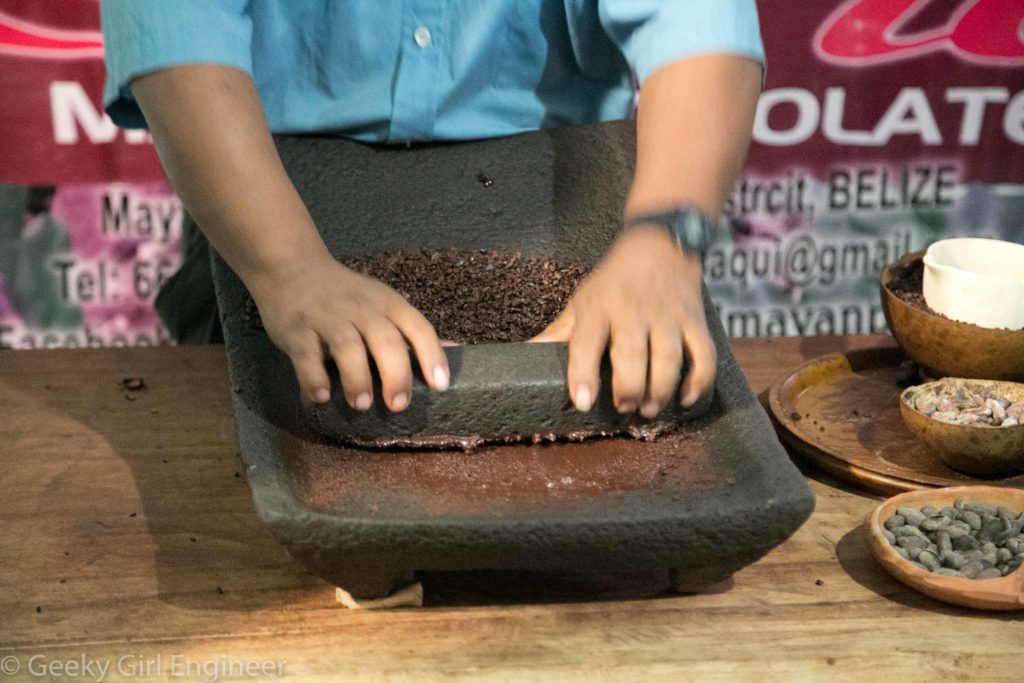
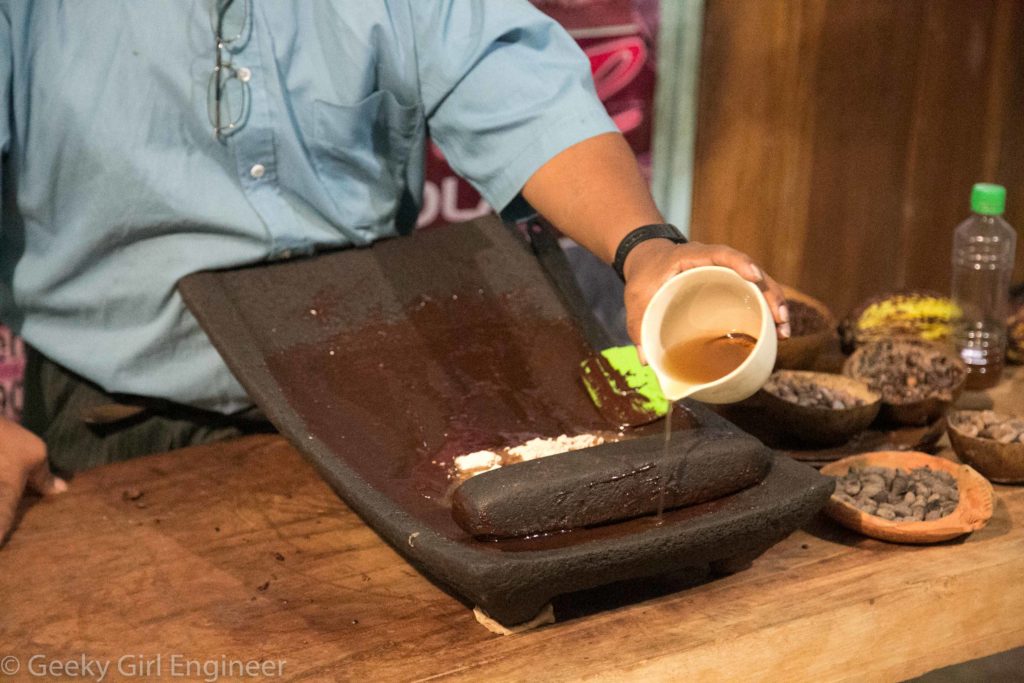
After quite a bit of grinding of the nibs, only liquid remains. Sugar and cocoa butter is added.
The mixture is ground more to mix everything. We got to taste the finished chocolate at this point again. It definitely was sweeter with the sugar, but to me, it still had a bitter after taste.
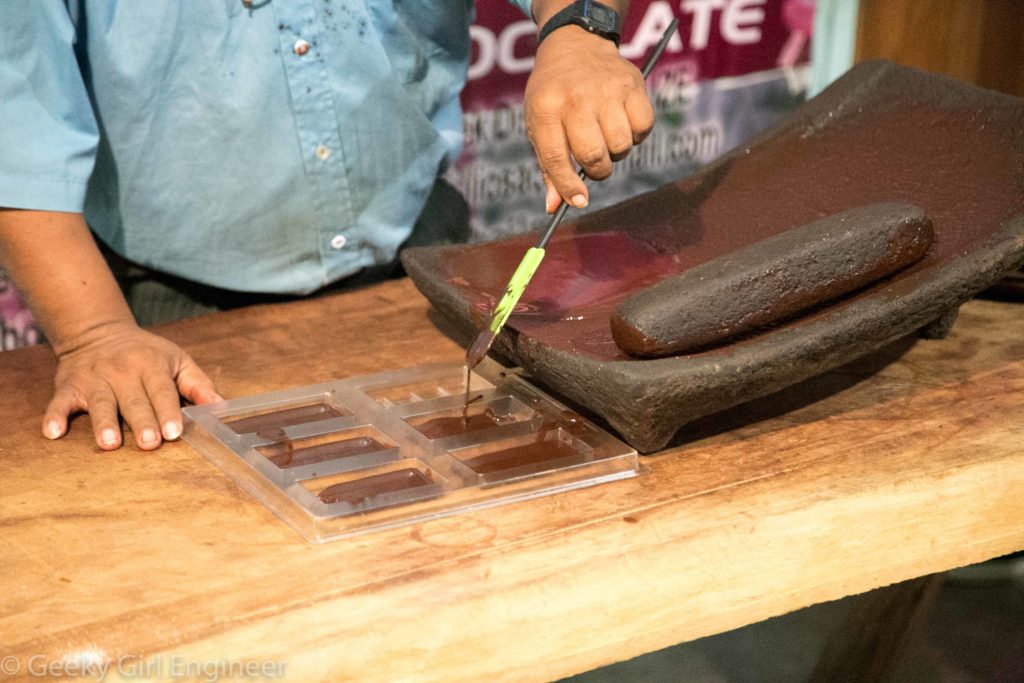
The liquid is then poured into forms and allowed to harden. These were put into a fridge to harden quickly.
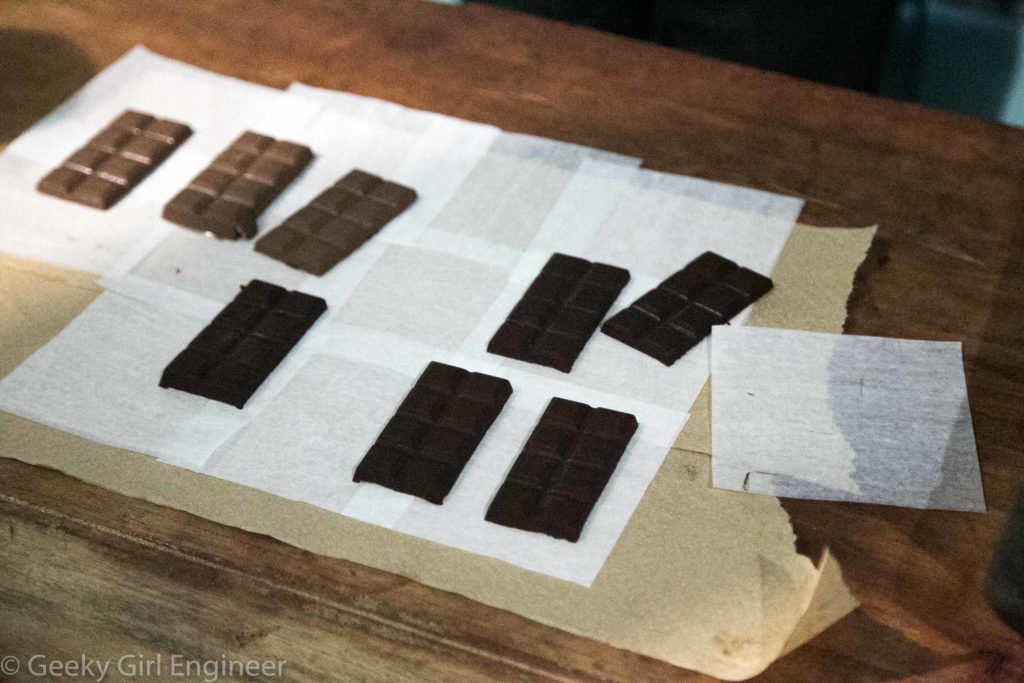
The finished product. The mixture made was 70% cacao. It tasted a bit different from the dark chocolate I have had before. It also melted very quickly in my hands compared to store bought chocolate, which must have stabilizers or something. Interestingly, even though this was the same mixture as what I tasted before it was poured into the forms, after cooling and hardening, it had lost most if not all of the bitter after taste that I tasted with the liquid.

