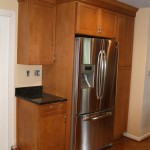
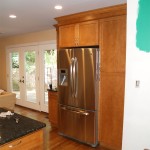
Magnetic Primer

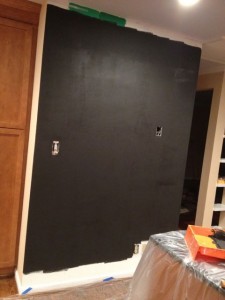
One wall of my kitchen is sort of a half wall. It is full height, but only about five feet long. I decided to turn it into one giant magnetic board. All my appliances are stainless steel, so magnets won’t stick to them. It’s kind of nice being able to use magnets in a kitchen, so the only option was to make a wall a magnet board. I used magnetic primer, which is nice because then you can paint on top of it. So now the wall looks like this covered in magnetic primer.

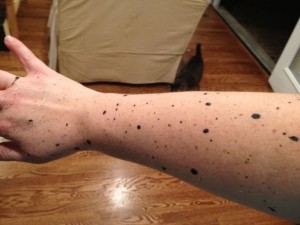
The only problem with this primer is that it is not latex. I thought it was water based because it says you can paint latex paint on top of it. However latex paint is easy to clean up. This stuff is not. Also, it does not come off skin easily, and my arm now looks like this.

Tiling the Kitchen Backsplash

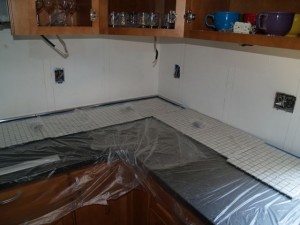
This weekend I tiled the kitchen backsplash, and what a task that was. I used four different types of tiles, which I posted about earlier. I started by covering the countertop with plastic, and then laying out the tile determine how to space accent tile and stainless steel tiles.

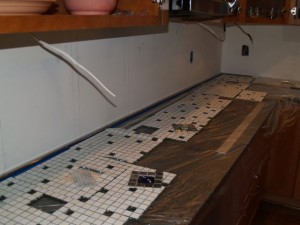
I then start cutting out random glass tiles from the mosaic pieces to substitute the stainless steel tiles. I also cut squares of stainless steel tiles which would surround and highlight the accent tiles.

I used glass tile mortar because for the obvious reason that I was using glass tile, and other types of mortars have trouble sticking to glass tile, especially the handmade tile that had no mesh backing. Maybe I am remembering tiling my downstairs bathroom last year through rose-colored glasses, but glass tile mortar seems to harden faster than the normal, pre-mixed mortar I used last year. It took me about nine full hours to layout all the tile, cut out all the glass tiles to substitute in the stainless steel and accent glass tiles, spread the mortar, place the tiles, and also cut tiles where need be. Through a little bit of luck and planning, I was able to minimize the number of tiles I needed to cut. The glass tiles could be cut somewhat easily though tediously with manual scoring tool. I did have to cut a few of the stainless steel edging tiles. I used my Dremel rotary tool with the metal cutting blade. I was going to use the metal cutting blade to cut through the stainless steel exterior, and then switch to the diamond tip tool for the ceramic interior, but it turns out the metal blade can cut through the ceramic fairly well, or at least good enough for what I was doing. By late Saturday night, all the tile was in place.

For the grout, I used epoxy grout. Grout with sand could have scratched the stainless steel, and epoxy grout was recommended for glass. Also, epoxy grout is supposed to be nice for a kitchen since it doesn’t stain the way normal grout can. The problem with epoxy grout is, when they say it cures faster than normal grout, they are not kidding. Seriously, the stuff cures fast. Even placing the bucket in the freezer while cleaning the section I just grouted only helped a little bit. If you use epoxy grout, you really have to work in small sections. Grout a small section, stick the grout in the freezer, then clean the section you just grouted. Clean it with water with dish soap in it, and just plan to use sponges that you will throw away. The epoxy will stick to the sponges and not come out. Also, epoxy grout sticks to your skin, like you wouldn’t believe. The grout I bought actually came with a pair of latex gloves, but I think those are for when you are mixing the two parts. You mix two parts that cause an exothermic (produces heat) reaction, and I guess the gloves are to protect you during that reaction. I don’t know, but I couldn’t wear the gloves the whole time because I was sweating, and I would need to change them. The summary is that epoxy grout is not fun to use, so don’t use it unless you really need it. If you do, I would highly recommend two people: one to grout and one to clean the area that was just grouted.

As a side note, the color grout I used was Delorean gray. I chose that color because I thought it would match the stainless steel the best, and any color gray would compliment the glass tiles nicely. The side benefit is that if I fit the oven with a flux capacitor, I can turn the kitchen into a time machine. Actually the oven is already so high tech, not to mention all digital, that perhaps it already has a flux capacitor. So forget Hot Tub Time Machine, I could have a kitchen time machine which I think would be quite a bit more useful. Burn your roast? Use the kitchen time machine to go back in get the roast out of the oven faster. Have a new recipe, and not sure if you will like it? Go to the future and find out. Actually that might not work. That might be like the kill your grandfather paradox. Still you could go back in time if you forget to add an ingredient or something. It could be quite practical.

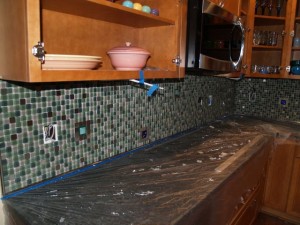
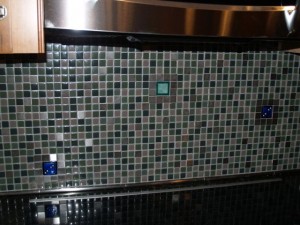
But I digress, here are photos of the finished tiled backsplash. The area behind the cooktop has three different accent tiles, which like all the accent tiles are outlined in stainless steel tiles.

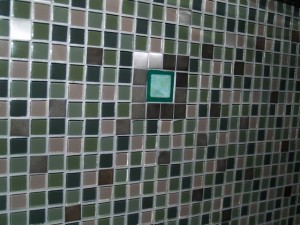
Here is a close up of one of the accent tiles.

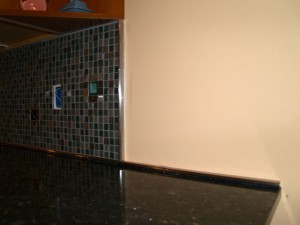
I wasn’t sure what to do with the overhand countertop. I needed to continue the edging tile to cover the gap between granite and the wall, but I didn’t want to continue the field tile out  past the upper cabinets. I finally decided to stop the field tile at the end of the cabinets but just continue the edging tile row out to the end of the granite. I think that the best choice.

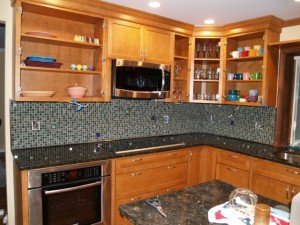
Finally here is a wide angle photo of the tile in place.

Kitchen Countertops and Cabinet Handles

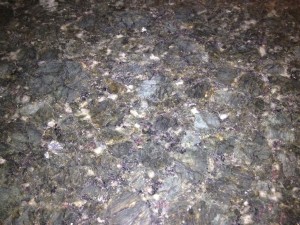
I’m continuing a series of posts about different aspects of my new kitchen, which still isn’t finished, but I am just happy with already. Green is my favorite color, and green will be showing up in my kitchen and the rest of my house quite a bit. I am using green for some of the permanent features because it has some neutrality to it, and I think it complements the wood floors and cabinets nicely. The kitchen countertops are green granite, specifically it’s called Verde Butterfly. It is dark green with large, lighter green crystals as seen in the photo below.

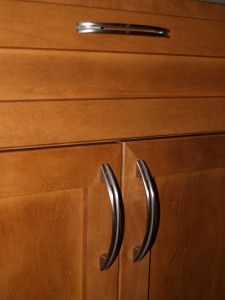
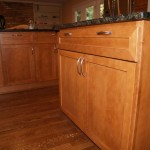
For the kitchen cabinet handles, I used satin nickel modern arch cabinet pulls from Amerock. I used only handles on both the drawers and the doors. I didn’t use knobs at all. I chose these handles partially for their simplicity but not so simple to be boring. The arch also matches the arch of the appliance handles on all the new appliances. Thus, the handles on the cabinets compliment the handles on the appliances, but they don’t match it so exactly to be too monotonous.

Kitchen Tiles and Lights

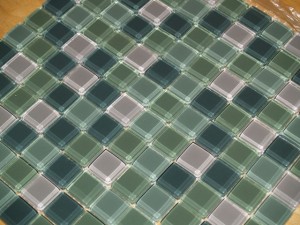
All my tile has arrived, and I hope to tile the backsplash of my kitchen this weekend. I am very excited about getting this done. I will be using glass tile and stainless steel tile. Most of the tile will be the green glass 1 inch by 1 inch mosaic tile pictured below. It is Olive Green, Multi Color Clear Glass Mosaic (D007) from Vivagi Corp.

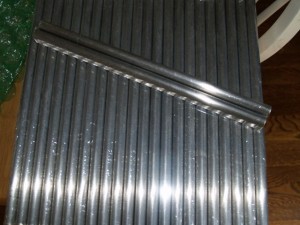
I plan to remove a few tiles from each 1 square foot section of the green glass tile, and substitute in a few stainless steel tiles pictured below. They are stainless steel (covering ceramic) mosaic tiles from Glass Tile Oasis.

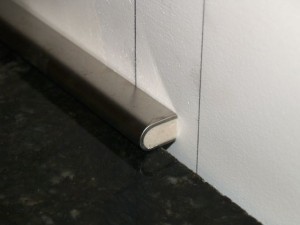
I will also be using stainless steel tile to edge the backsplash. I am using liner stainless steel  tile also from Glass Tile Oasis. The edging tile is pictured below.

Generally when tiling a backsplash you only really need edging tile for the vertical ends. I will also be using it on the bottom edge where the tile meets the granite countertop. The reason for this is that like pretty much every house out there, my walls are not completely straight or flat. While the granite was cut in a straight line, the wall is not, so the space between the wall and granite varies. The field tile is only about 0.25 inches think, so in some places, the tile does not cover the gap between the granite and the wall. Thus I am using the thick edging tile to make sure the gap is filled as demonstrated in the photo below.

I love adding unique pieces into my decorating. I love functional art. So for my kitchen I am using two different types of handmade, functional art. I will be using two different styles of handmade glass accent tiles. A few are cobalt blue with little silver squares, and the others are variated jade green which will pick up the lighter green in the green granite countertops. I bought these tiles from Uneek Glass Fusions which has absolutely fabulous glass functional art. The two types of accent tiles are pictured below.

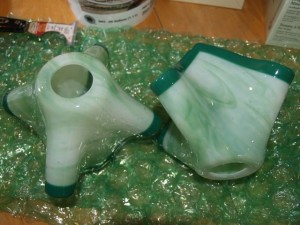
I actually initially was looking at Uneek Glass Fusion because I was trying to find some unique pendant lights. I found the jade green tile above, and I asked if I could get a pendant light made with that same glass, since the owner does special orders. So I special ordered the pendant lights and then bought some tiles to match the lights. The glass pendant light covers are pictured below. I bought three. One will hang over the island, and two will hang over the peninsula.

New Kitchen Cabinets

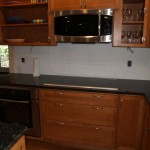
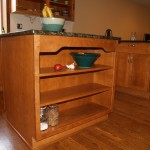
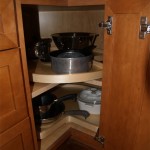
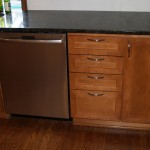
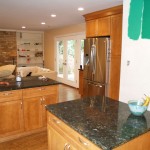
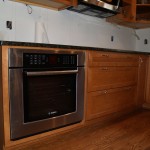
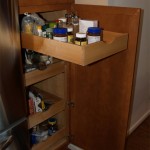
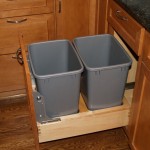
I  absolutely love my new kitchen cabinets. I ordered them from Tuscan Hills Cabinetry via Costco. They are all hardwood with maple exteriors. The majority of the wall cabinets have window type doors so I can display my Fiestaware. The cabinets have a couple of nice features including a pullout cabinet that has a trash can and recycling bin inside it. There is also a tall pull out pantry cabinet.