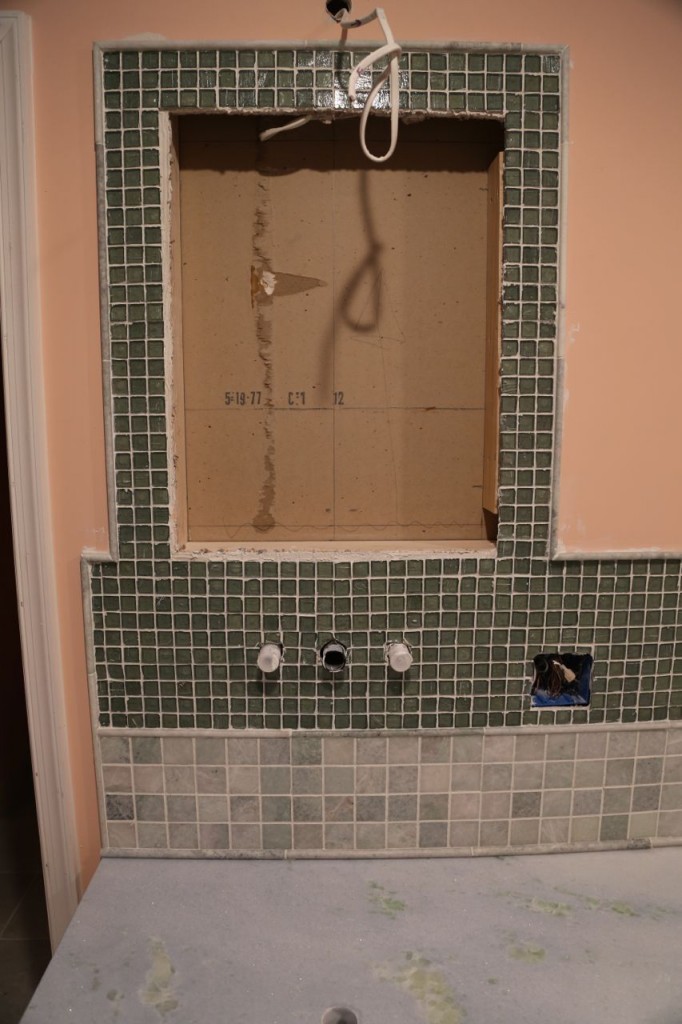
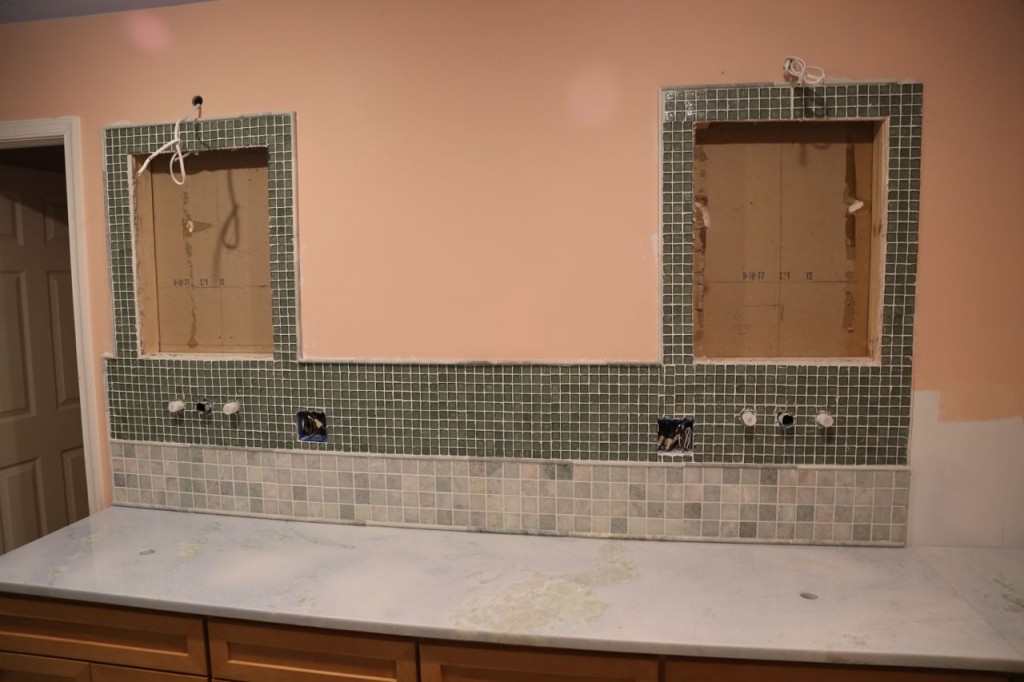
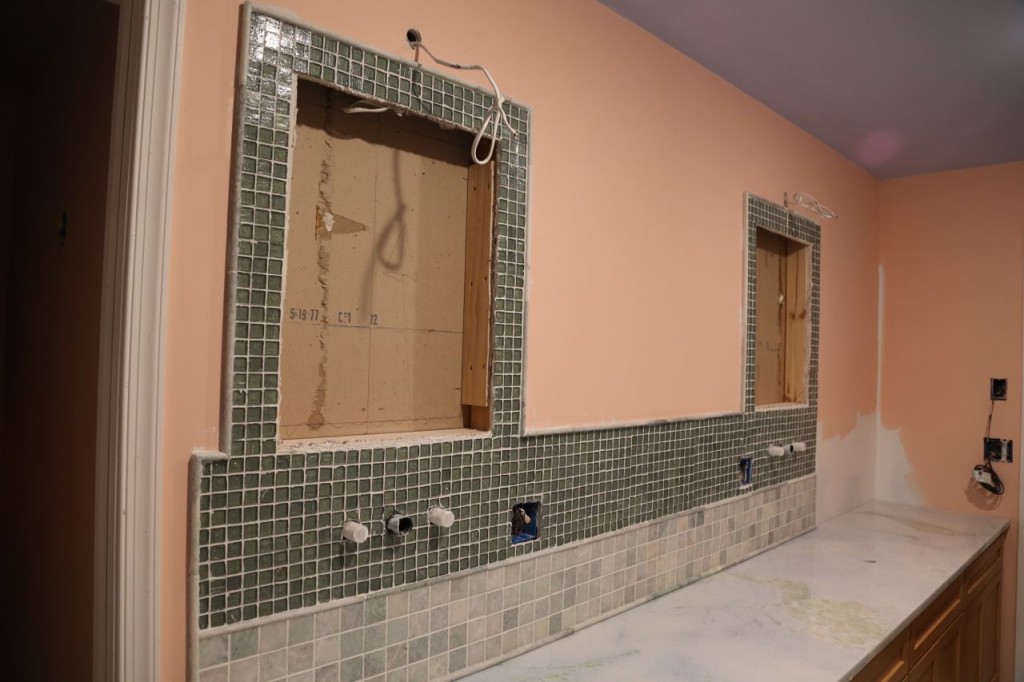
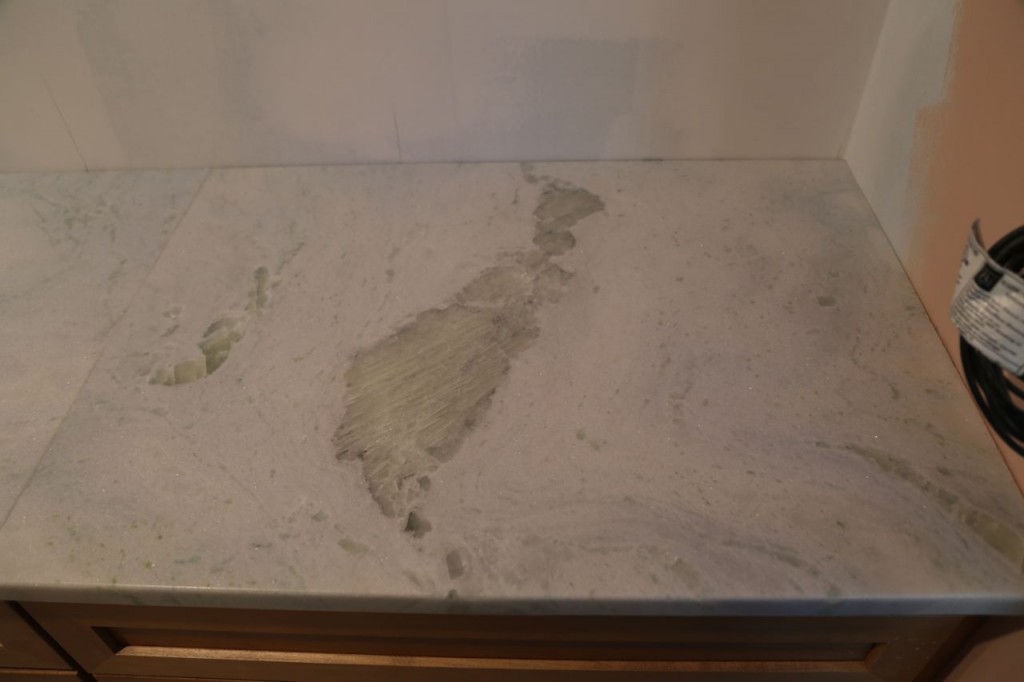
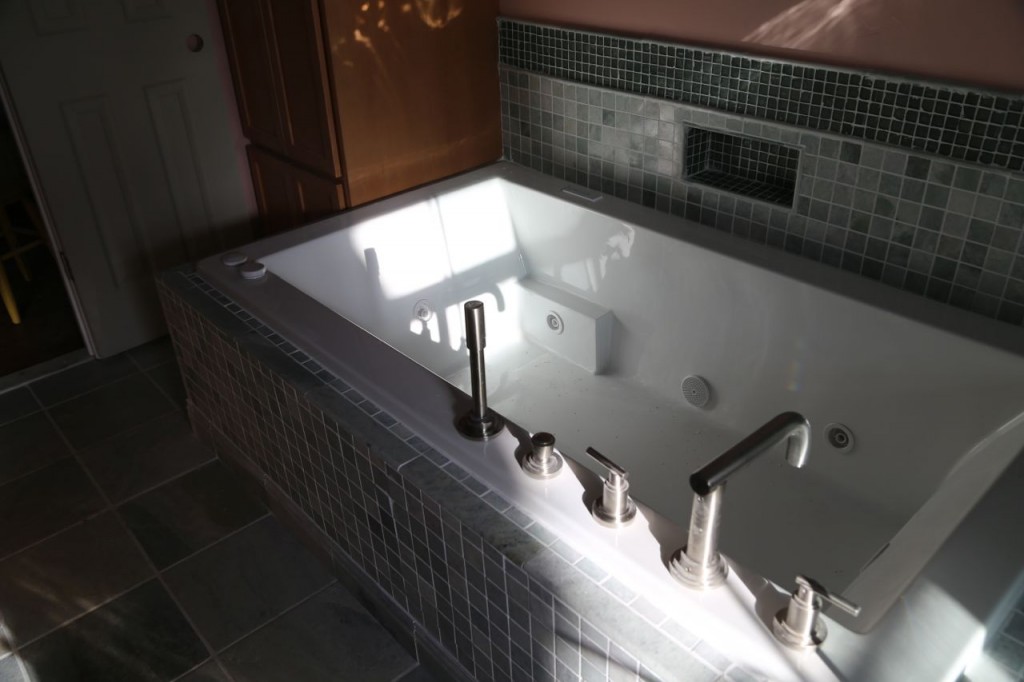
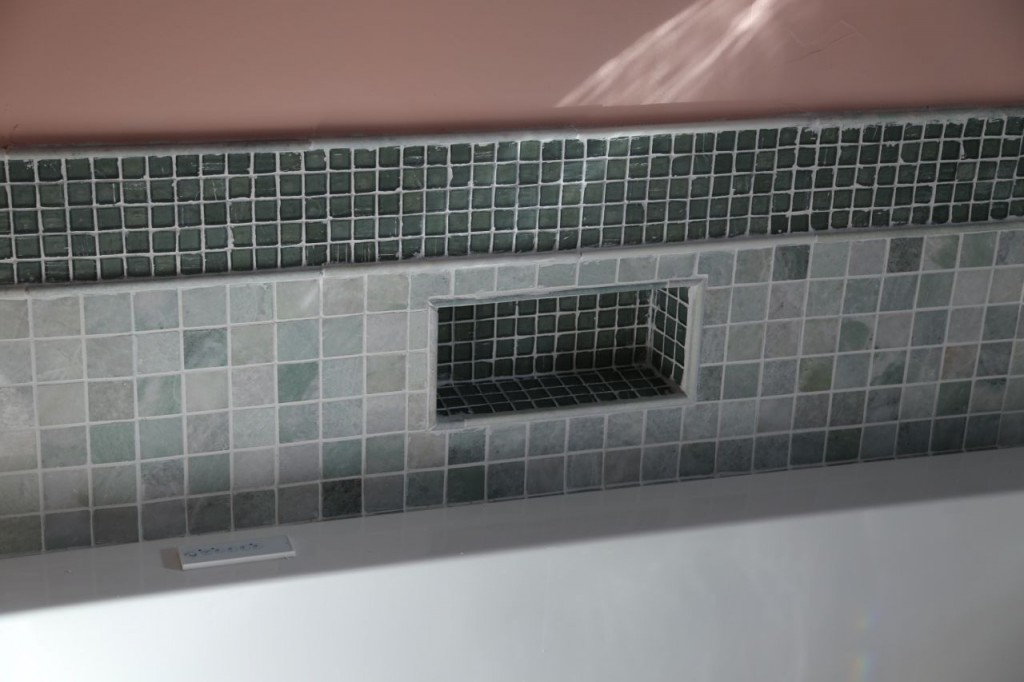
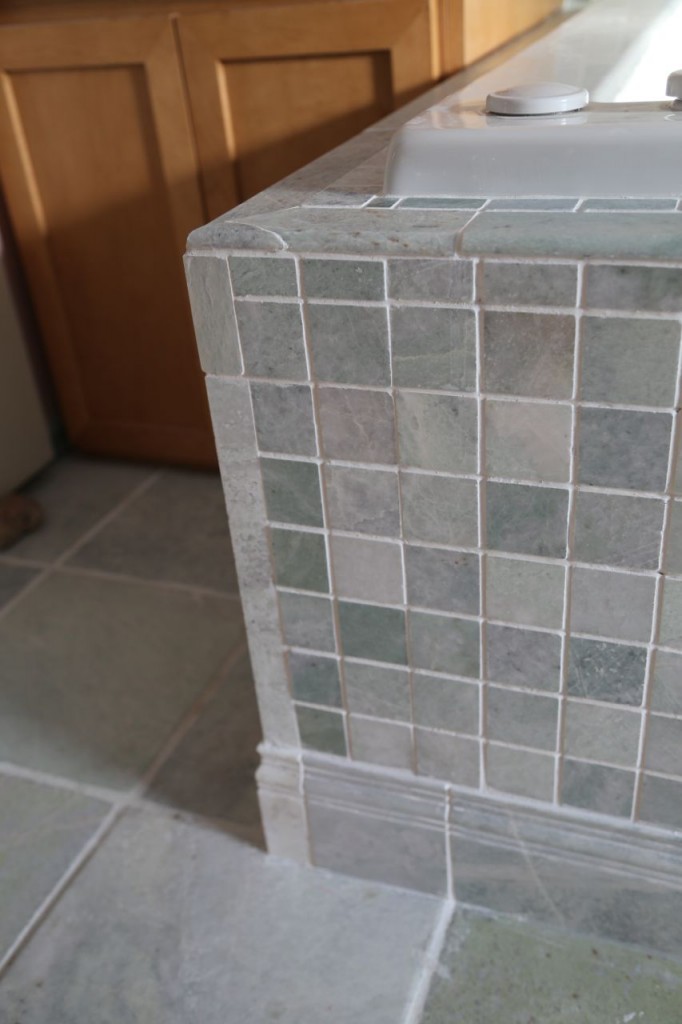
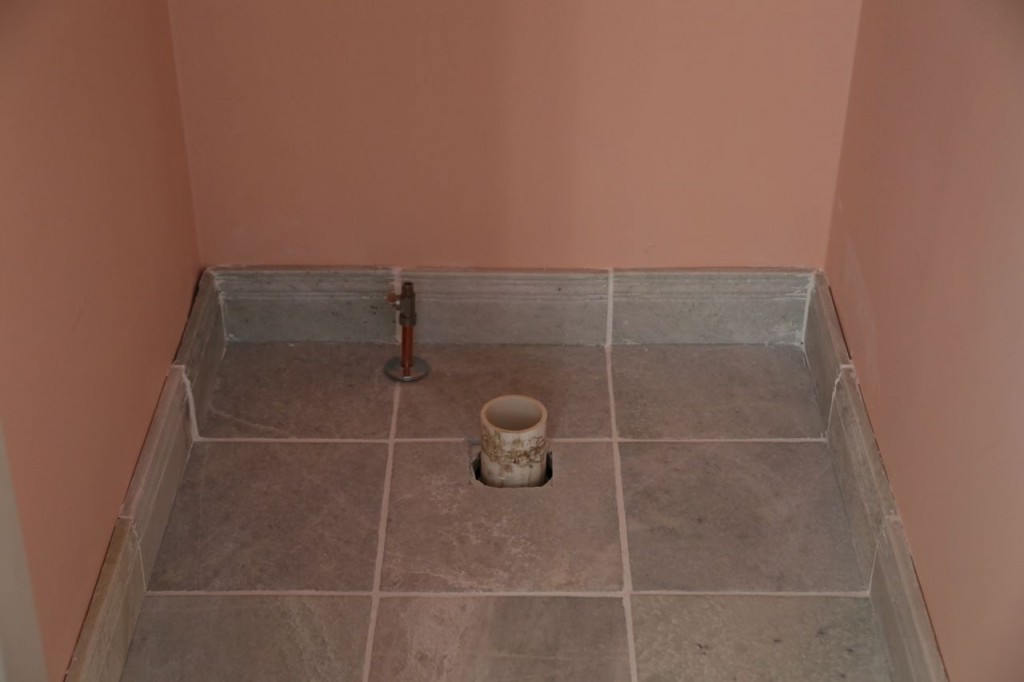
This weekend I tiled the vanity backsplash. It is a rather high backsplash as I wanted the tile to go at least as high as the wall faucets. I wanted to tile a border around the recessed medicine cabinets, so I decided just to bring the backsplash up to the base of the medicine cabinets. Also, I changed the original design for tiling in the shower, and I have a bunch of left over glass tile, so I might as well use it. The height of the marble tile was determined by the height of the electrical box because I wanted the same tile type surrounding the electrical box, so the cover would lay flat.
Author Archives: geek
Shower is Finished
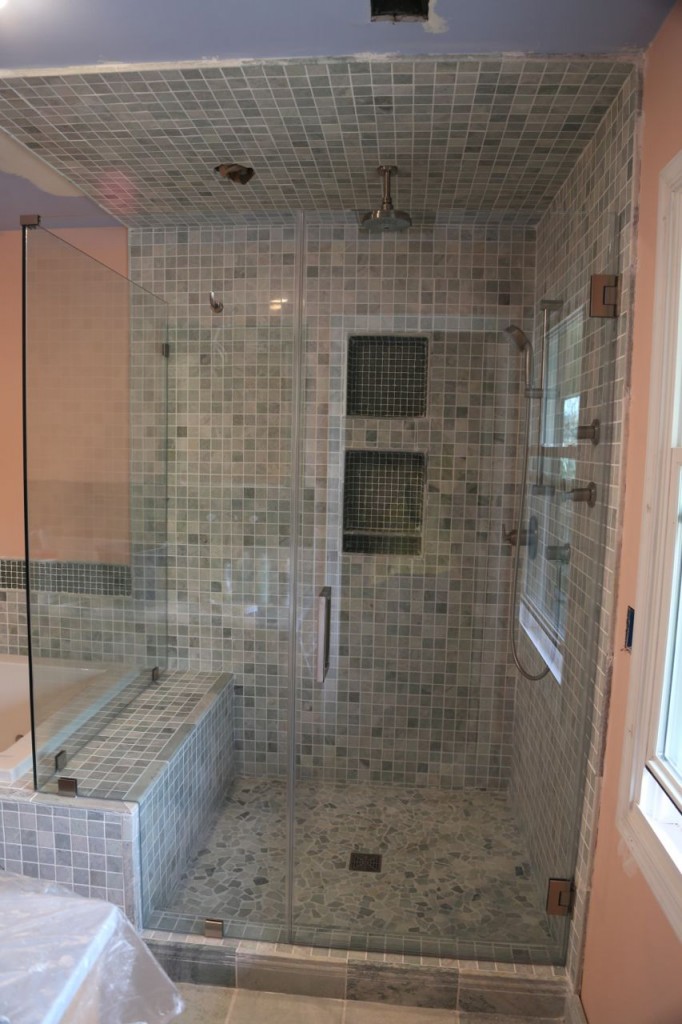
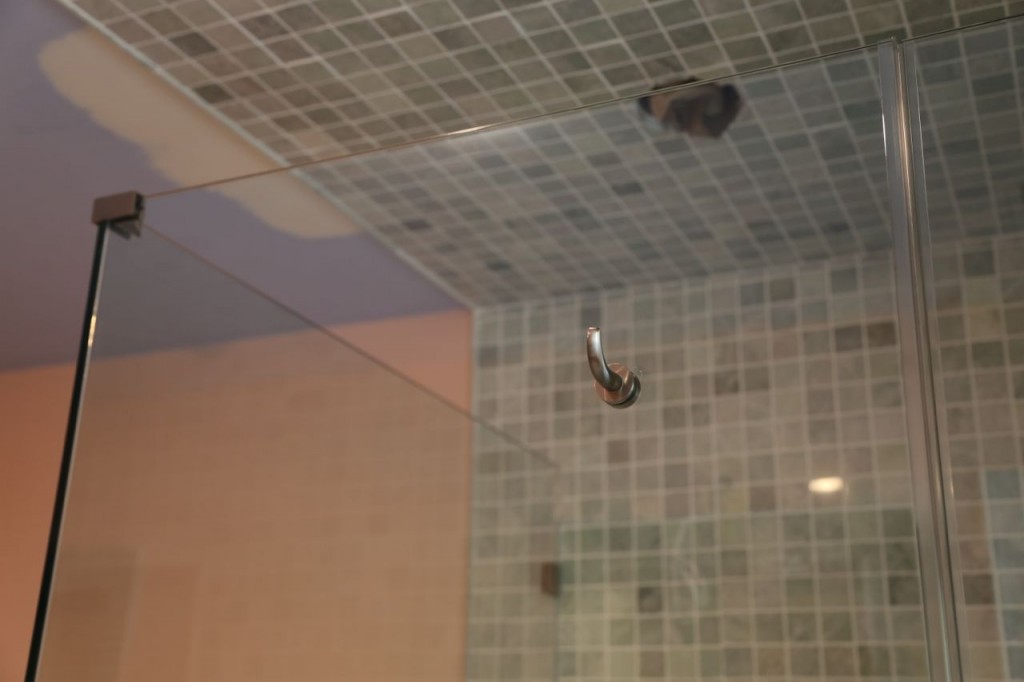
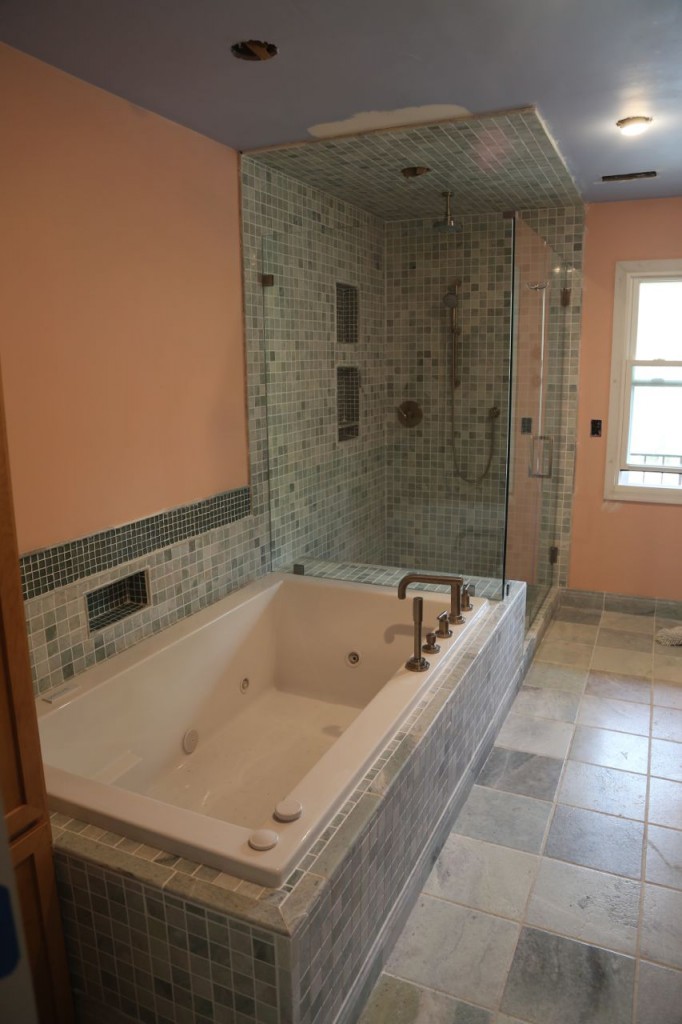
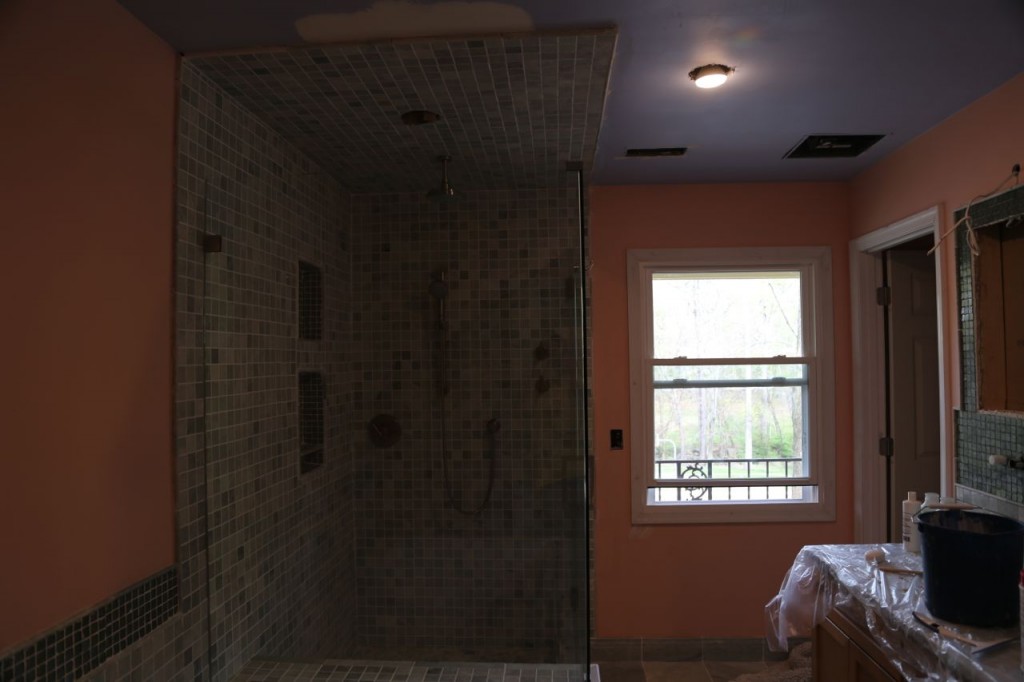
The frameless glass shower wall and door have been installed. I had the glass company place a floating robe hook on the shower wall next to the door, so I could easily grab a towel when I get out of the shower. Also, on the glass front, the new bathroom window has been installed.
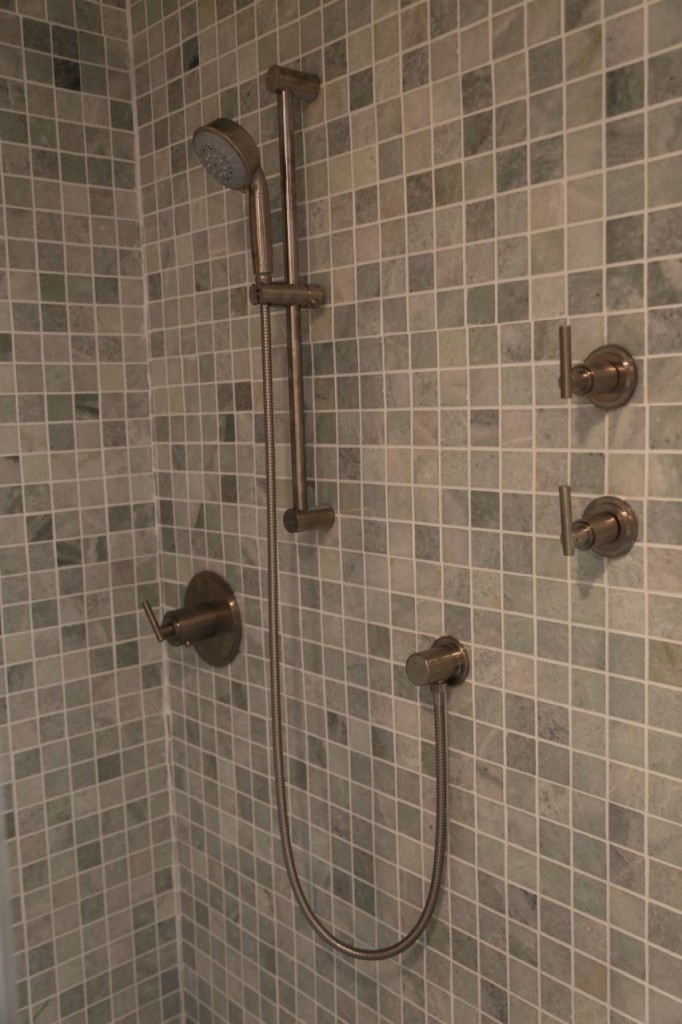
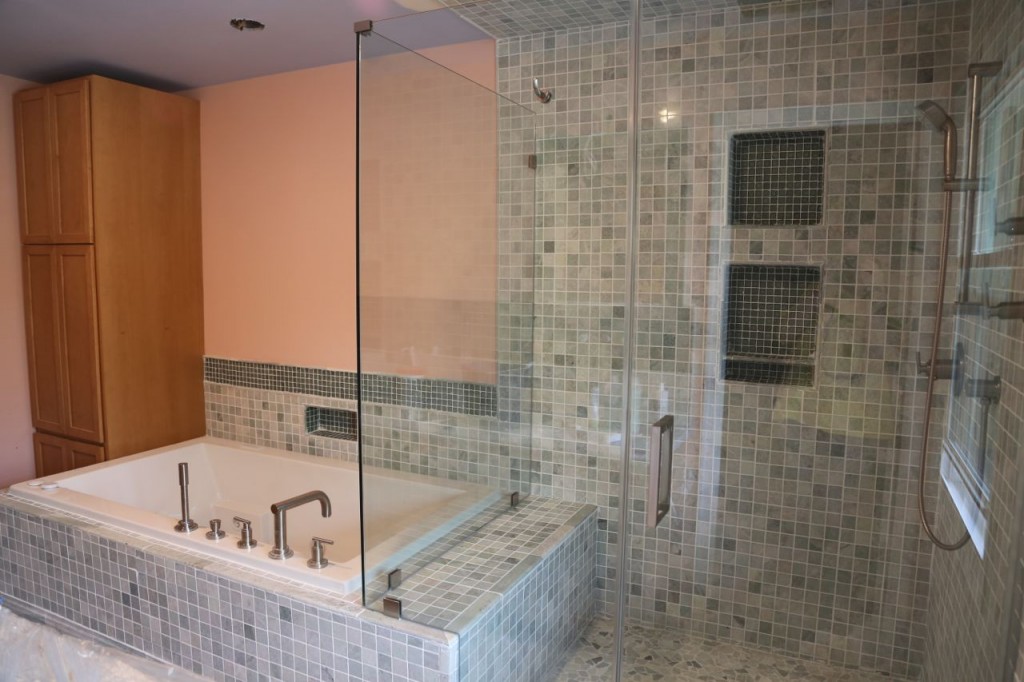
All the shower plumbing fixtures have also been installed. Most of the fixtures come from Grohe’s Atrio line. There is an multifunction rain shower head placed in the ceiling and a handheld shower head on a adjustable bar. In the photo below, the valve on the far left is the thermostatic valve that adjust the temperature for both shower heads. Then on the right are the flow valves that turn the shower heads on, the top one for the overhead head and the lower one for the handheld head. Thermostatic valves are a really nice feature because you don’t have to constantly find the right temperature in between showers, and they ensure the same temperature water comes out of multiple heads. I have already used my new shower, and it is glorious! The area is wonderful, nice and spacious but not so big to be insane, and the the bench is a necessity for any woman who shaves her legs.
Vanity Countertop
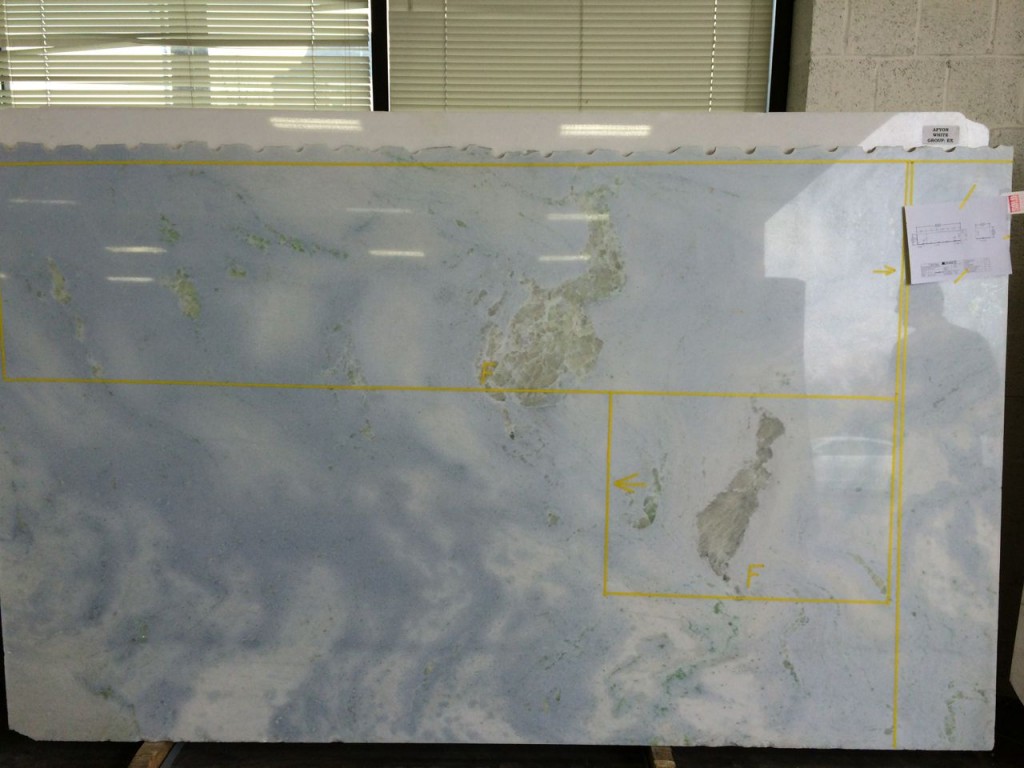
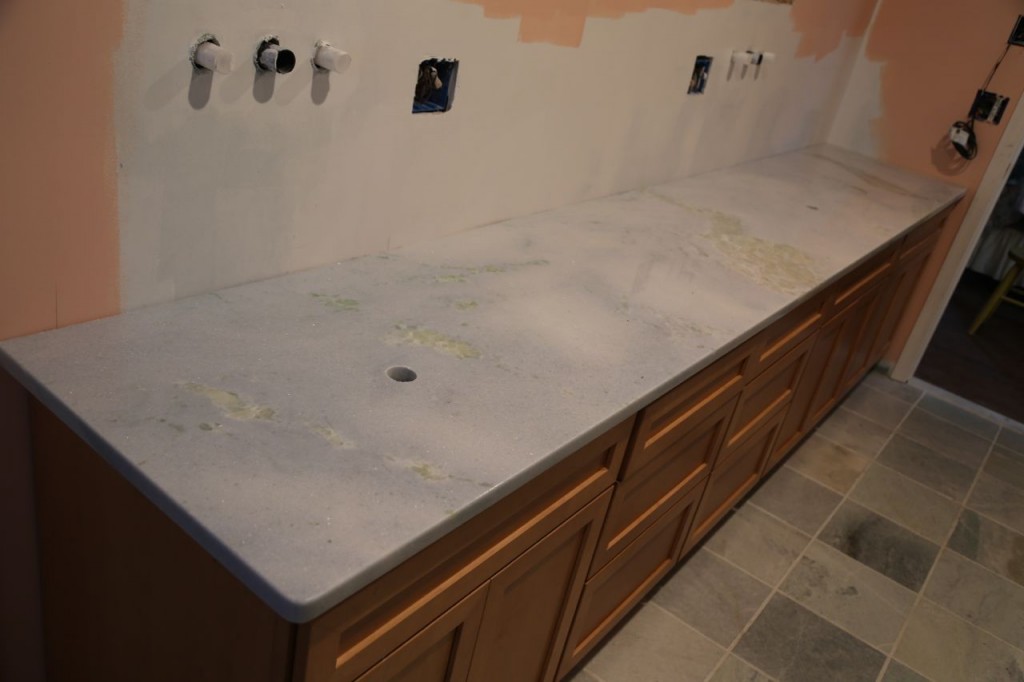
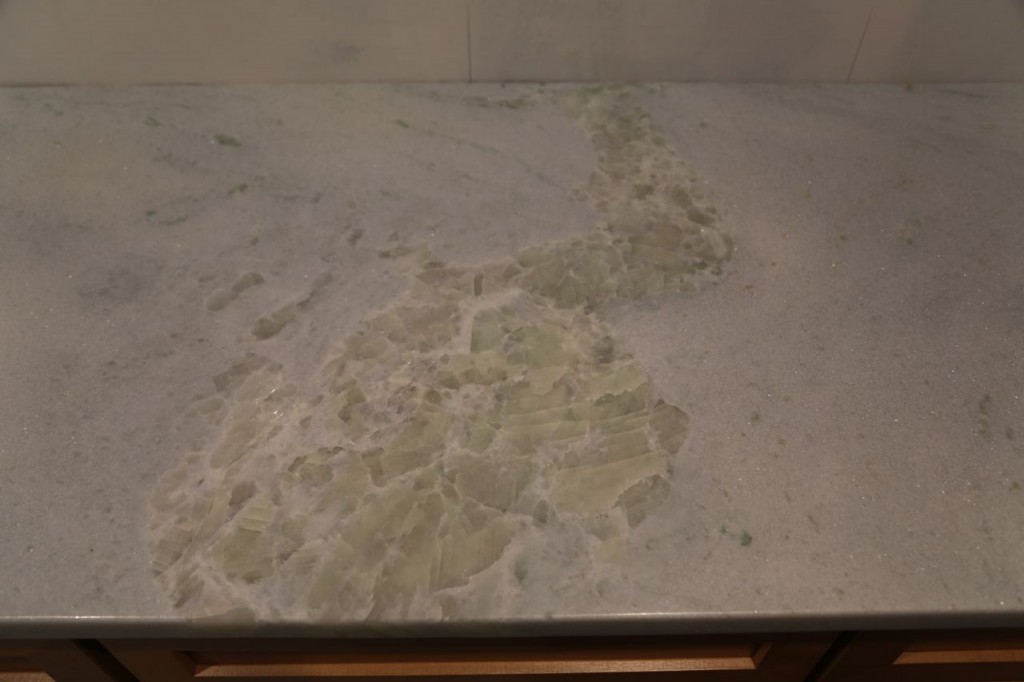
One nice thing about buying a stone slab for your countertop, is that if you have to buy the whole slab, you can request to view and alter the layout of the slab cut out. I found a gorgeous sky blue piece of marble with fluorite crystals in it. Fluorite is my favorite mineral, and the blue goes wonderfully with my green marble tile that will be used as the backsplash. The slab was meant to be mine, and I can never move from my house now. It has now been installed in my bathroom, so this weekend, I will be tiling the backsplash.
Shower and Tub Tiling
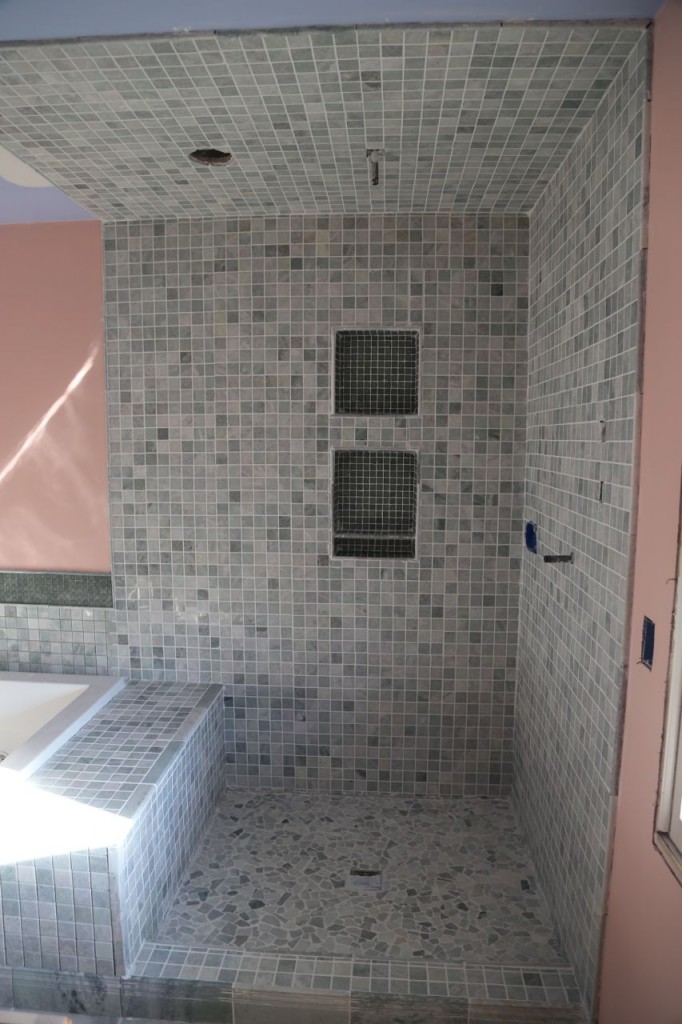
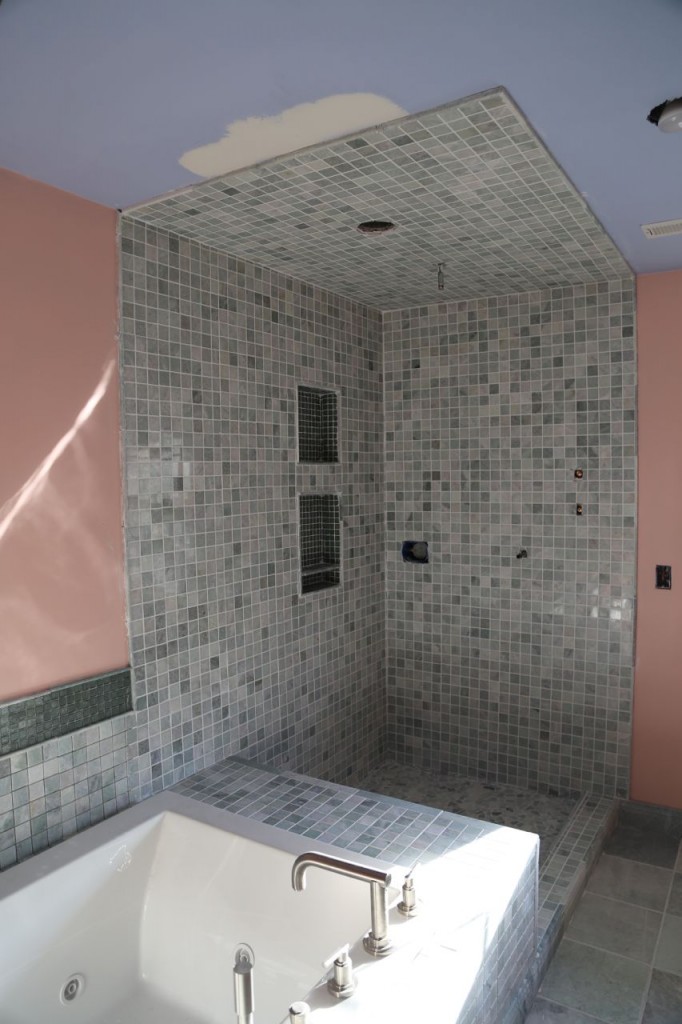
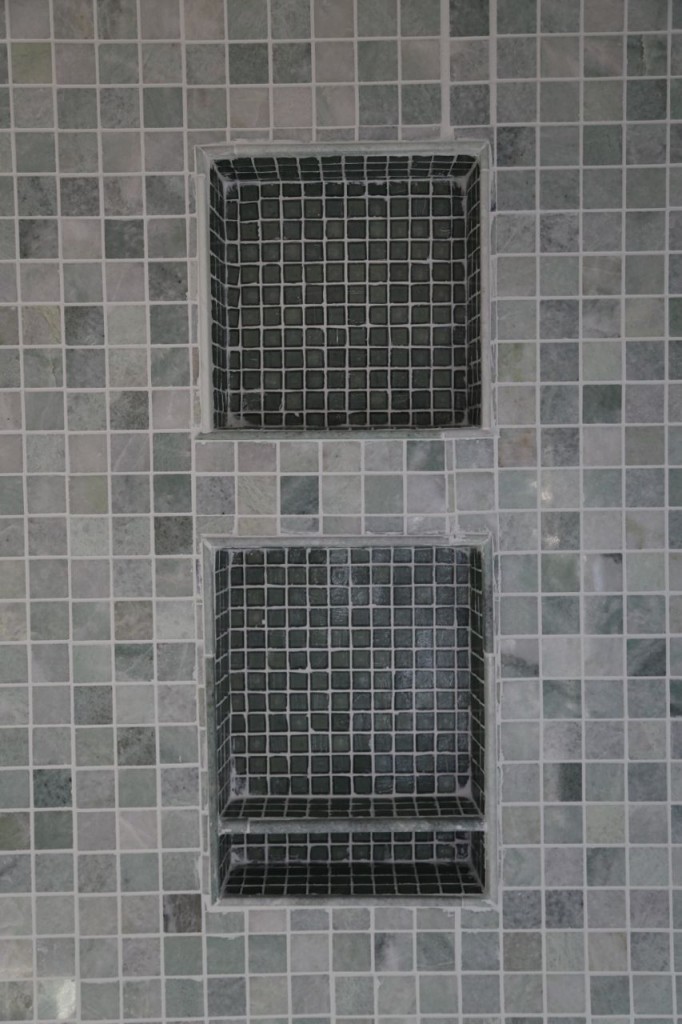
Another major milestone in my master bathroom renovation has been reach. I completely finished tiling the shower and tub area. I laid and grouted an huge amount of tile. I also tiled the ceiling above the shower because I am insane. I don’t know how many hours it took me, but it was a lot, several weekends and nights after my real job work. It looks great in my opinion, but it was a lot of work. I used two different types of tile. The vast majority of the tile is a gorgeous sea foam green marble tile called Biltmore. The main field tile is polished 2×2 inch Biltmore marble. I used various accent pieces for the edging such as the top of the top platform and a pencil around the niches. Skirting tile of the same marble is used for the baseboards of the platform and the walls. The same marble is used for the flooring, brushed 12×12 for the floor and tumbled cobble for the shower floor. I then used glass tile for accents in the niches and for the top of the tub backsplash. The glass tile is made partially from recycled glass bottles.
Bathroom Cabinetry Installed
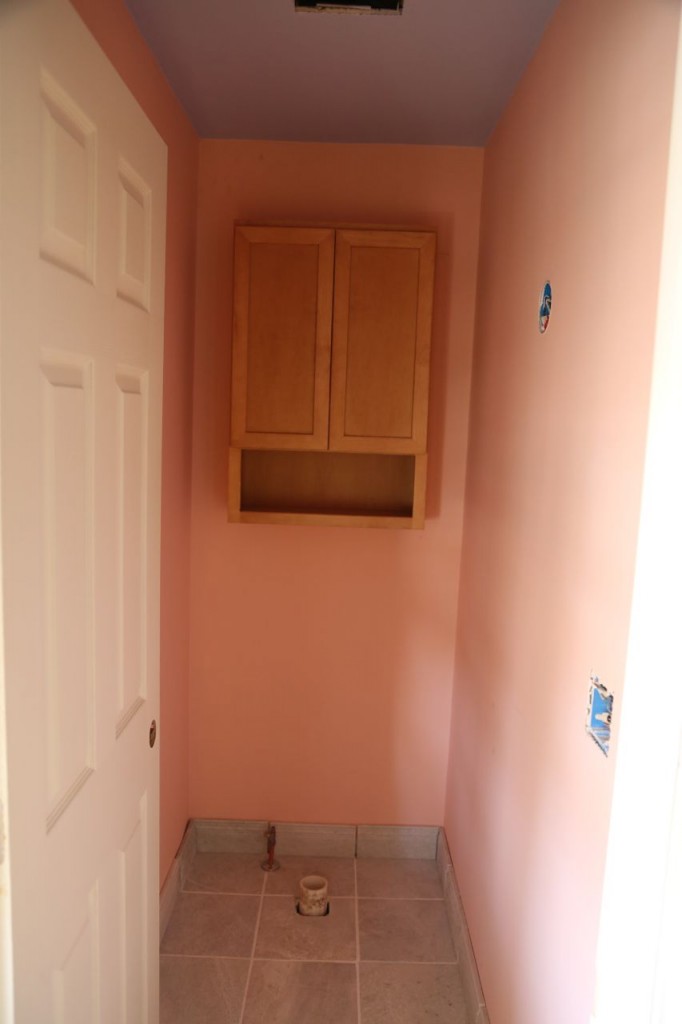
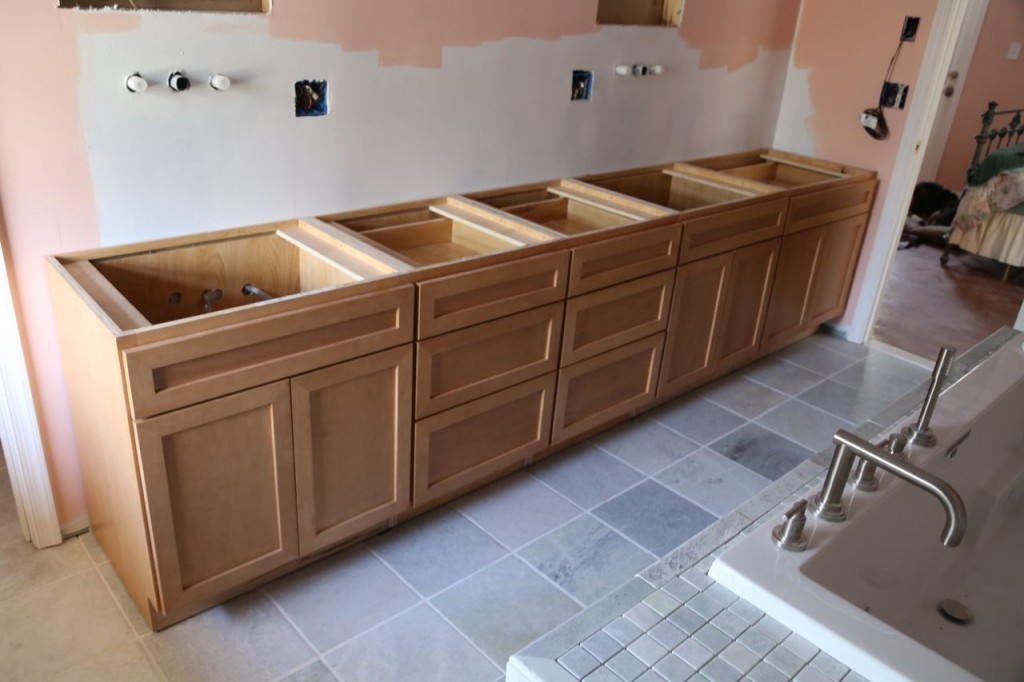
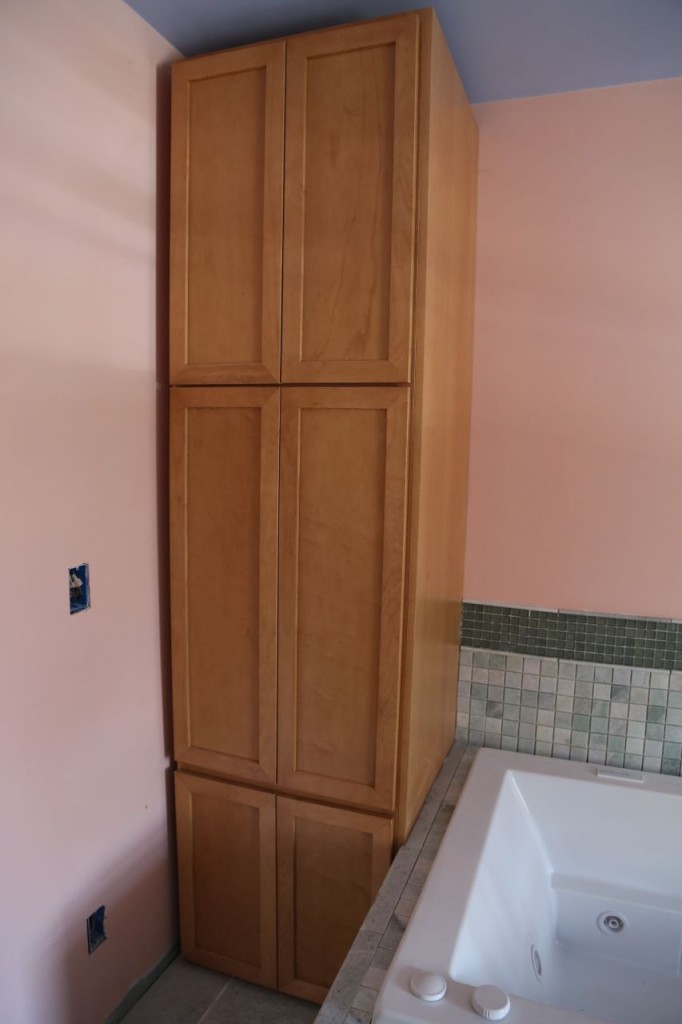
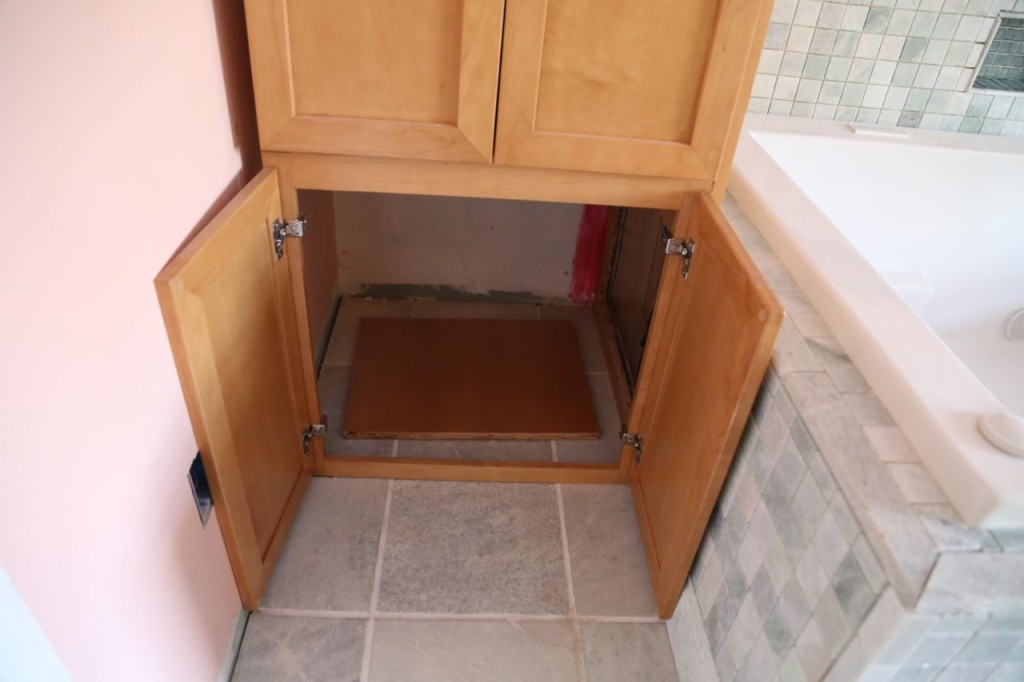
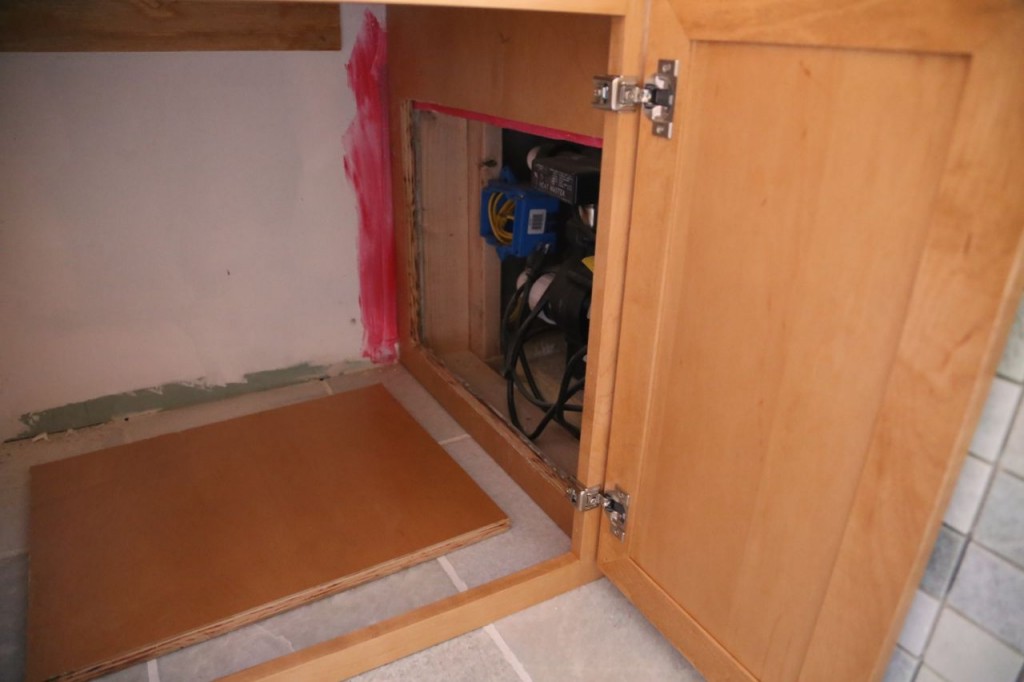
The master bathroom is thankfully rapidly progressing in the remodeling. I have been tiling like a mad woman, and the majority of the cabinetry has now been installed. The cabinetry consists of a vanity base, a wall cabinet next to the tub platform, and an over-the-toilet cabinet. The wall cabinet was specially designed to have a false bottom that allows access to the tub pump. Once the vanity countertop is installed there will be a shelving cabinet installed at the end. There is also crown molding and other finishing pieces that need to be installed, but the main cabinetry is installed. All cabinetry is from Tuscan Hills through Costco. I used the same style of cabinetry as my kitchen cabinets, but with a slightly different and lighter stain.
Bathroom Painted
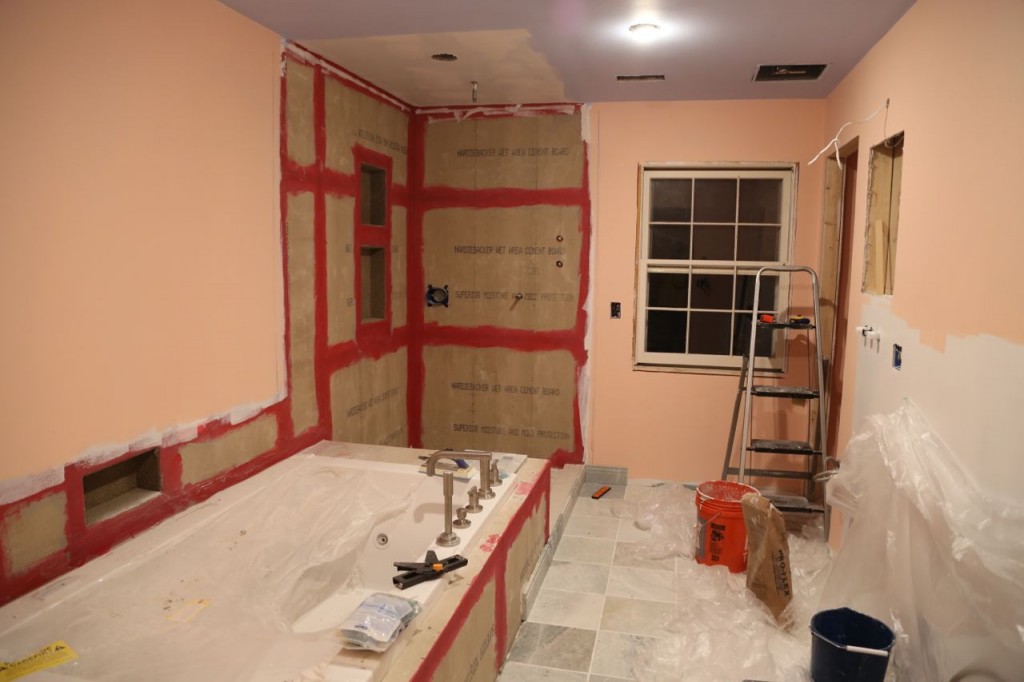
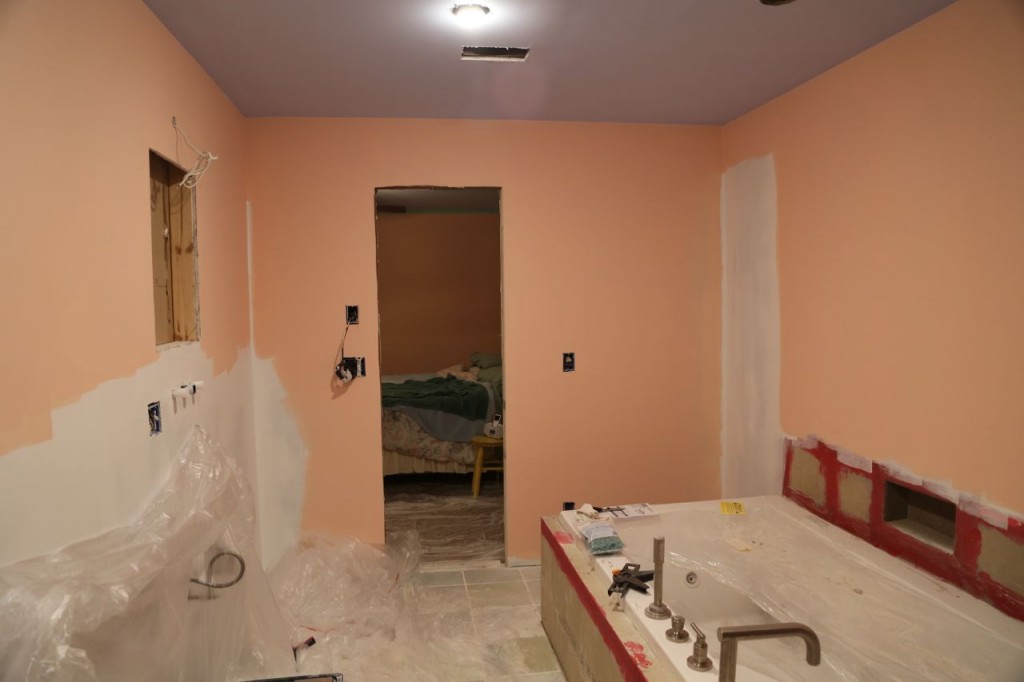
Major milestone was reached tonight. I have completely finished painting the master bathroom and bedroom. I repainted the bedroom to match the bathroom. In the bathroom, I primed all the drywall to seal it. I then painted the areas that will not be covered with cabinetry or tile. The walls are a coral pink, and the ceiling is blue. The blue is one shade darker than the blue used one the ceilings throughout the rest of the house. I think the pink and blue will look really nice with the green tile.
Driving Pilings
There is a bridge that is being demolished near my office that is now my destination and entertainment on my daily lunchtime walks. I previously posted video of the demolition of a concrete column. The other day during my visit, a crane with a hanging vibratory hammer was driving steel sheet pilings into the riverbed to form a cofferdam. There was already a cofferdam around one of the bridge piers, which has now been demolished. I am assuming this new cofferdam will surround the next pier, so it can be removed. The before and after photos of the pilings being driven are below as well as video of it happening.
Totes McGotes, Too
In December 2013, I wrote a very silly blog post about the phrase Totes McGotes that I heard in a Sprint commercial with James Earl Jones and Malcolm McDowell. Amazingly, the writer of the commercial commented on my very silly blog post, or perhaps I should say my Totes McGotes silly blog post. Totes McGotes has continued to be a favorite phrase with my friends and I, and as far as I can tell with many other people. Then again, I continue to be unhip, so it is possible everyone else has moved on to a new more hip phrase. When I Google search the phrase Totes McGotes, my blog post is on the first page of results, but I admit I can’t be completely positive that it would be if any other person ran the search, or if it is tied to my Google account. However I continue to see the phrase used in memes and on photos with goats.
Seriously, how can you not love the phrase especially when paired with photos of cute goats? Then again, these photos make me wonder if goats are particularly portable in totes. Are they just the perfect combination of size, docility, and shape that make them so popular to tote in a tote bag? How long has goat toting been a thing? Do goats just not mind being toted? Are goats in tote bags the new small dog in a designer purse? Anyway, my wonderful friends are always happy to tag me when sharing one of these wonderful photos. Another friend has now shared with me this wonderful shirt, which now I must have. No doubt in ten years, I will be laughing at this phrase as so silly and stupid, well I already think it is both, but still I enjoy using it now. Please friends, don’t stop sending me links to the goofy Totes McGotes stuff, especially with the cute goats.
Bathroom Floor Is Finished!
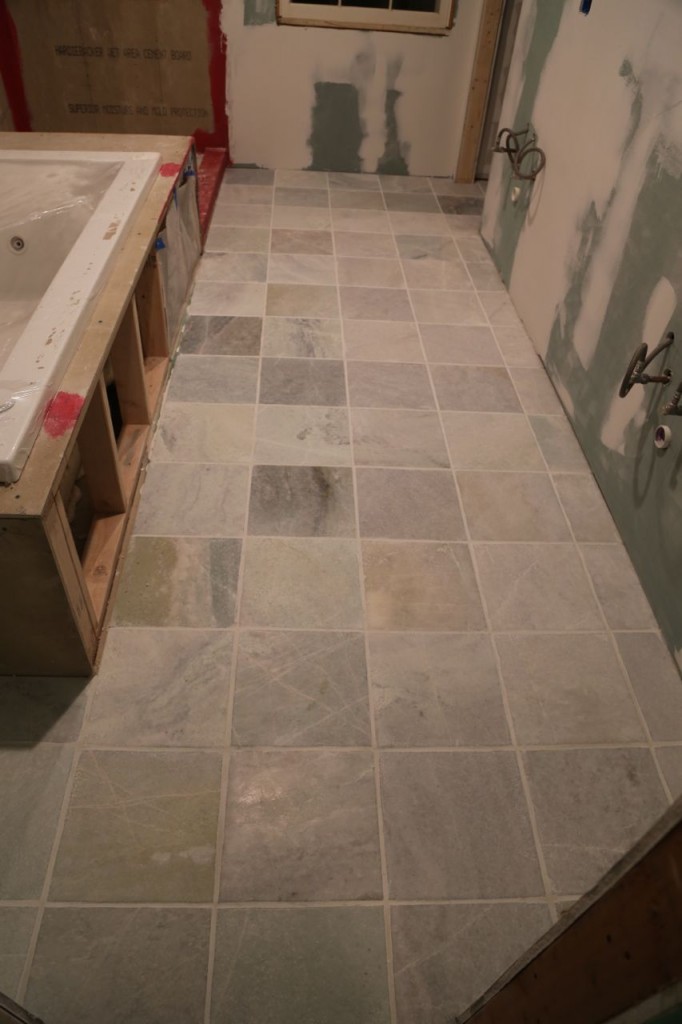
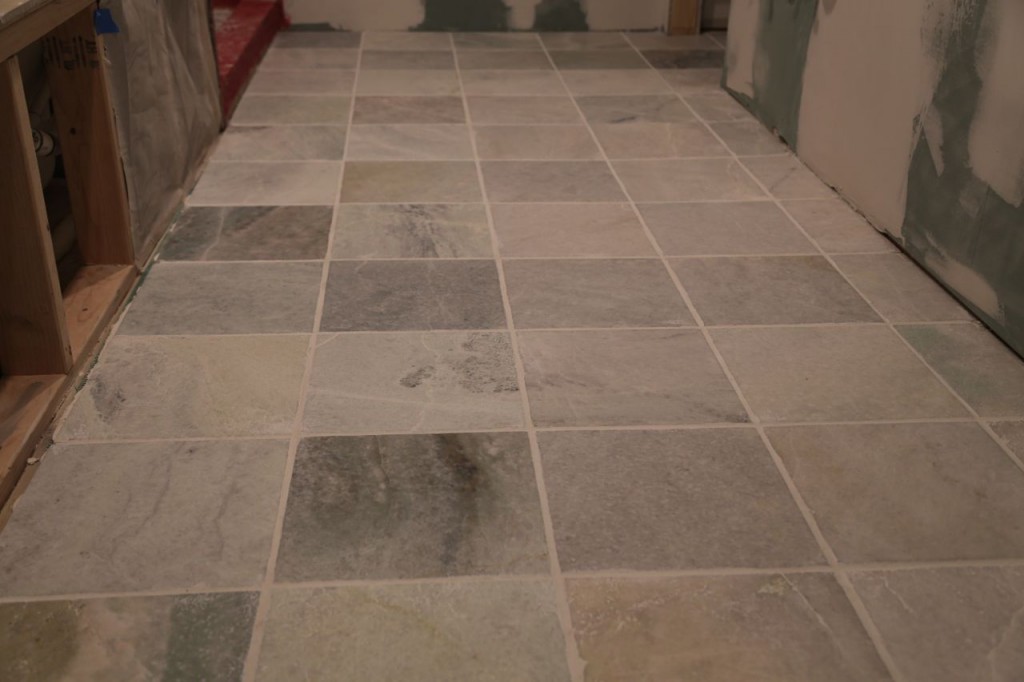
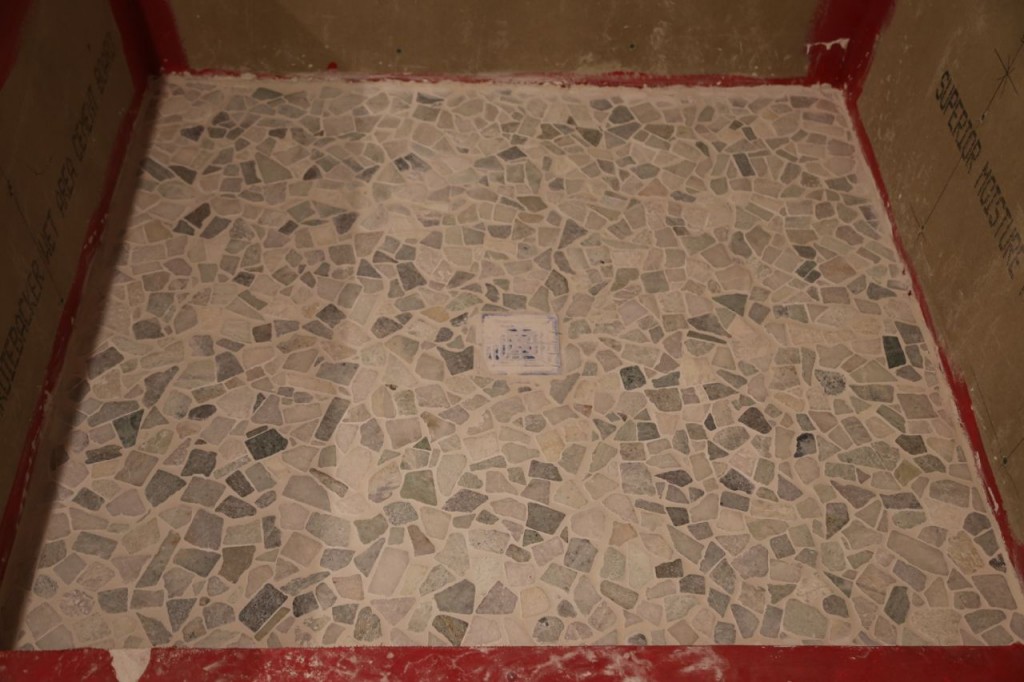
Sunday I grouted the bathroom floor including the shower floor, so I can officially call the floor finished. I consider that progress. I grouted those at the same time because I used sanded grout for both. The sanded grout gives more strength and flexibility that is needed on floors than an unsanded grout.
Shower Floor Tile Laid
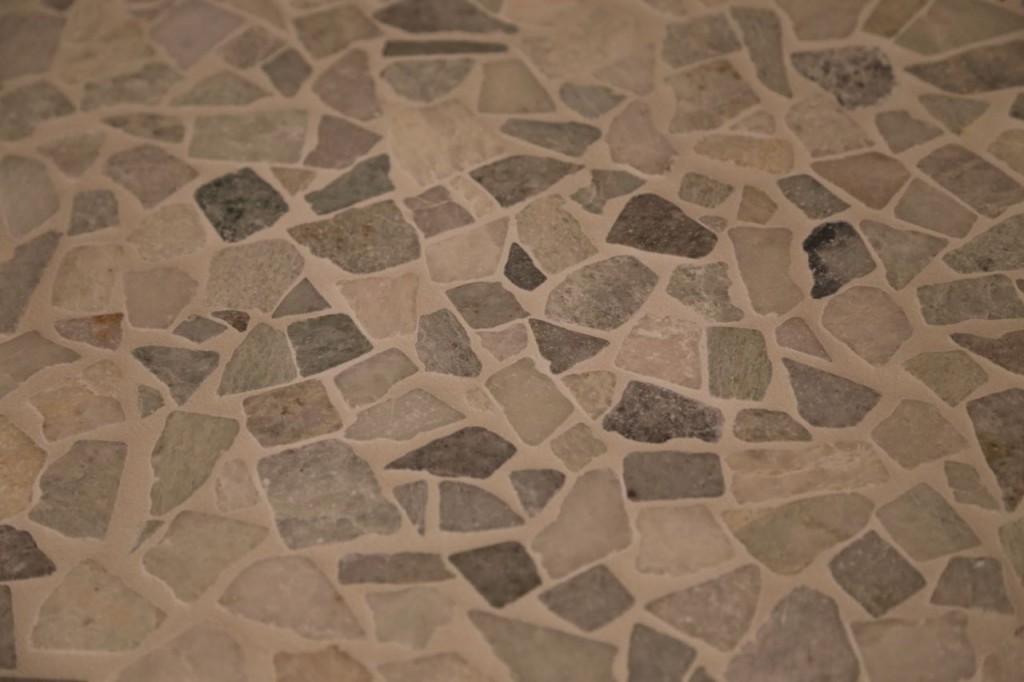
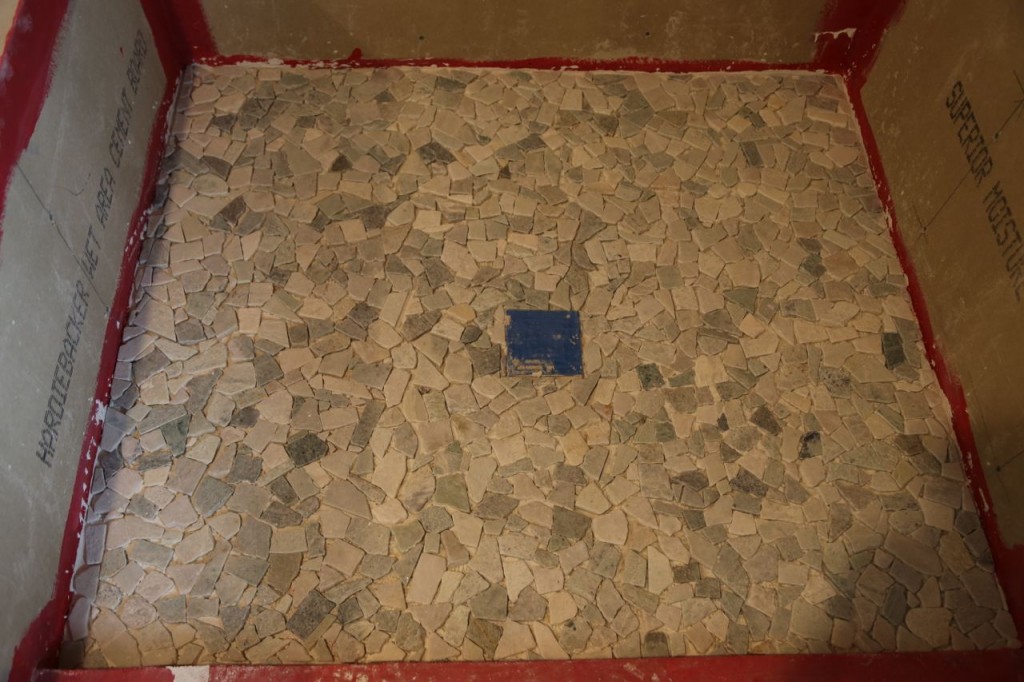
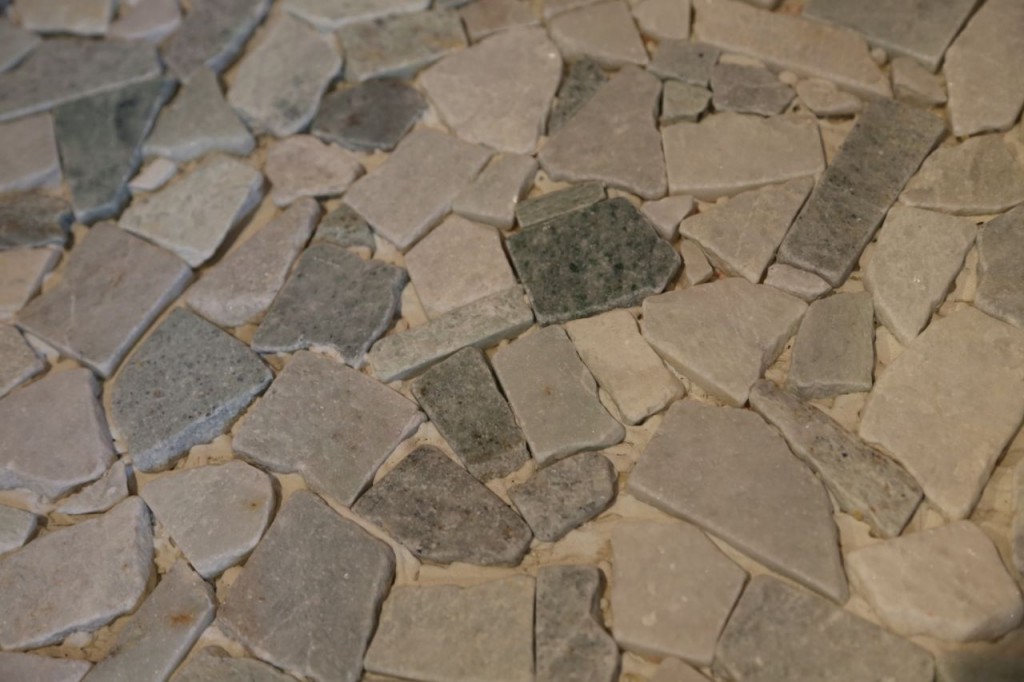
I laid the shower floor tile on Saturday. The tile is the same marble that is used on the bathroom floor. The bathroom floor tile is 12 in x 12 in tile with a brushed finished. The tile in the shower are smaller pieces that have been tumbled into odd shapes and placed on a mesh to give a cobblestone appearance. I really like using this type of tile for a shower floor because it is naturally slip-proof and feels really good on the feet. The only problem with using this type of tile though is fitting the different pieces together. They don’t line up the way regular shaped tile does. I removed pieces from the mesh of unused tile to fill in any gaps where the tiles met or where a tile met the edge of the shower. It is a bit of extra work, but I really like the appearance and think it is worth it.

