Ketchikan is a great town to wander around. A must see is of course Creek Street, which is built right on Ketchikan Creek, for what I am sure were sensible reasons when the town was first founded. Now while it is very photogenic, it also looks like an engineering challenge. Creek Street is right where Ketchikan Creek empties into the sea, so the tidal influence is visible. Right before Ketchikan Creek enters the Creek Street area, the creek is white water going over rocks, but then just a little further back, it is a calmer, mountain creek. Hence it is an interesting walk to follow the creek a bit. The rest of downtown is filled with what for the most part seem to be original buildings from when the town was expanding or buildings built to resemble old buildings. The dock area is huge, and there appear to be more boats than cars in the downtown area.
Author Archives: geek
Snorkeling in Alaska
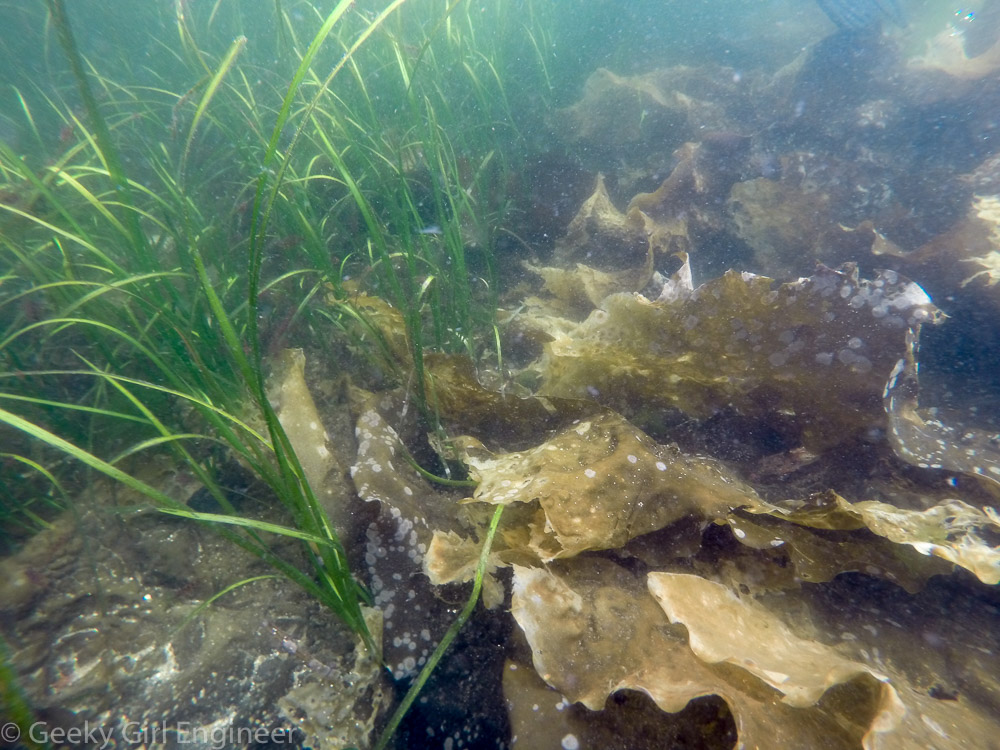
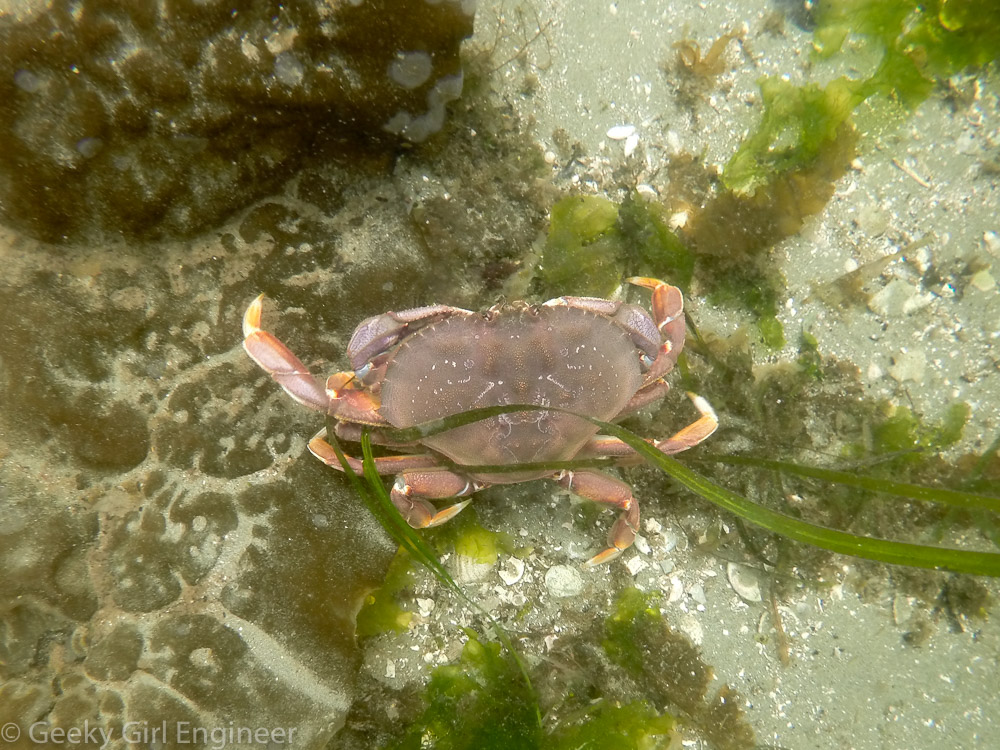
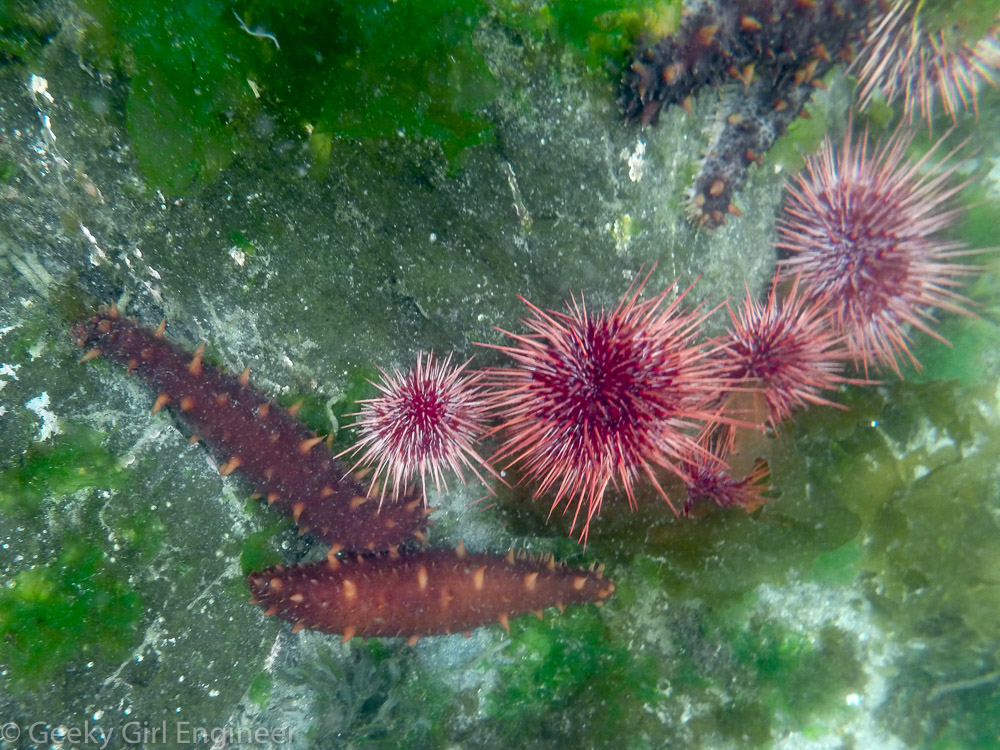
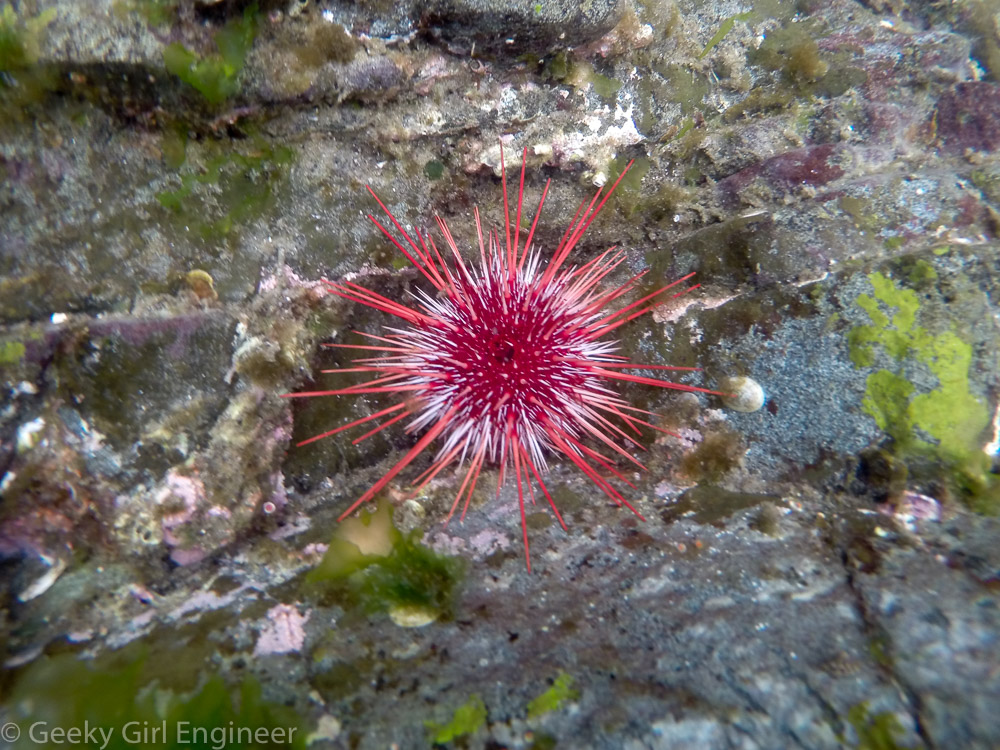
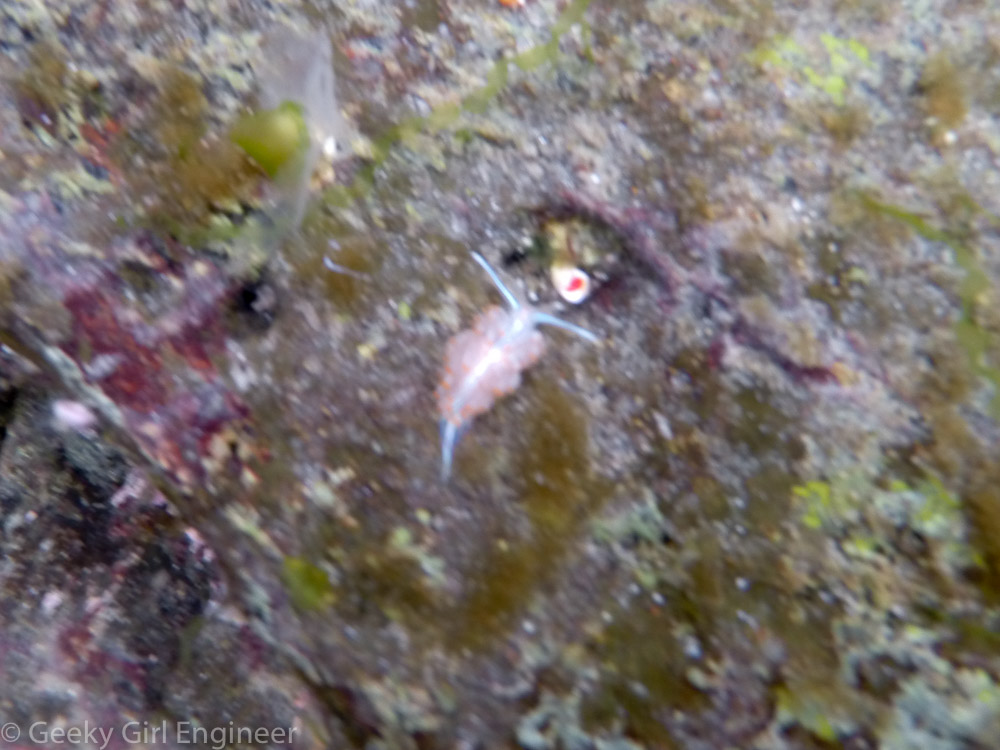
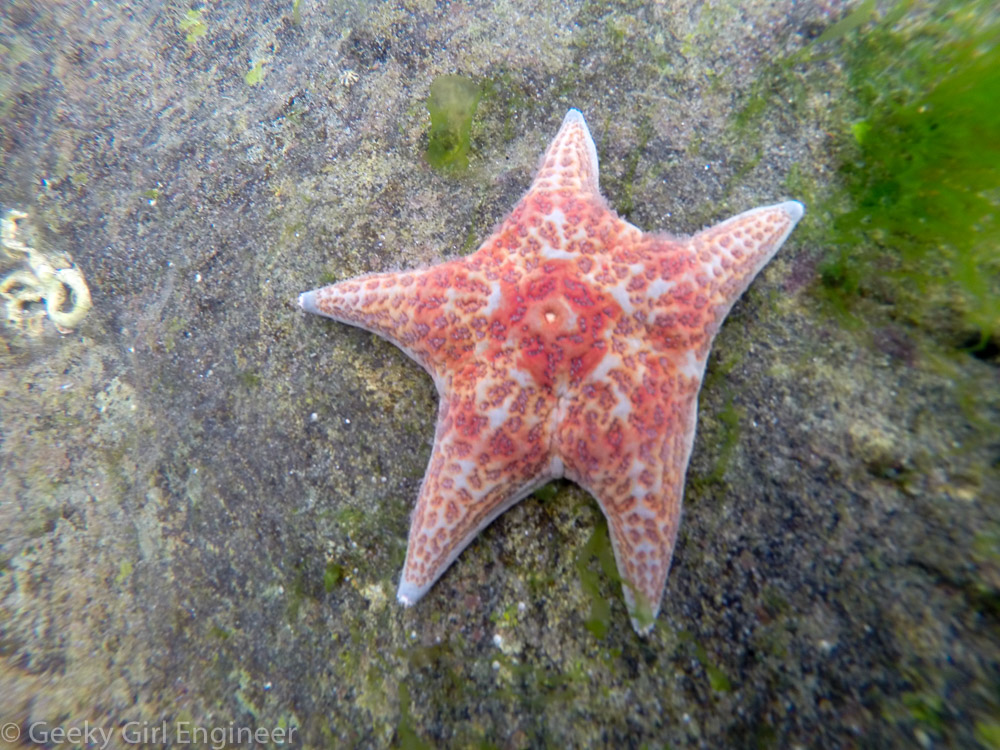
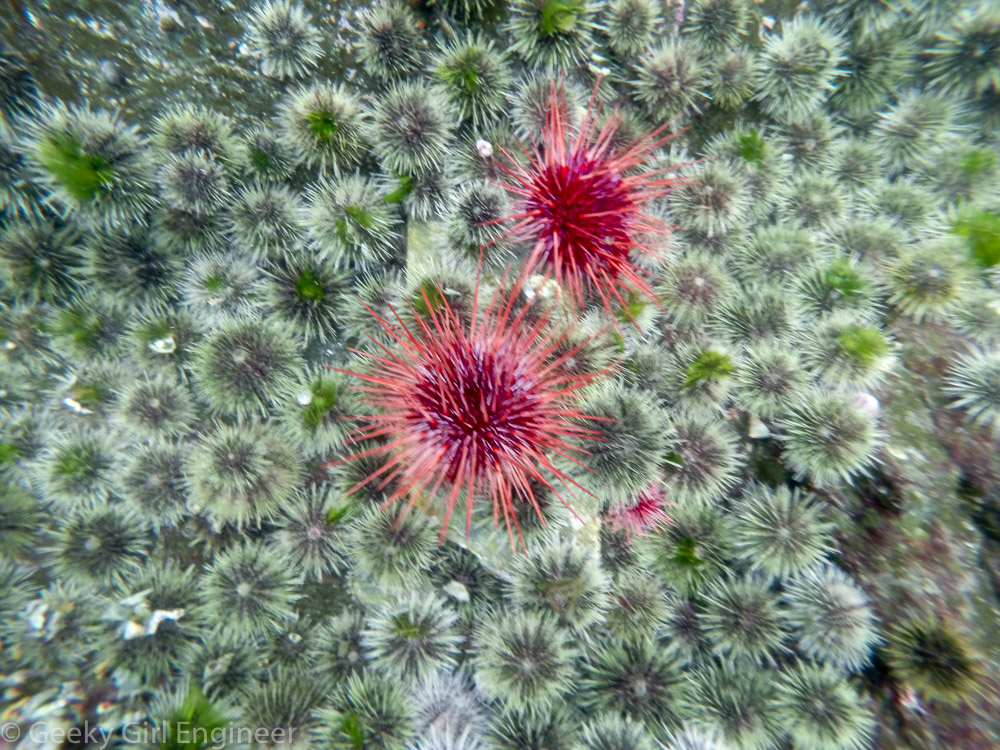
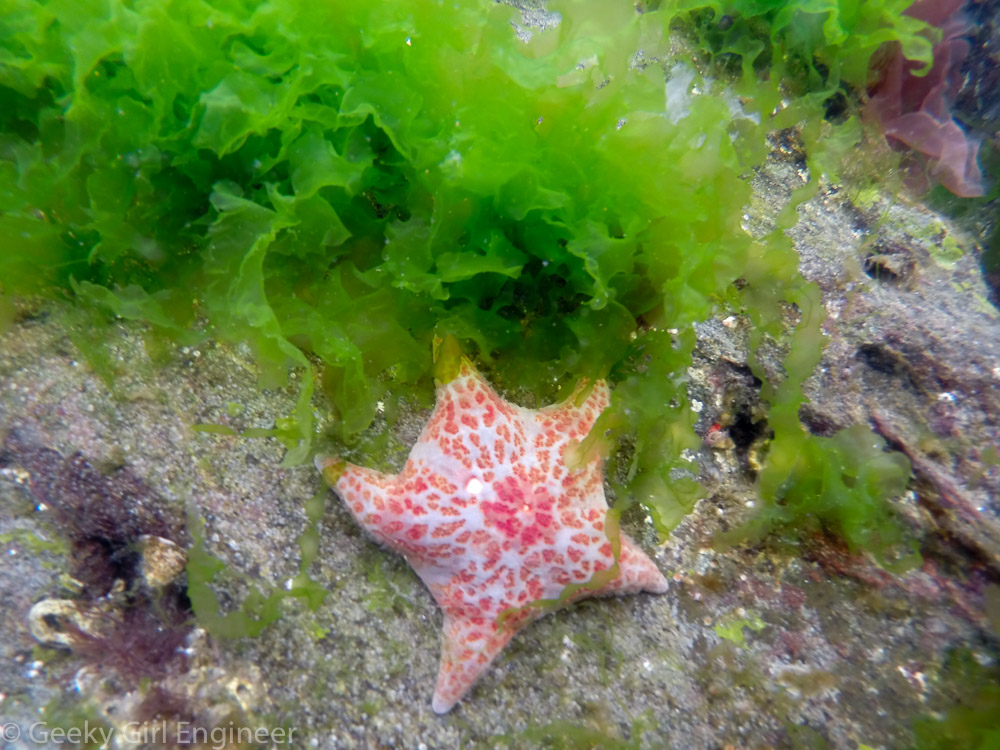
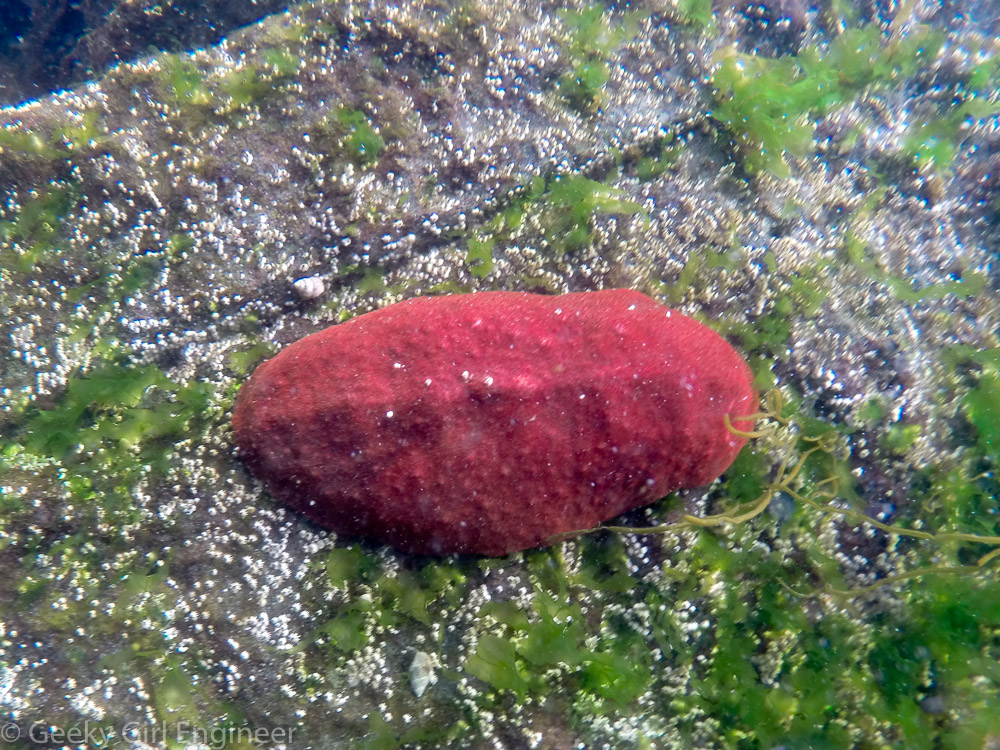
While planning for my vacation in Alaska, I learned that there is a company, appropriately named Snorkel Alaska, that leads snorkeling tours near Ketchikan. If there is a way for me to get into the water, especially if it means seeing some cool wildlife, I am there. This morning I went on my guided tour. They supplied all the equipment including a wetsuit, hood, gloves, etc. Perhaps maybe my toes got cold, but that was it. The wetsuit did its job. I got to snorkel around for over an hour seeing sea urchins, sea stars, fish, sea cucumbers, sea weed, and so much more. It was one of the best snorkeling tours I have taken. I love snorkeling in warm water and seeing coral, but this cold water provided so much to see.
Alaska State Ferry: Bellingham to Ketchikan
I have started a three week vacation in Alaska, which will involve planes, trains, ships, buses, cars, and perhaps a helicopter and raft. Thirty years ago or so, I cruised the inside passage with my family, but this time I wanted a little more time to see the southeast area and interior. Thus, the cruising will take place on the Alaska State Ferry. I took the ferry from Bellingham, Washington to Ketchikan, Alaska, which is about 38 hours or so of travel. The ferry cruises the inside passage. There was a map in the cafe that shows the route, and in two different places, the route can go either in the open ocean or the inside passage. It is not clear why one is chosen over the other, and the crew (that interacted with the passengers) didn’t even seem to know, but presumably the navigation crew knew. In any event, our route was entirely the inside passage, and a lovely route it was. It was a nice way to travel. I spent the entire time reading and taking photos along the way. Below are some photos I took along the route. Note that basically all of these photos are of British Columbia, Canada and those of the water we passed through.
Alaska State Ferry: MV Kennicott
Thirty years or so ago, I took a cruise to Alaska starting in Vancouver and ending in Whittier through the inside passage. I wanted the cruise portion of that trip again, that is, the part where the boat takes you through the inside passage. However, I wanted more time in some of the cities to explore. The solution I came up with was to take the Alaska Marine Highway System, i.e. the Alaska State Ferry to a couple of cities then because the schedule is a bit infrequent for parts of the trip, to fly for a portion of the trip.
The ferry goes as far south as Bellingham, Washington. I flew to Seattle and then took a bus to Bellingham. There is an Amtrak train and also a bus that drops you off about a block or so from the ferry. Then after a lovely lunch in Bellingham, I boarded the ferry, in this case the MV Kennicott. We reserved a four berth cabin. There are only two of us traveling, but the two berth cabin does not have a private bathroom. We splurged for the four berth for the private bathroom and extra room. The room is rather small, unsurprisingly. It is rather spartan really. Cruise ship cabins are small, but generally they are well designed with lots of drawers, shelves, and other areas to unpack things. The ferry was not designed for that. The ferry cabin was designed for you to sleep but not really for you to place your luggage anywhere.
We didn’t spend that much time during the day in the cabin though. They have a cafeteria for meals, but you can also bring your own food and use their microwave or their hot water. The food is ok, but if you have any dietary issues, you need to bring your own food. There is not that much choice with the food.
Also, there are a couple of sitting areas, including the popular forward observation seating area. The front observation seating area is set up like a theater, so you can relax and see where the ship is going.
There are also several outside decks where passages can go. Many people choose not to pay extra for a cabin and camp on the ship. There were camping tents set up in on several of the wider outside decks. Some people had rather fancy set ups for their tents.
There was also a large enclosed solarium where people camped. The area was quite warm, so people might be able to camp there without an actual tent.
People’s camping areas in some cases were involved. One had an entry rug. One hung a hammock between poles. There were clearly experienced campers on the ferry.
The ferry is definitely not luxury travel. However the route is wonderful and allow you to cruise the inside passage without having to be tied to a cruise ship’s schedule of one day per port.
Easter/Spring Wreath
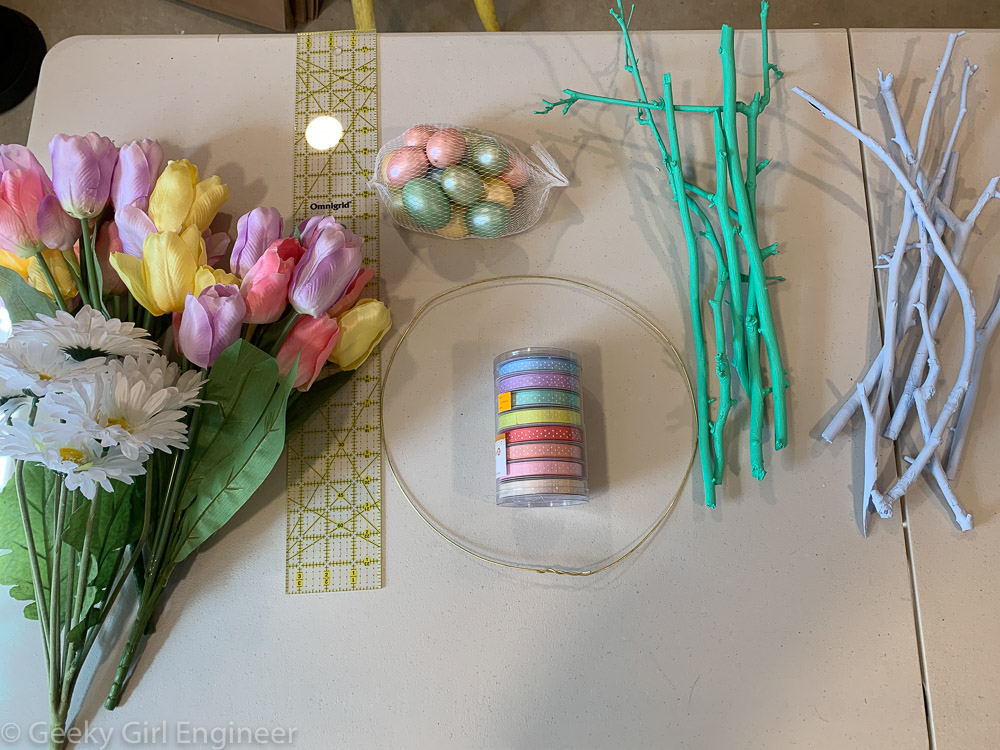
I was really happy with the way my Halloween wreath looked, so I decided to do something similar for Easter. As before, I selected twigs from my yard to form the base of the wreath. The starting supplies were twigs that I painted in pastel colors, lots of pastel colored ribbon, and metal wire formed into a ring. I splurged on some fake flowers and painted foam (or some such material) eggs. It should be noted, I completely overestimated the amount of flowers I would want to use.
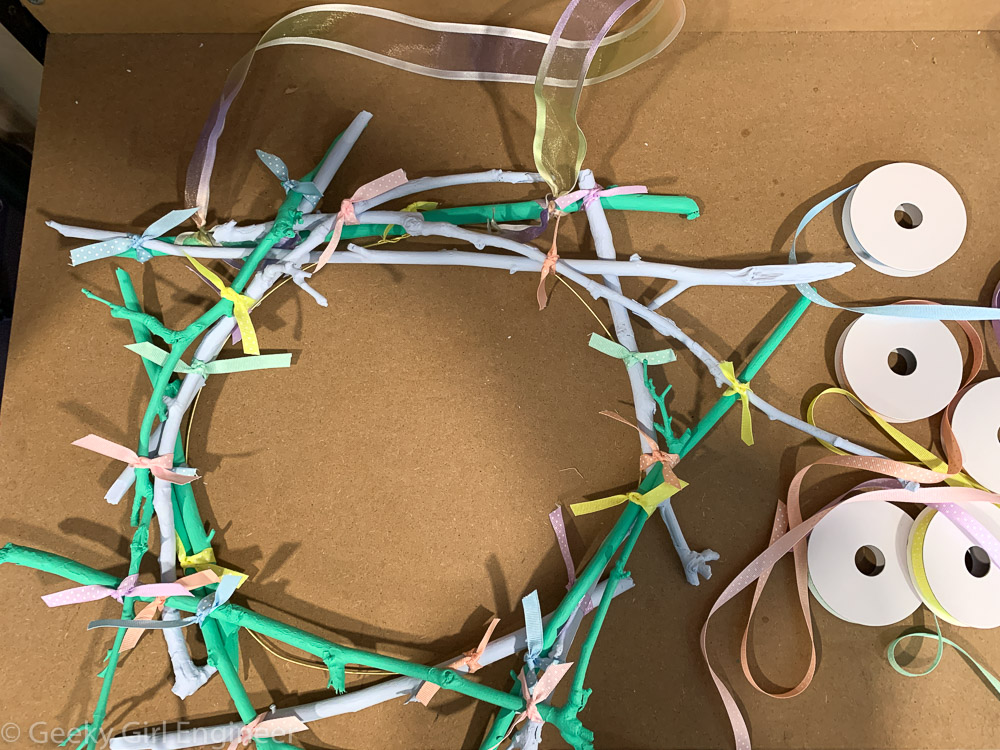
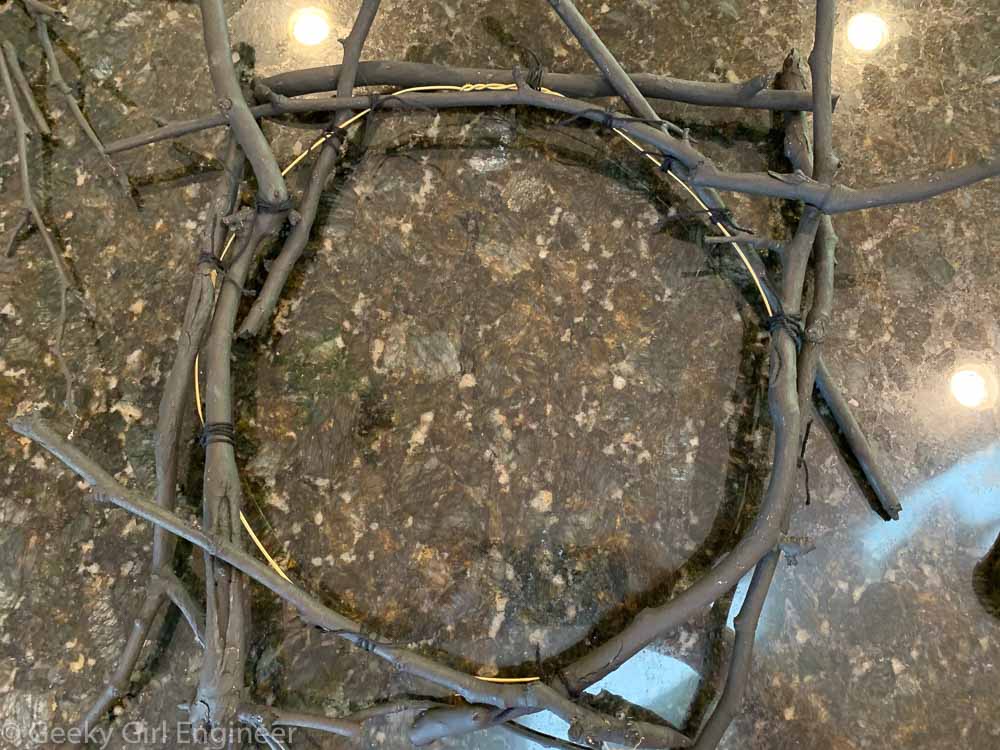
I used some of the thicker and straighter twigs to start the wreath by tying them with ribbon to the metal ring. I tied a long ribbon to a long straight twig that will serve as the top of the wreath.
I kept adding the twigs until they were all on the wreath. All twigs were tied to the metal ring or each other in several places with ribbon.
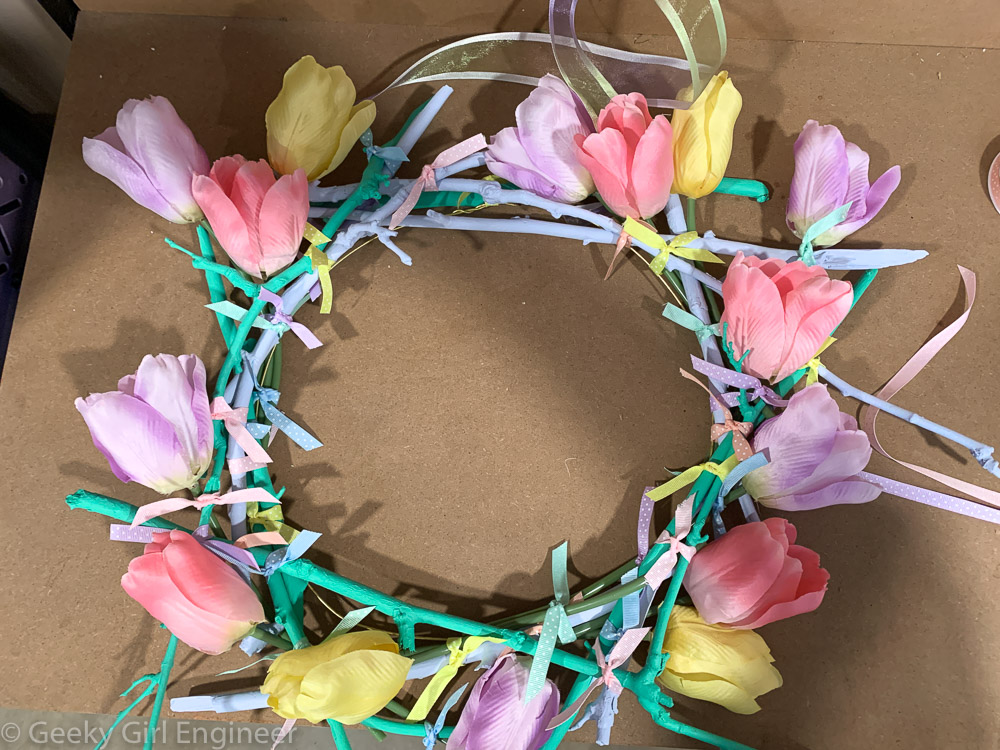
I then added the fabric tulips. I was initially going to use more flowers, but it looked too crowded.
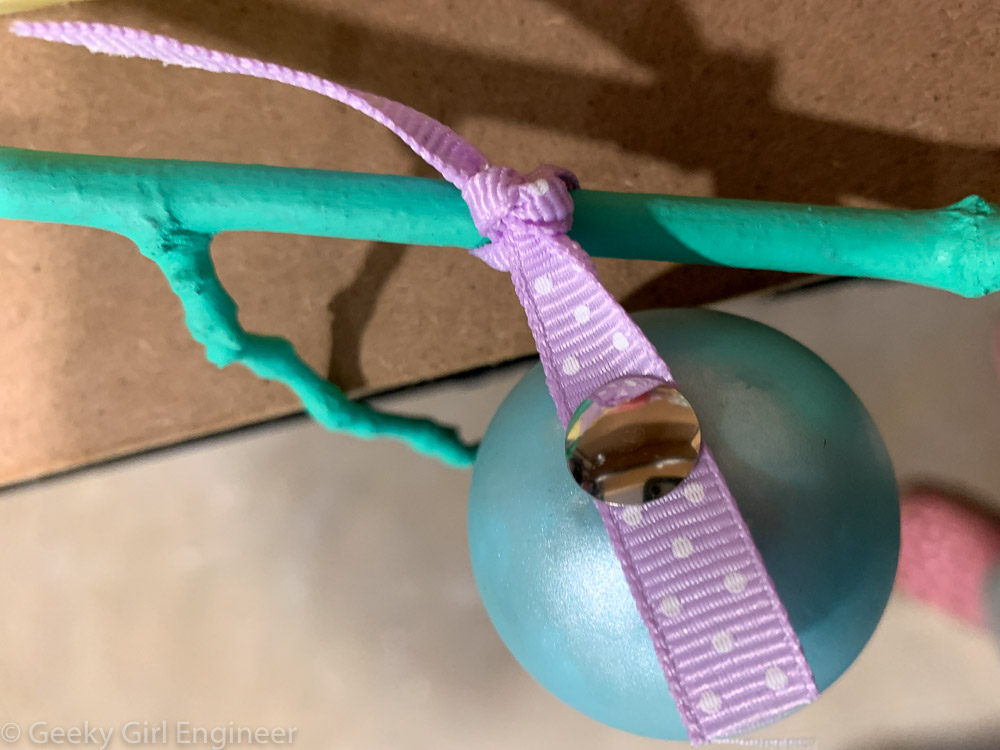
I then attached the eggs to the wreath via a thumbtack through ribbon. In some cases I attached them to ribbon already on the wreath, but in some cases, I added more ribbon.
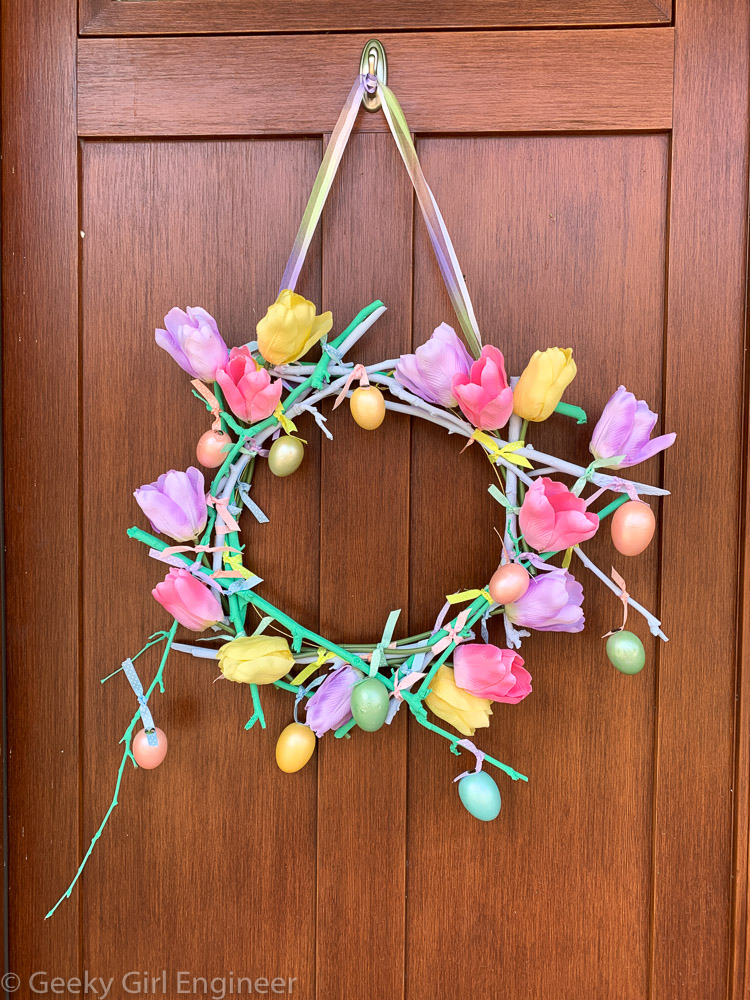
Then the last step, hang it on the door.
How to live with cats: Garden windows
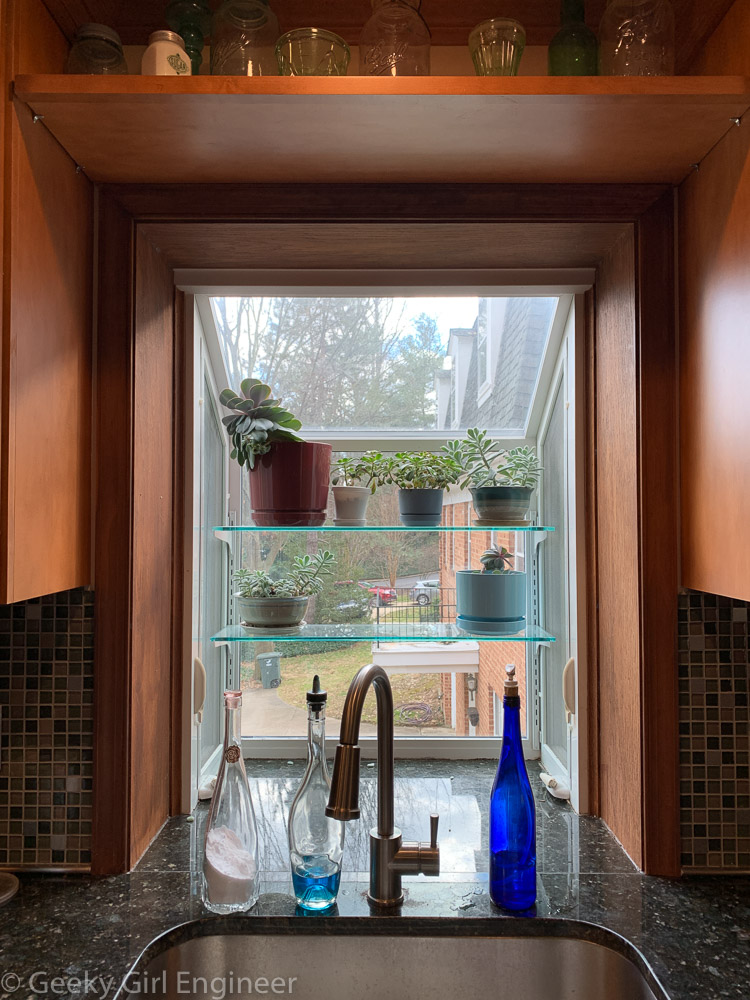
I have a garden window in my kitchen that I like very much. My plants that live in the garden window like it very much also. My cats also like it because they love to destroy my plants and can access the plants that live in the garden window. In general, the cats will not go after the plants when I am around, and in fact, normally they wait until it is nighttime, and I am asleep before really going after them. I want to keep at least some of the plants in the garden window, so I decided to make a window covering whose main purpose is simply to keep the cats out of the window at night or when I am away.
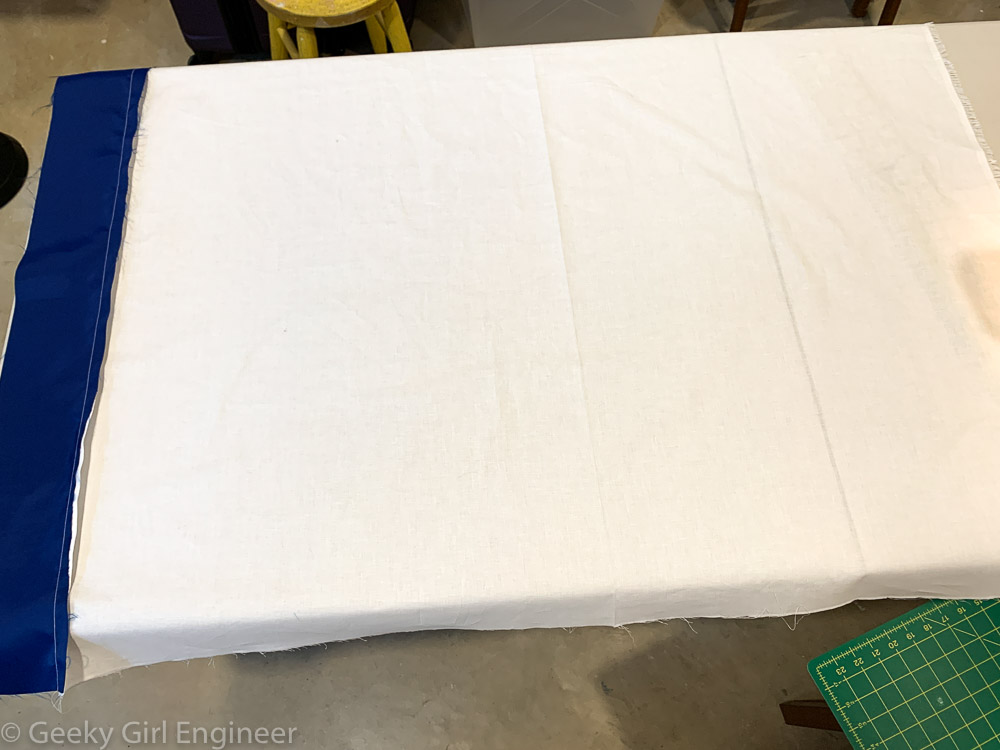
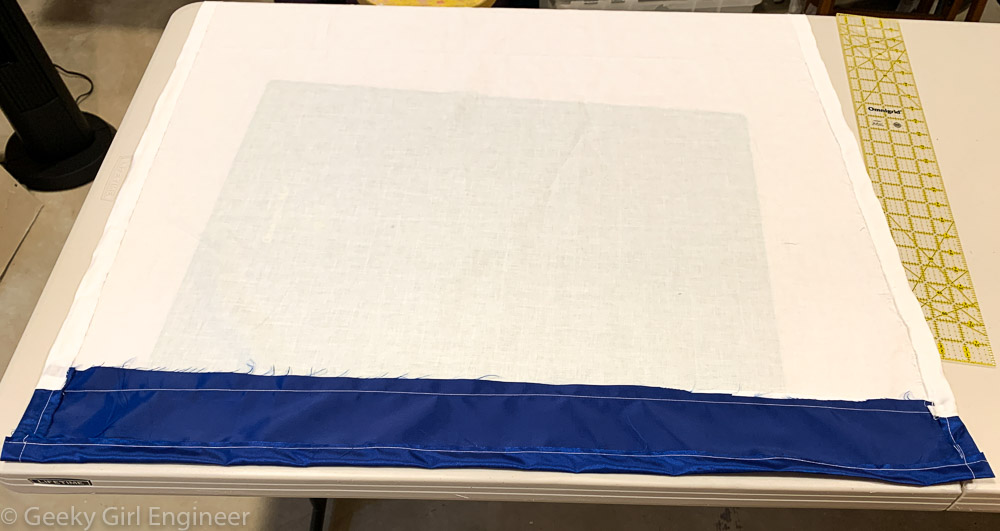
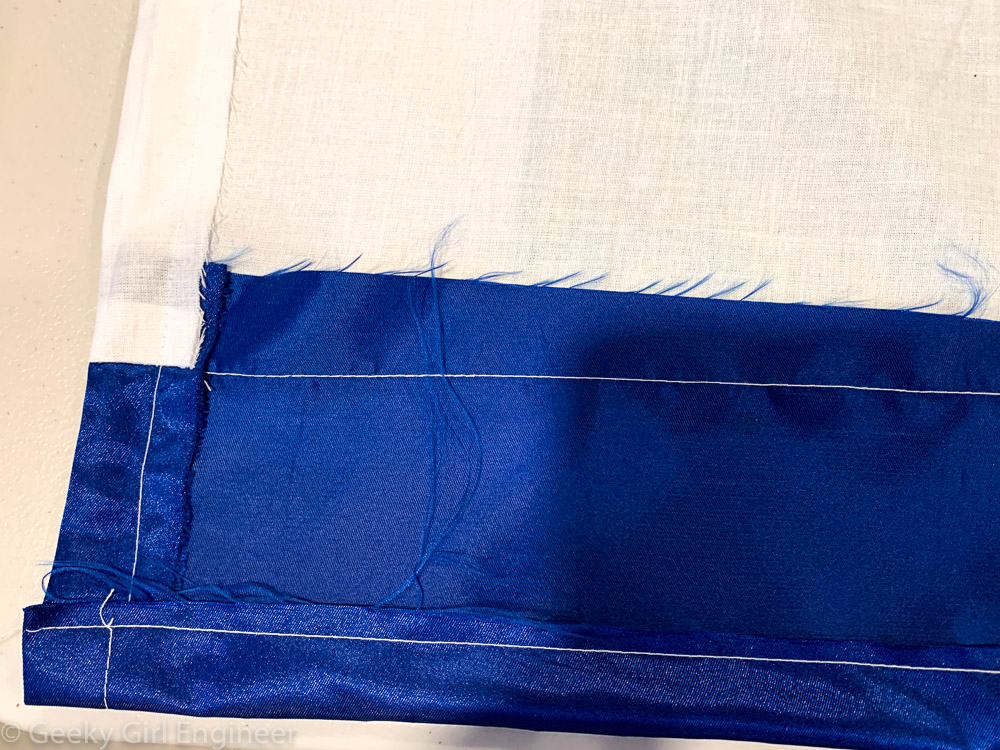
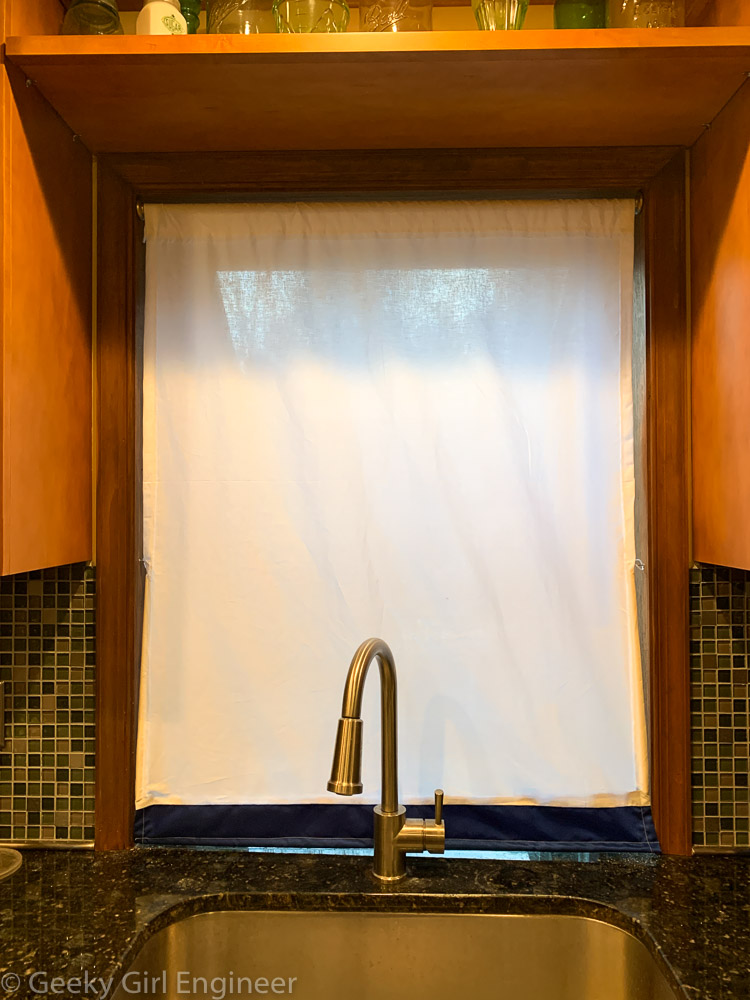
I started with plain, white, cheap muslin. I didn’t want to spend a lot of money. Also, I wanted a light, thin fabric that would let the light in through through the window. I am not concerned about privacy in my kitchen. I found some pretty blue fabric on sale as a remnant at the fabric store, so I decided to make the shade a tiny bit fancy. I sewed wide stripe of the blue fabric to the bottom of the muslin. The width and length was measured for the final product to just fit inside the window. Disclaimer: I am a terrible, unskilled seamstress.
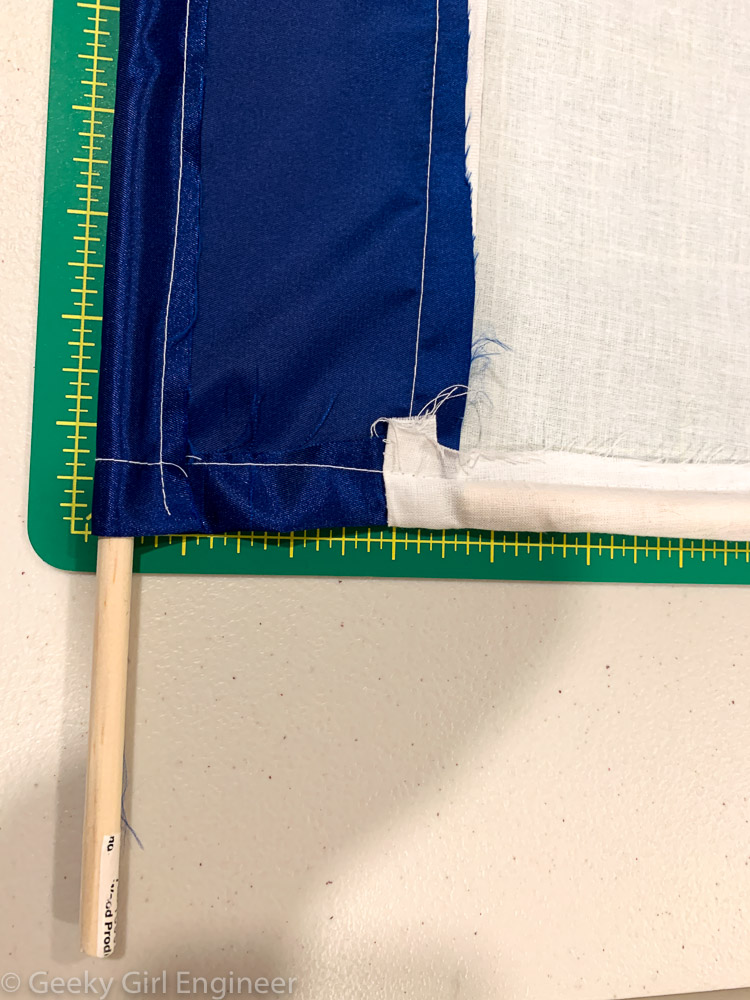
I then sewed wide hems on the edges. The top hem was large enough to insert the curtain rod. The side and bottom hems were large enough to form pockets into which a wooden dowel could be inserted. The bottom dowel would run the width of the shade. Both sides would have 15 inch long dowels at the bottom. The point of the dowels is so that the cats could not just walk past the shade like a hanging curtain. Something stiff was needed, so they could not push it aside. The dowels will ensure the shade hangs straight and stiff and stays just inside the window, so the cats cannot get in between the shade and window frame.
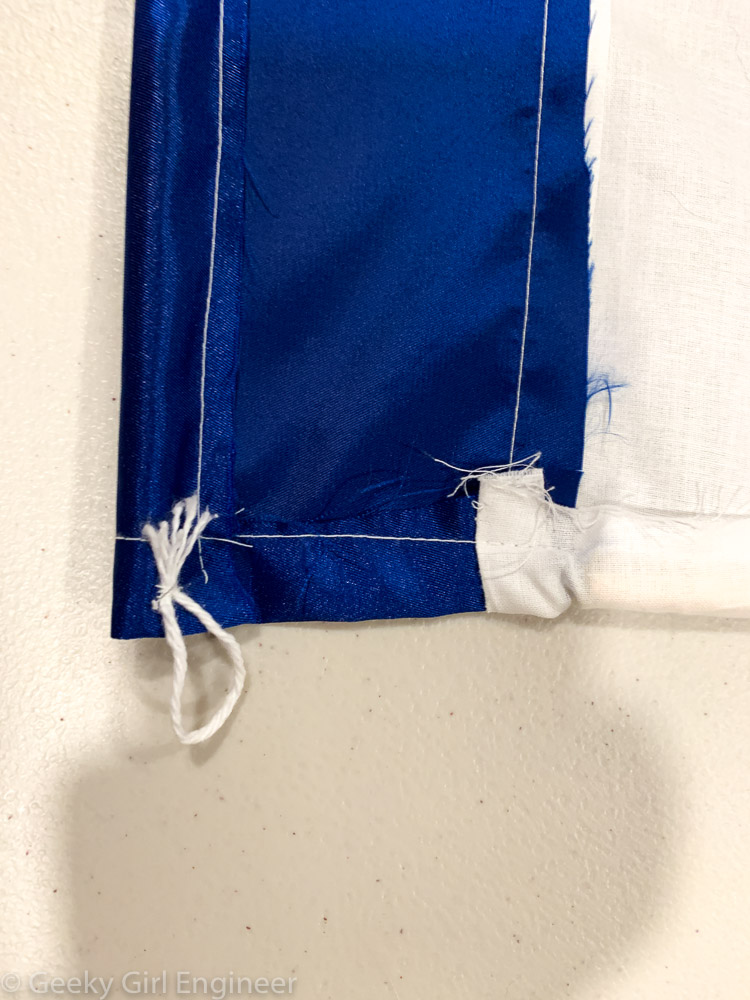
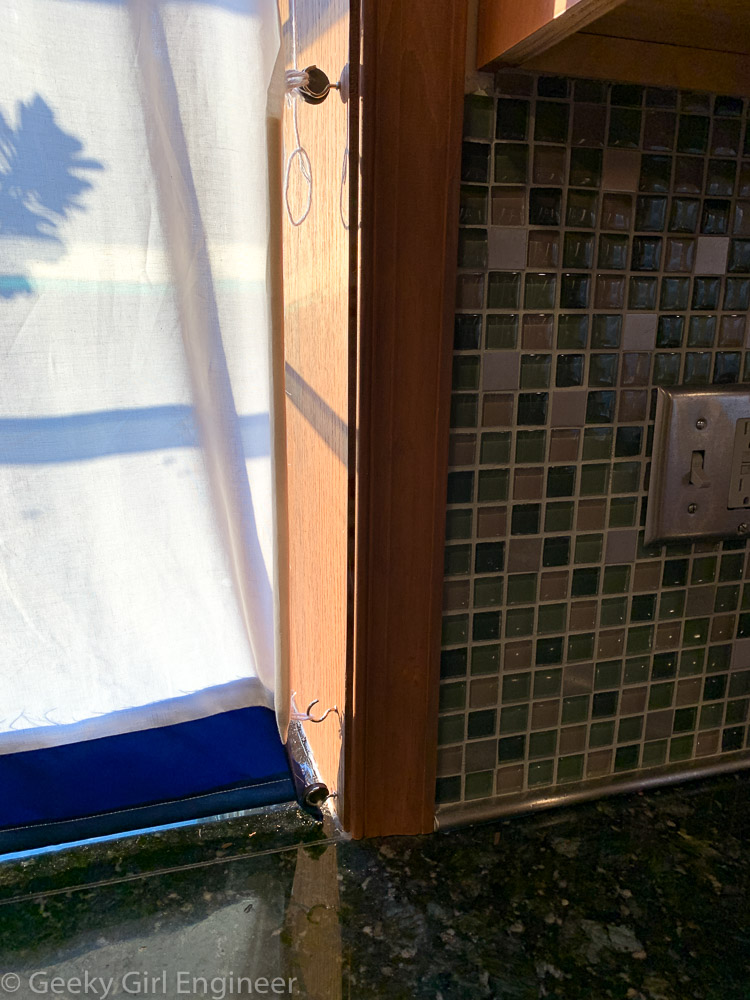
I then sewed loops of yarn on both sides of the shade, so that the shade could be held into place in the window with cup hooks. I had to adjust the size of the loops a few times, so that they were not too big and thus easily come off the hooks.
The hung shade with dowels lowered and loops attached to hooks just inside the window frame as designed.
After hanging the shade, the cats quickly showed that they could remove the yarn loops from hooks. I tried having the hooks open in, out, and up, including some hooks opening in and some opening out, but the cats still could still remove the loop. Luckily, I found that the hooks are magnetic, and I had a bunch of magnetic disks. I am now able to keep the loops on the hooks with a magnet behind the hook. Thus far, this is defeating the cats.
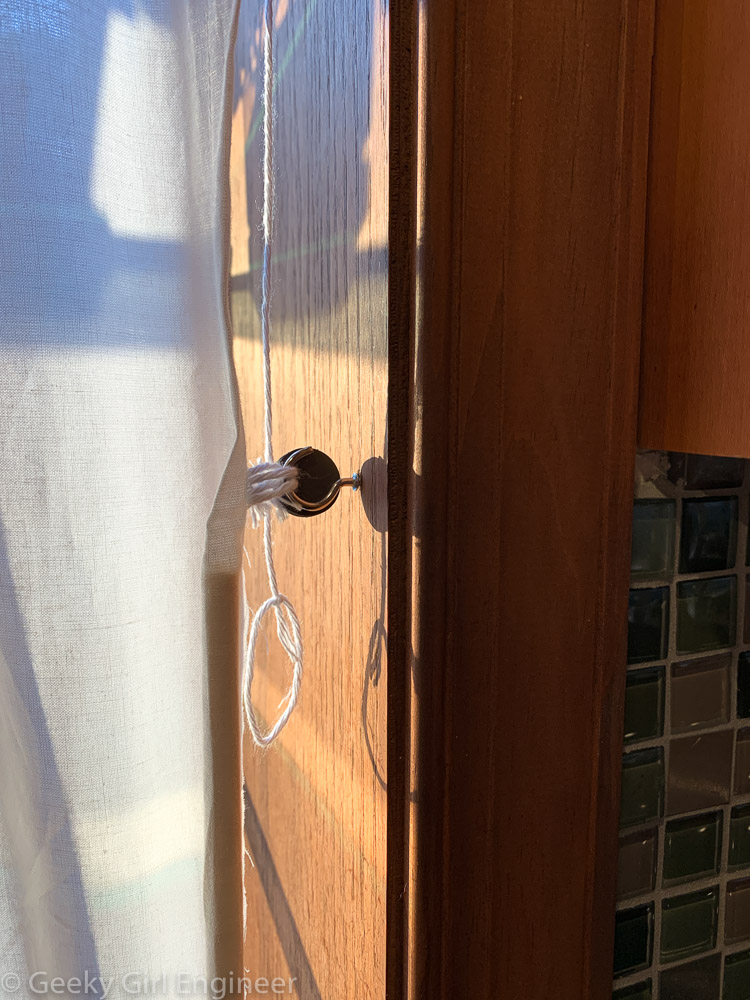
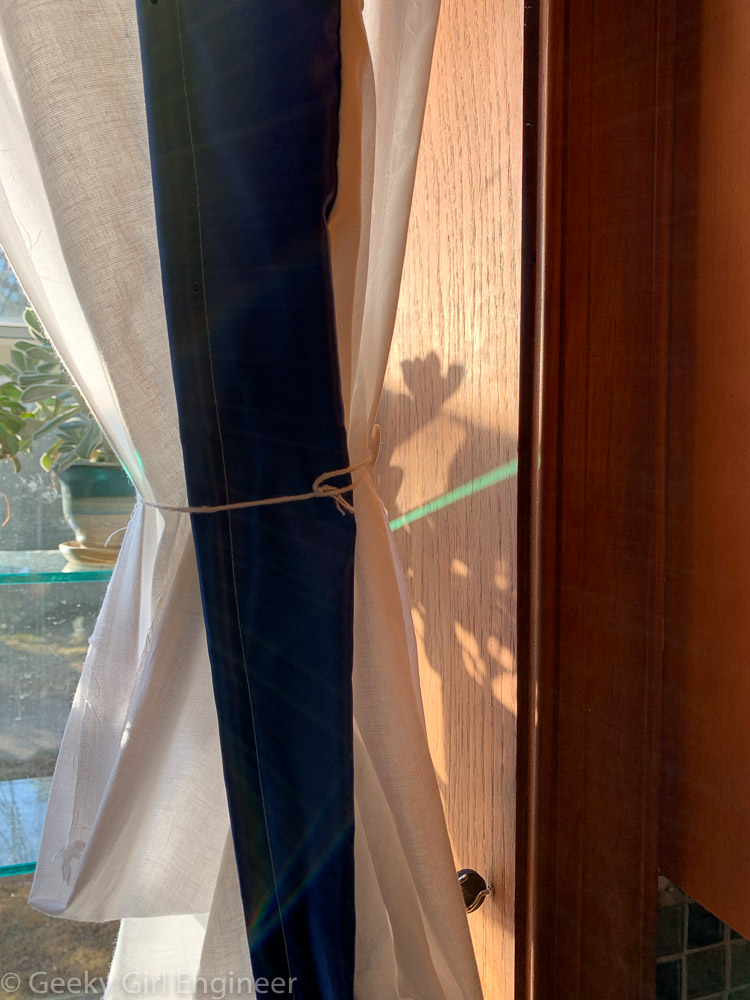
Loop on hook covered with magnetic disk. The large hanging loop attaches to a button to hold shade open.
I sewed a long piece of yarn with a loop at the end halfway up the side. Right above the yarn piece, I sewed a large button. The shade can then be held open in the window by looping the yarn around the shade and putting its loop around the button.
It took a couple of tweaks with the loops and hooks, but thus far this set up is working. It has worked for about two weeks now, so I am cautiously optimistic this will prevent the cats from killing my plants when the shade is down.
Mardi Gras wreath
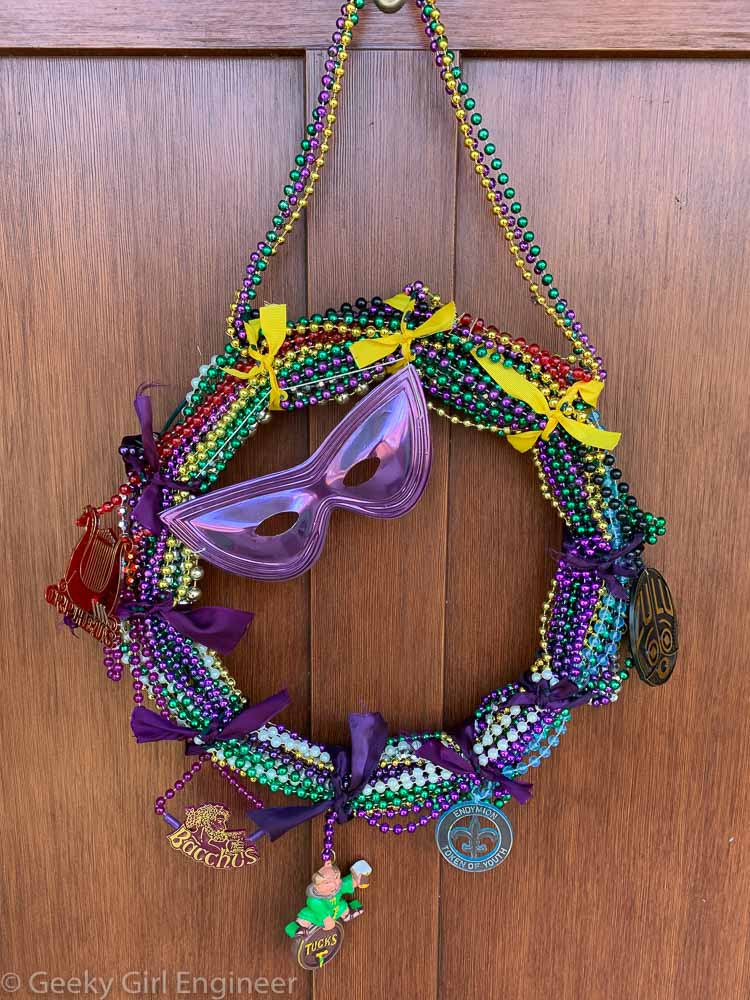
Half my family are from New Orleans, which means I have been to Mardi Gras many times. It also means I have pounds and pounds of Mardi Gras beads. Aside from bringing them out while holding a Mardi Gras party, I am not really sure what to do with them. I decided to make a wreath with some of them.
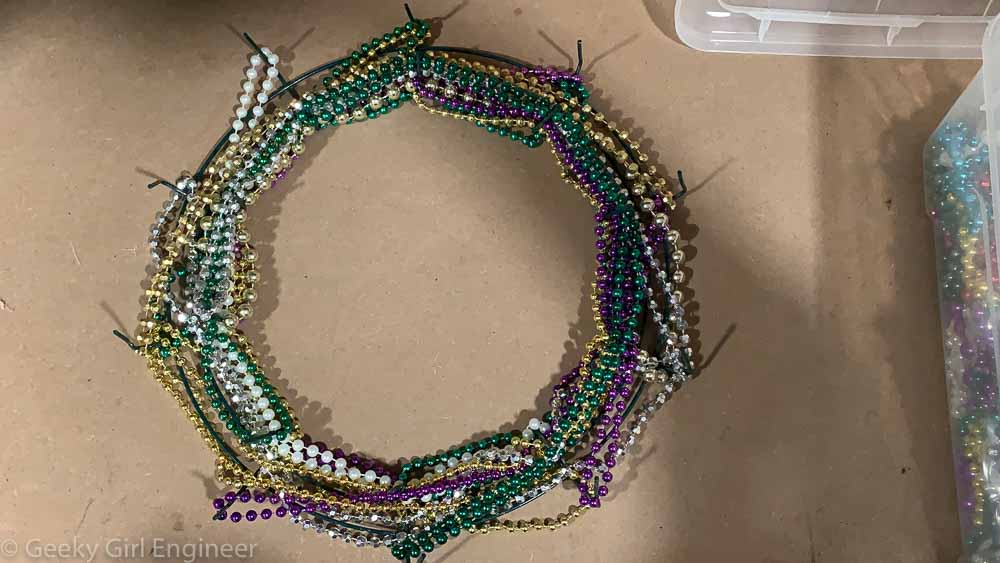
As a part of Christmas decorations, I had bought a greenery wreath. The greenery was attached to a metal ring that has prongs evenly spaced around the circumference. I opened up the prongs, so I could remove the greenery and compost them. Then I decided to repurpose the ring to serve as the base of the Mardi Gras wreath. The prongs worked perfectly to hangs the ends of the Mardi Gras beads. I then just kept the middle part of the bead necklaces between the prongs. I kept adding more and more beads to fill in the wreath.
Once I had added plenty of beads and the wreath felt complete, I added a few necklaces that have the krewe’s medallion on them. I spaced those out so that they would hang evenly along the wreath. I also added three necklaces (gold, green, and purple because New Orleans Mardi Gras) to the top. Instead of wrapping them through the wreath, I placed them inside the top three prongs and pull the rest of the wreath, so they could be used as the wreath’s hanger. Finally I added a mask near the top. I used pliers to pull the metal prongs back together. I then used ribbon to wrap around the wreath at each prong location. I also wrapped the ribbon around the prongs as they did not close fully.
Then voilà, I have my finished Mardi Gras wreath. Laissez les bon temps rouler.
Halloween Wreath
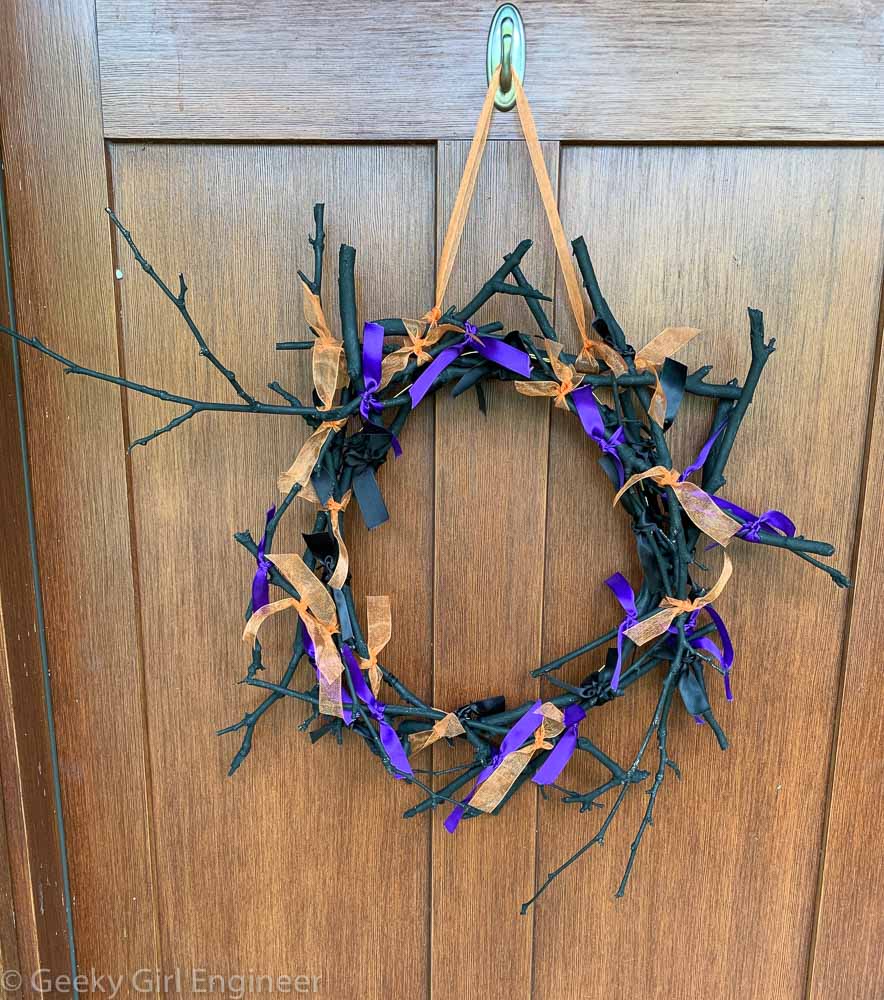
Like many, my neighborhood likes to decorate for Halloween. I never have before, except for maybe putting a couple of pumpkins on my door step. This year, since like most people, I am home mostly, I decide to decorate a bit. I really wanted to create a Halloween wreath, but I didn’t like the store bought ones that are rather gaudy and mainly plastic. I decided to create a rather simple wreath mainly with materials I already have. I am rather happy with the way it came out, and here it is hanging on my front door.
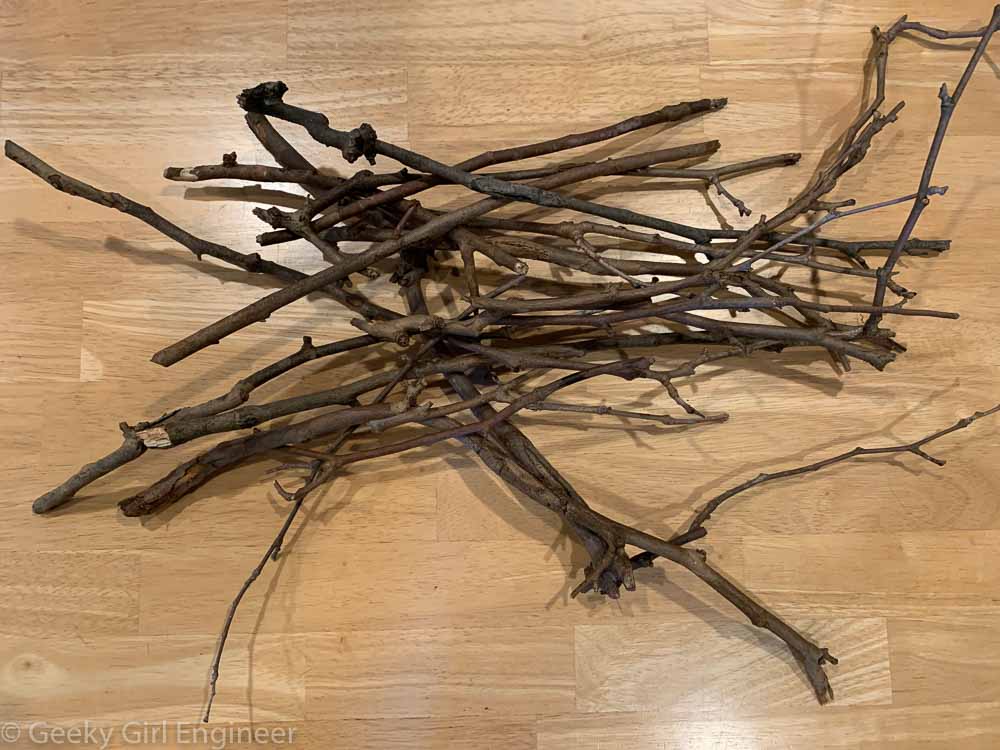
It was fairly easy to make. First, I went into my yard and gathered a bunch of twigs that were relatively smooth. As there is a large sycamore in my yard, and sycamores are famously self-pruning, so finding nice smooth twigs was easy.
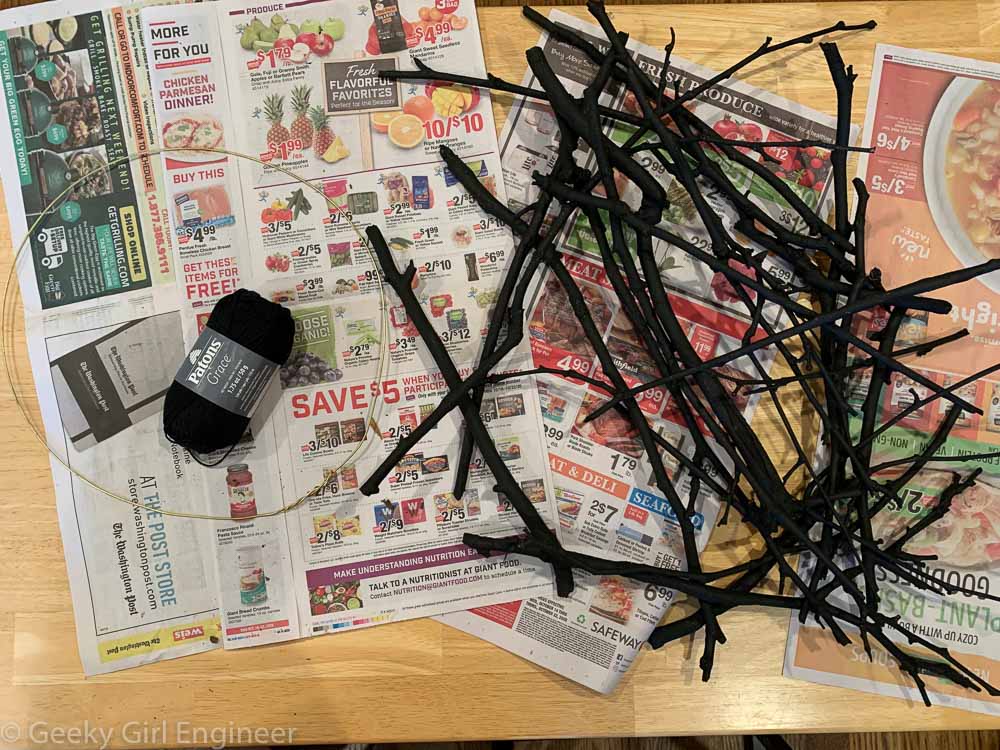
Then I painted the twigs black with acrylic paint. I found some thick, but pliable wire in my boxes of crafting supplies and used it to form a ring about a foot in diameter. Then I bought some black yarn.
Next, I used the yarn to tie some of the thicker twigs onto the wire to form the wreath base.
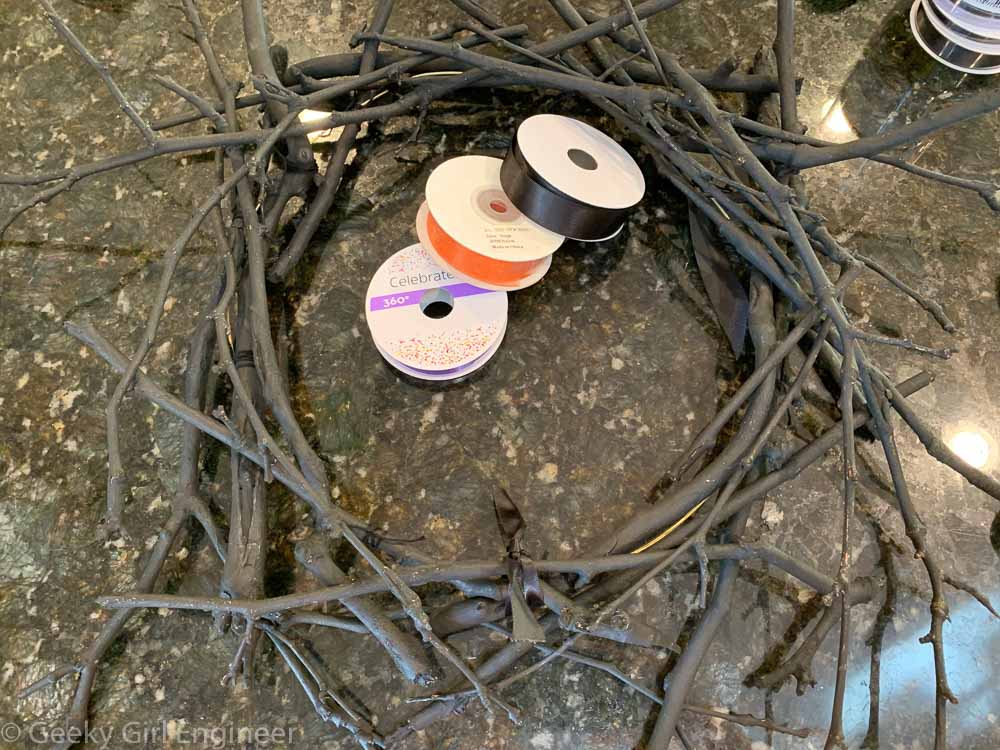
I kept adding the twigs, and I started using black ribbon to tie the smaller twigs to the base twigs. I wanted the black ribbon to visible but not the yarn.
Then I embellished with orange and purple ribbon. I also used this extra ribbon to tighten how the twigs were tied together.
Stitched Fibonacci Spiral
I finished my big COVID-19 stay at home project! I love and am fascinated by the Fironacci sequence, so I decided to stitch it. I love the way it came out. I used a different color and different stitch for each square. I calculated where each of the spiral stitches needed to go, rounding as close as possible. One nice thing about stitching on a grid, is that it makes it easy to figure out where the spiral goes. I used an evenweave linen fabric to ensure each stitch went over the same width of thread. For those who want the particulars, I used a 28 count evenweave stitched over 1. For those who really want more particulars, I have placed the design pattern I devised in a table below. The entire pattern is 377 by 610 squares, which is about 13.5 x 21.7 inches or 34.2 x 55.3 cm.


Below is a table of the pattern I used. Size is based on stitching over one on a 28-count linen. Colors are DMC. Stitches and their names are from “Stitches To Go” by Suzanne Howren and Beth Robertson.
| area | sequence | size (in) | stitch | color 1 | color 2 | color 3 |
| 0 | 0 | 0 | ||||
| 1 | 1 | 0.036 | diagonal (/) | 815 | ||
| 2 | 1 | 0.036 | diagonal (\) | 326 | ||
| 3 | 2 | 0.071 | cross stitch | 817 | ||
| 4 | 3 | 0.107 | 2 parallel lines | 349 | ||
| 5 | 5 | 0.179 | criss cross hungarian | 606 | 608 | |
| 6 | 8 | 0.286 | arrowhead | 740 | 741 | |
| 7 | 13 | 0.464 | shadow square | 743 | 744 | 745 |
| 8 | 21 | 0.750 | double stitch variation | 307 | 973 | |
| 9 | 34 | 1.214 | reversed scotch | 700 | 701 | |
| 10 | 55 | 1.964 | cameo | 909 | 911 | |
| 11 | 89 | 3.179 | dutch | 995 | 996 | |
| 12 | 144 | 5.143 | chinese rice | 796 | 797 | |
| 13 | 233 | 8.321 | lightning | 155 | 3746 | |
| 14 | 377 | 13.464 | floral | 208 | 209 | 3837 |
Risk Reduction Engineering for COVID-19
In response to some discussions I had seen about the use of HEPA filters to help with the COVID-19 crises, I wrote some thoughts on how effective I thought HEPA might be. Several people on Twitter stated they agreed with my statements. An HVAC technician (@JSTootell) provided some thoughts that I had never even considered such as the energy requirements on the buildings where a HEPA filter is installed as HEPA requires more energy (i.e. electricity) to run than normal HVAC filters. He also said the normal air velocity is super low because if you increase the air velocity and hence get more circulation, people complain about the noise of the air through the vents.
Some others have noted that HEPA filters, on a whole HVAC system or portable units in each room, won’t hurt to which I agree. One said they should be a part of a multiple layer approach to prevent the spread of COVID-19 to which I also agree. In fact, while I did not say it, that is part of my argument, HEPA filters alone will not solve the problem of COVID-19 transmission. I want to take a step back though and discuss this from an engineering perspective.
The basic, general idea in engineering is you find out what your design specifications are, you make some calculations and draw some designs to comply with those specifications based on proven information, you throw in some safety factors, and then you build whatever it is to comply with your design and calculations. If you want to build a bridge, you need to know before hand what are the design specifications. Is it for trains, vehicles (cars and trucks), pedestrians, or something else entirely? How many of the intended type of users will be crossing the bridge daily? What is the span of the bridge? What is the height of the bridge? What type of weather will the bridge will be exposed to? There are far more questions, but that is the general idea. You can’t design a bridge until you know what you are designing.
I currently work in human health risk assessment related to exposure to hazardous chemicals. It is not the same as risk assessment related to exposure to infectious agents, but there are similarities. With hazardous chemicals, the goal is to reduce people’s exposure such that they are not at undue risk to the chemical exposure. You can’t reduce risk to zero; it is simply impossible. With chemicals that cause cancer, generally you are trying to get the risk below one in a million chance of cancer caused by exposure to that chemical. Another part of this is who is at most risk. With chemicals, the people we are generally most concerned with are children or pregnant women as they can be more susceptible to harmful effects than healthy, non-pregnant adults. The risk requirement is one of your design requirements. If a person can be exposed to 100 mg/l per day (via ingestion) or 100 mg/g (via inhalation) of a certain chemical and not be above one in a million risk of cancer, then you have to figure out what needs to be done at a contaminated site or with contaminated drinking water to get their exposure (and thus risk level) below that number. This could mean filtering water or removing topsoil at site (to avoid incidental ingestion of contaminated soil or to avoid breathing in soil particles). What kind of treatment and how much treatment is needed to get below that concentration? That is one of your design requirements. Similarly the design and operation of water treatment plants is based on cleaning water such that the water has less than some amount of a contaminant before it is sent via pipes to the customers. Design requirements from water treatment plants is generally based less on risk calculations and more on state and federal requirements for contaminant levels in drinking water. These federal requirements are called Maximum Contaminant Levels. Water treatment plants must meet these requirements, and they are designed to prevent the people who drink that water from getting sick from microorganisms or chemicals in the water.
This leads me to designing a HVAC system with HEPA filters or the use of portable HEPA filters in buildings to protect against COVID-19. In order to design a system, you have to know the design requirements. It is absolutely fine to say you want to reduce virus particles in the air and reduce transmission, but that is not a design requirement. Reduce is a vague, qualitative word. Engineering requires quantitative requirements. If you only want to reduce particles in the air, then you will only reduce the risk by an unknown amount with no clarity on if that reduction is an acceptable amount to the occupants of the building. Reducing risk could mean that instead of 30% of the occupants of a building getting sick, only 20% do. I personally don’t find that to be an acceptable reduction. A design requirement is based on what concentration of virus particles can be in the air and no person gets sick from COVID-19. Perhaps your requirement would not be that stringent, perhaps you would be ok with one in a thousand people getting sick from COVID-19 based on the design. The design requirement can be based on people wearing a mask or not wearing a mask. Maybe with everyone wearing a mask indoors, they can be exposed to 10 virus particles per hour, but without a mask, they can only be exposed to 2 virus particles per hour. This is where infectious disease experts are needed to provide information as to the pathogenicity and virulence of the pathogen, which in this case is COVID-19. An engineer designing a HVAC or some other filtering system for a building is not the person to decide what those design requirements are. They need the infectious disease experts to state what concentration of a pathogen a person can be exposed to without getting infected. The concentration may be zero. The problem at this point is I don’t think we know how much COVID-19 a person can be exposed to without getting sick. Thus, if we don’t know how much COVID-19 a person can be exposed to without getting sick, how can we possibly design a system to prevent a person from getting sick.
I can already hear arguments that we just need to do something. We need to accept some risk but do some things to reduce risk, so we can get things back to normal. I don’t think most business owners are going to be willing to spend a non-negligible amount of money on some design that will simply reduce risk to an unknown and unproven amount. For a place of employment or a school, is it reasonable to ask people, especially children, to return to a building with an unknown risk if a system has been put in place that reduces the risk an unknown amount? How much money should employers and educational boards spend to reduce risk an unknown amount? If you are willing to accept some risk, then why spend money on something that may reduce risk by some unknown amount? Everyone is already spending money on masks, gloves, hand sanitizer, etc. which at least has been proven to reduce risk, but not eliminate it, by a reasonable degree from a cost benefit perspective. I spent $20 or something on two reusable cotton masks that I wash after use. That is a very reasonable cost benefit amount from my perspective even though I can’t calculate the risk reduction of the mask. How much money is reasonable to invest in either a whole system HEPA filter or portable HEPA filters when the risk reduction is unknown? An extremely quick internet search provides options for portable HEPA filters from $200 to $1200. Should schools buy one per classroom, even at the low price end, when there is no data to show they would reduce risk at all? The point is, reducing risk is good, but if you going to invest money to reduce the risk, it would be prudent to determine how much the risk is actually going to be reduced before you do it.


