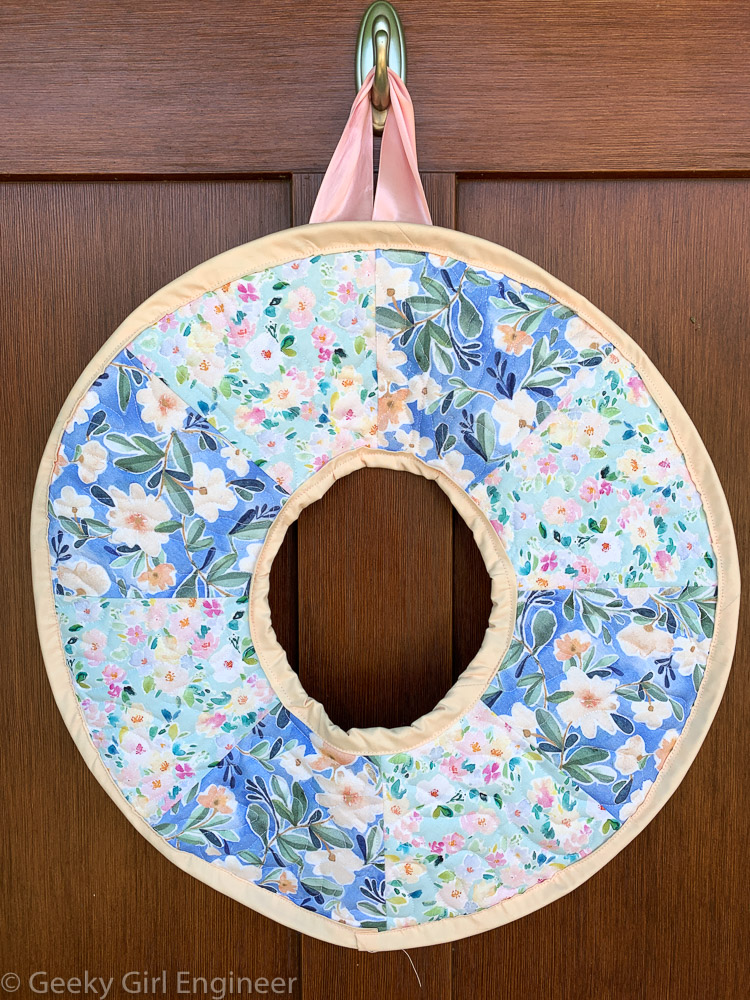
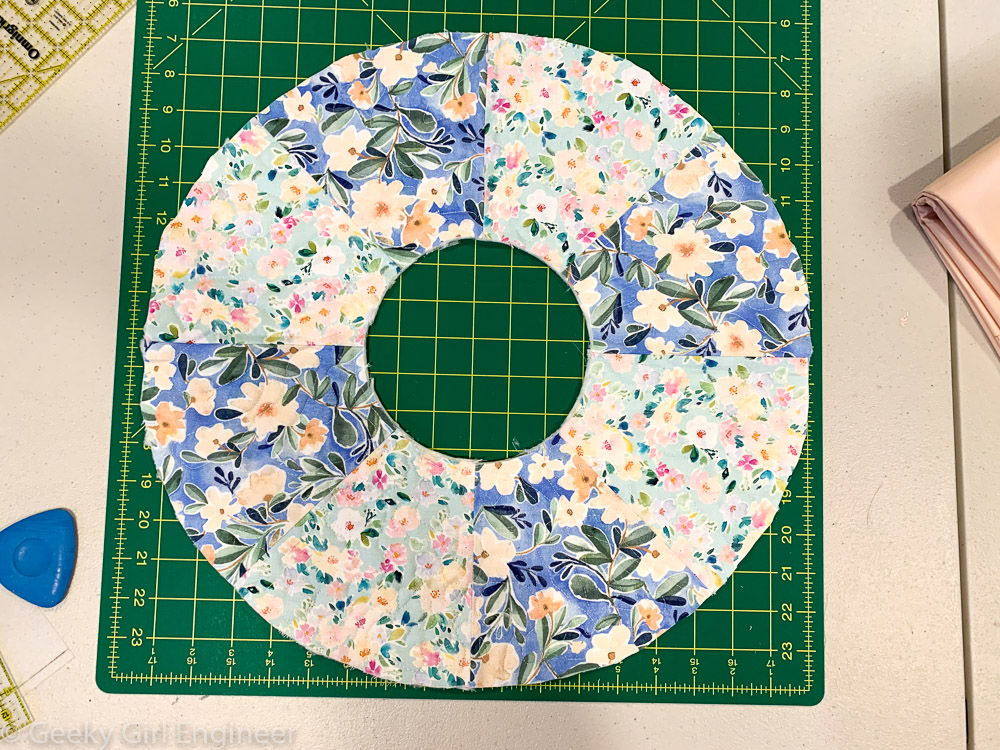
I like to decorate my front door with wreaths (Halloween, Easter, Mardi Gras, etc.) and other holiday decorations. I bought some spring and Easter fabric for some projects, and two of the floral fabrics in the collection reminded me of cherry blossoms. [The fabrics are from Dear Stella’s Hop to It collection.] The D.C. area loves cherry blossom season, and we are currently waiting for them to bloom in a few weeks. I decided to use those floral fabrics to make a quilted “wreath” for my front door to celebrate the cherry blossoms. The wreath has an approximate outside diameter of 18 inches with an inner diameter of about 6 inches. This is the first project I have made where I attempted to sew on a curve, and it shows, but I continue to practice and improve.
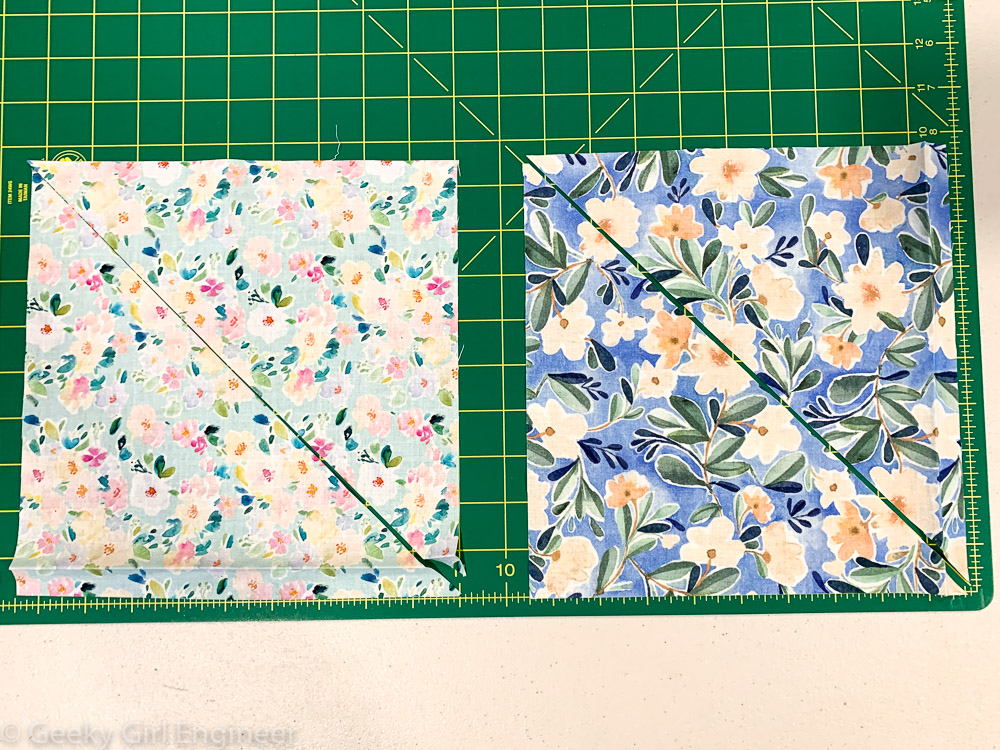
Making it was fairly simple. I wanted the wreath to be about 18 inches wide in total, and I wanted a 6 inch hole in the middle. That would make the fabric wedges have about a 6 inch radius after being cut. [My math, geometry, and drafting skills came in handy in designing this.] I started with two 9.5 inch squares of each fabric, and then I cut all four blocks on the diagonal.
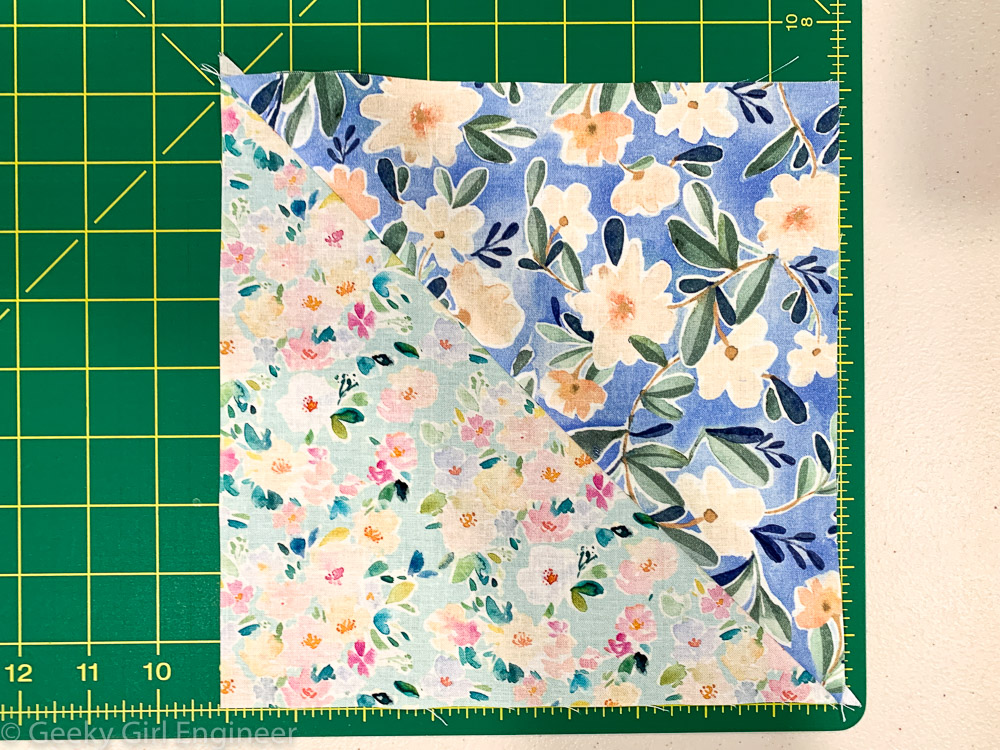
I then sewed two triangles of the different fabrics together and repeated four times to give me four complete squares.
I sewed all four squares together to give me a classic pinwheel design. I got the pinwheel point near perfect, and I was shocked and ecstatic about that, even though I was going to cut it out.
I then cut a six diameter circle out of the middle. I had a cutting template for that portion, so that was relatively easy. I couldn’t find a template for an 18 inch diameter circle. Instead I folded the square twice into quarters, measured a 9 inch radius, and then freehanded the cut. It came out fairly well.
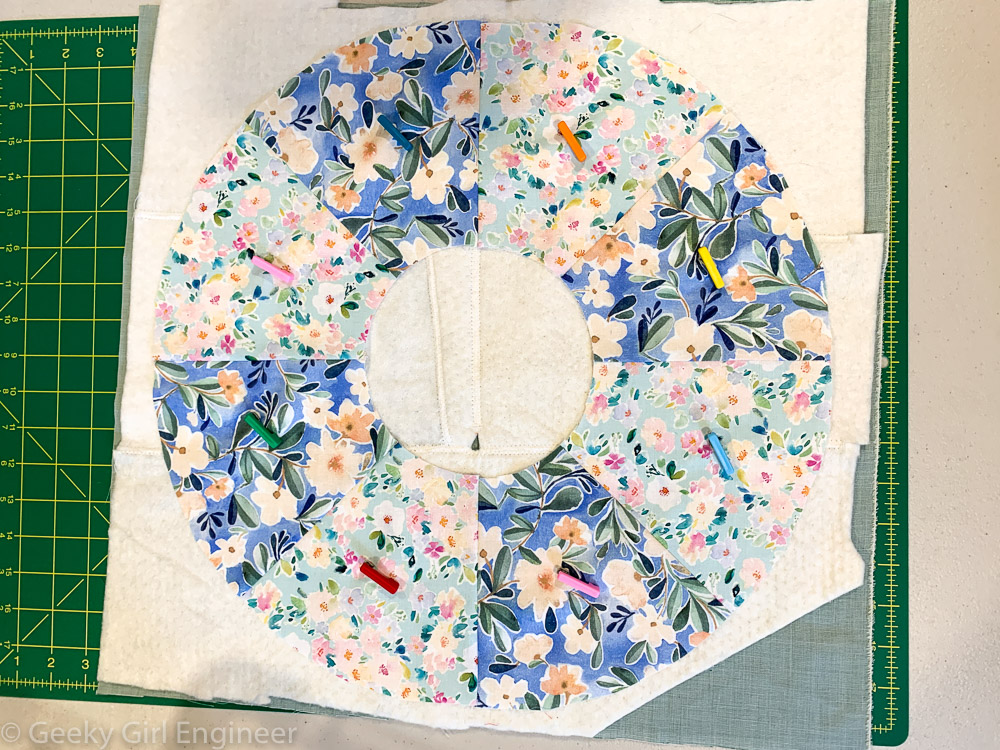
I then layered the fabric with batting and a bottom fabric and pinned together. I then free-motioned quilted.
Once it was quilted, I used the top layer as my guide to cut the batting and bottom fabric to give me a donut shape again.
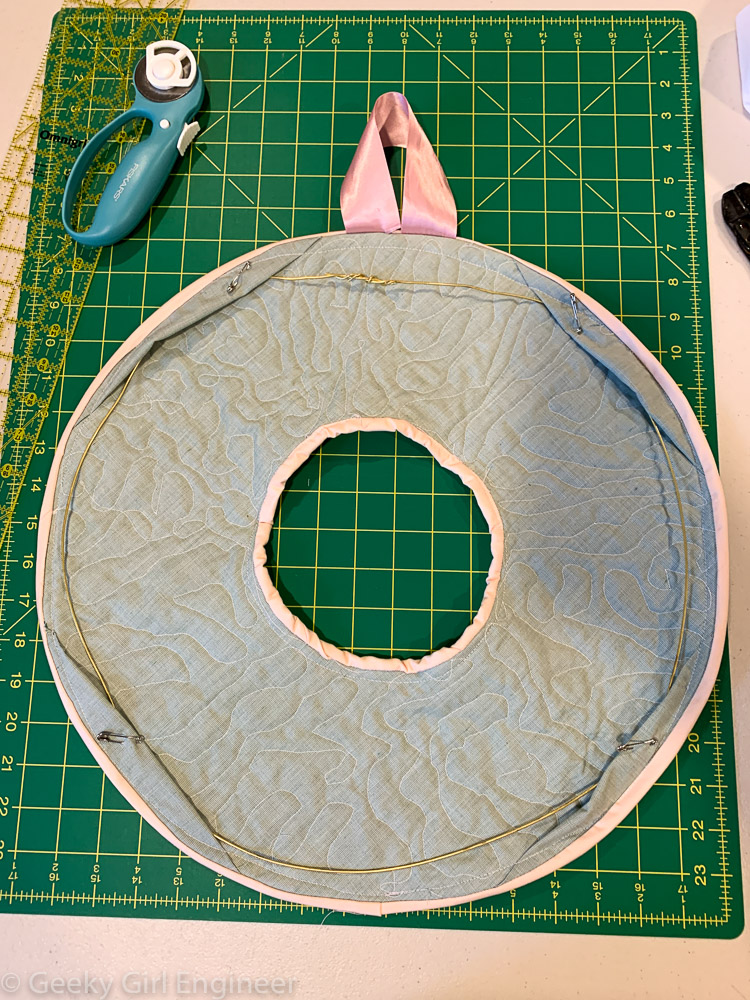
I added binding and a ribbon with which to hang the wreath. I also added fabric pockets like you would to insert a dowel or similar to hang a quilt. I added four pockets, but it does not work quite as well on a circle. I used wire to make a ring to fit inside the pockets, so that the wreath would keep its shape. I couldn’t get the wire ring to stay inside because the pockets were too shallow and the wire was not stiff enough. Thus I used the old stand-by of safety pins to pin the wire ring to the pockets. Somewhat messy on the back, but it works.

